Learn how to make a homemade hyaluronic acid serum with this complete guide. Step by step instructions for formulating a treatment that feels like a splurge, saves you money and leaves your skin comfortably hydrated, starting today.
If you’re my kind of person, the kind who can’t sit still once you sense there’s a better, more natural, more honest way of doing things, get ready. Today we’re breaking the rules of conventional skincare. Carve out some time for yourself, make a coffee or a green tea (which has some lovely antioxidants of its own), and let’s dive into the fascinating world of home formulation. Fair warning: once you learn to make your own hyaluronic acid serum, buying a brand name one may never feel the same.
I’ve been experimenting with natural ingredients for a long time. I’ve always had that itch to try everything, to jump from one project to the next chasing quality and, above all, the truth behind the labels. I got tired of spending a fortune on glass bottles with unpronounceable names that promised eternal youth but, when you actually read the ingredient list, held more fillers and preservatives than real active ingredients.
So I got to work. I researched, I failed (yes, some batches ended up as a sticky disaster), and eventually I landed on a formula I love. The kind that leaves your skin looking like you slept ten straight hours after a spa retreat. Today, because we’re friends and we tell each other everything, I’m handing it over in full detail.
This post may contain affiliate links. If you buy through them you support my work, at no extra cost to you.
Before we put on our alchemist aprons, it’s important to understand what we’re working with. Hyaluronic acid isn’t an “acid” in the sense we usually think of (like lemon juice stinging your skin). It’s a polysaccharide, a type of sugar molecule our own bodies produce naturally. It’s found in our joints, our eyes and, of course, our skin.
Its main job is holding onto water. Picture each hyaluronic acid molecule as a tiny sponge, often described as able to hold up to a thousand times its weight in water. That’s part of what gives skin that plump, springy look we have when we’re young. The part we like less is that our own production gradually declines with age, starting somewhere in our twenties. That’s just how it goes, but it doesn’t mean we have to accept dehydrated skin.
Molecular weights: the industry’s open secret
This is where most people get lost. When you go to buy pure powdered hyaluronic acid for your serum, you’ll see references to “high molecular weight” and “low molecular weight.” This matters.
High molecular weight stays on the surface of the skin. It forms an invisible film that slows water loss from the skin’s surface, which gives an immediate visual smoothing effect. Low molecular weight is much smaller and is thought to travel a little further into the upper layers, where it may help fine lines look softer. That said, none of it reaches the deep layers of your skin, and no topical hyaluronic acid actually fills a wrinkle from the inside. My advice, and what we’re doing today, is to use a combination of both.
Why make your own hyaluronic acid serum
You might be wondering, “is it really worth the hassle of making it myself?” The short answer is yes. The longer answer has to do with feeling capable and with transparency.
First, the savings are substantial. A high end serum with a real concentration of hyaluronic acid can run you sixty to a hundred dollars. Making it at home costs a few dollars per bottle. Second, you control what goes in. You know there are no synthetic fragrances that might irritate, no ingredients you’d rather avoid, nothing added purely to make it feel slippery.
There’s also something almost meditative about the process. Mixing the ingredients, watching the gel come together, customizing it with a hydrosol that smells like roses or lavender… It’s a self care ritual that starts long before the product touches your face.
The ingredients: what you need to make a hyaluronic acid serum
Let’s make a shopping list. Don’t be intimidated, all of this is easy to find these days from online suppliers that specialize in cosmetic ingredients.
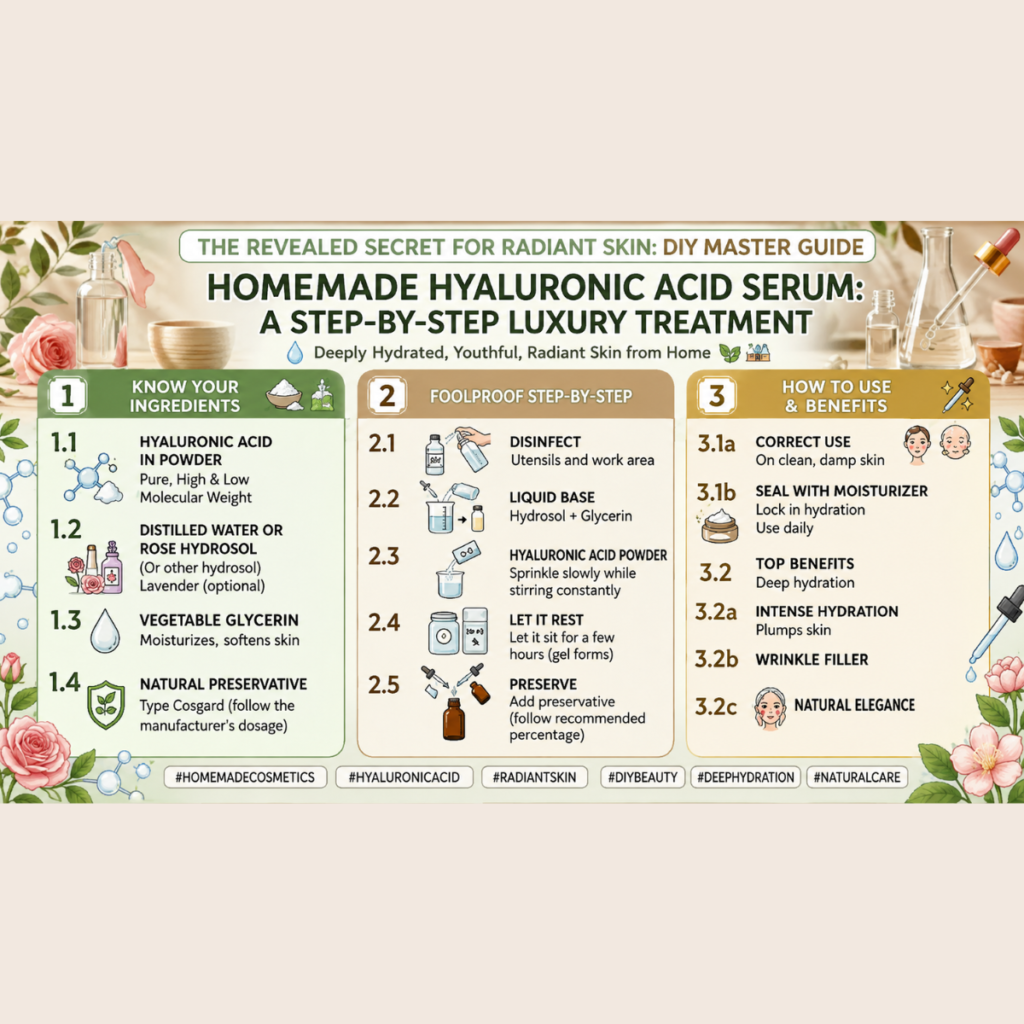
1. Powdered hyaluronic acid
As I mentioned, look for a pure one. A 5 or 10 gram packet is ideal. Make sure it’s cosmetic grade. If you can, buy two types: high weight for surface protection and low or very low weight for deeper hydration. This is the one I usually use.
2. Distilled water or hydrosols
You could use plain distilled water, but why settle for basic? I prefer hydrosols. A hydrosol is the water left over from distilling plants to obtain essential oils. My favorite for mature skin is rose damascena. If your skin is oily, witch hazel or lavender work nicely. The hydrosol is the base of your serum and adds a little extra character and scent. Buy one intended for cosmetic use and check that it’s within its shelf life, since hydrosols can spoil.
3. A broad spectrum preservative (Cosgard or similar)
This one is non negotiable. Anything made with water can grow bacteria or mold within days, and a contaminated serum going near your eyes is a genuine risk, not a theoretical one. Use a proper broad spectrum cosmetic preservative at the percentage the manufacturer specifies, and note that most (including Cosgard) only work below about pH 6, so inexpensive pH strips are a worthwhile addition to your kit. Never skip this step, and never assume vitamin E or an essential oil will do the job, because neither is a preservative.
4. An optional extra active
This is where we get creative. You can add a little vitamin C for brightness (though vitamin C is unstable and fussy about pH), or panthenol (provitamin B5) to help soothe irritated skin.
Step by step: the hyaluronic acid serum recipe
Let’s get into it. Wipe down your counter thoroughly. Hygiene is the first step to getting this right.
Phase 1: Sanitizing
Before you touch anything, boil your tools or spray them with 70% rubbing alcohol. You’ll need a small beaker (or a clean glass), a glass stirring rod or stainless steel spoon, and your dark glass bottle, preferably with a dropper.
Phase 2: The liquid base
Measure out about 40 grams of your chosen hydrosol or distilled water. Pour it into the glass.
Phase 3: The powder magic
Now for the moment of truth. You need roughly 0.4 grams of powdered hyaluronic acid for this amount of liquid, which comes out to about 1%. If you don’t have a precision scale, it’s roughly the tip of a small teaspoon, though a scale is worth the small investment here.
Sprinkle the powder over the surface of the water. Don’t dump it all in one pile, spread it across the surface the way you’d salt something. Here’s where most people get frustrated: don’t try to stir vigorously to dissolve it instantly. Hyaluronic acid is temperamental and clumps easily.
Phase 4: An artisan’s patience
Cover the glass with a bit of plastic wrap and leave it be. Really, that’s it. Forget about it for a couple of hours or, better still, overnight in the fridge. You’ll see that the powder has absorbed the water and turned into a beautiful clear gel. Once that time has passed, stir gently with your rod.
Phase 5: Preserving and finishing
Add the preservative. With Cosgard the standard dose is around 10 drops per 50 ml, so about 6 drops covers our 40 grams, but always check the percentage on your own bottle since products vary. Stir well to incorporate it. Now pour your creation into the dark glass bottle. Your serum is ready.
If you’d rather watch, here it is on video, and feel free to subscribe to the channel, it’s free
How to use your serum to get the most out of it
Making it is only half the job. Applying it well is what separates so so skin from skin that really looks good. Before your first full use, do a patch test on your inner arm and wait 24 hours, especially if your skin is sensitive or reactive.
Hyaluronic acid needs moisture to work with. If you apply it to dry skin in a dry environment (like an office with the AC running), it can end up pulling water from the surface of your own skin instead. So the golden rule is: always apply it to damp skin.
After cleansing, mist a little hydrosol on or simply leave your skin slightly damp after rinsing. Put three drops of serum in your palms, press them together, then press gently onto your face. Right after, apply your moisturizer or favorite facial oil to seal that moisture in. The fresh feeling is immediate.
Recipe variations for your skin type
Since every one of us is different, here are a few ideas for personalizing your serum:
For uneven tone or dull looking skin
Swap part of the water for a little licorice root extract, or add a pinch of niacinamide (vitamin B3). Niacinamide is well studied for evening out tone and improving the look of pores, and it pairs nicely with hyaluronic acid.
For very dry or mature skin
You can add a single drop of frankincense or geranium essential oil at the end. These are traditional favorites in facial care and the scent alone makes it feel like a spa treatment. Keep in mind that essential oils don’t disperse in a water based serum without a solubilizer, and that the face is a sensitive area, so this one is optional and worth a patch test. If your skin is at all reactive, leave it out.
For sensitive or red prone skin
Use chamomile or cornflower hydrosol. Add a little pure aloe vera (the pre stabilized kind) to your initial mix. Many people find the soothing effect immediate.
Storage and shelf life: keeping your serum safe
Since this is homemade, we don’t have the industrial stabilizers that let a bottle sit on a shelf for three years. But that’s a good thing, it means what you’re putting on your face is fresh.
- Where to keep it: store your serum somewhere cool and dark. The bathroom usually isn’t ideal because of temperature swings and humidity. A drawer in your bedroom or even the fridge door (especially in summer) works well.
- How long it lasts: with the preservative we added, your serum should hold up for two to three months. Label it with the date you made it, and if you notice a change in smell, color or clarity, it’s time to say goodbye and make a fresh batch.
- Packaging: always use dark glass (amber or cobalt blue). Light degrades active ingredients, and we want the serum working right down to the last drop.
Frequently asked questions about homemade hyaluronic acid serum
Can I use hyaluronic acid if I have acne?
Generally yes. Hyaluronic acid is lightweight, doesn’t add oil and isn’t considered pore clogging, so most people with acne prone skin tolerate it well. It hydrates, which is helpful since skin that’s dry can feel worse, but it isn’t an acne treatment and won’t clear breakouts on its own. For persistent or painful acne, a dermatologist is the right call.
What age should I start using it?
There’s no fixed age. Natural production declines gradually as we get older, and keeping skin hydrated is a reasonable habit at any age. Just don’t expect it to prevent lines altogether, since sun protection does far more on that front than any serum.
Can I mix the powder straight into my moisturizer?
You can, but I wouldn’t. Hyaluronic acid needs water to hydrate and form its gel. Added to an already finished cream, it won’t dissolve properly and you’ll feel gritty bits on your face. It’s much better to make the serum separately and apply it first.
Is it normal for the serum to feel a little tacky at first?
Yes, completely normal, especially if you used a higher concentration or a lot of high molecular weight hyaluronic acid. That’s why applying moisturizer afterward matters: it takes away the tacky feel and seals everything in. If it’s very sticky, use slightly less powder in your next batch.
Where can I buy the ingredients?
Online suppliers that specialize in DIY cosmetic ingredients are your best bet, and there are plenty of reliable ones. Look for shops that publish batch information and expiration dates, and make sure anything you buy is labeled cosmetic grade.
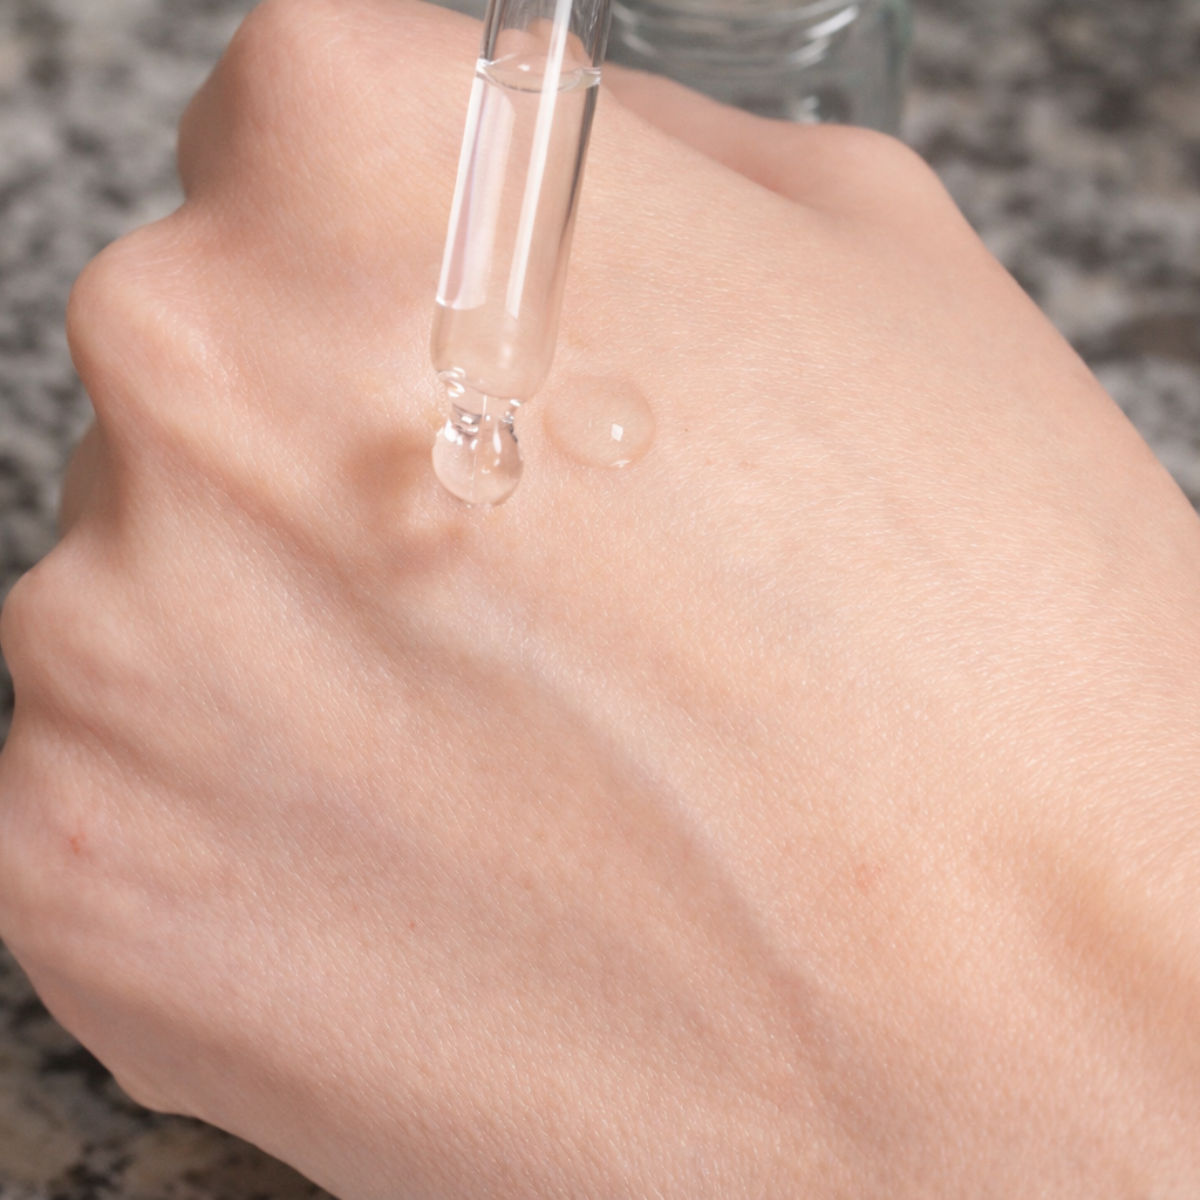
How to make your own homemade hyaluronic acid serum step by step
Sanitize everything
Clean your work surface and spray 70% rubbing alcohol on all your tools and the final bottle. Hygiene is what keeps your serum usable for months.
Prepare the water base
Pour the 40 grams of rose hydrosol or distilled water into your glass container.
Sprinkle in the hyaluronic acid
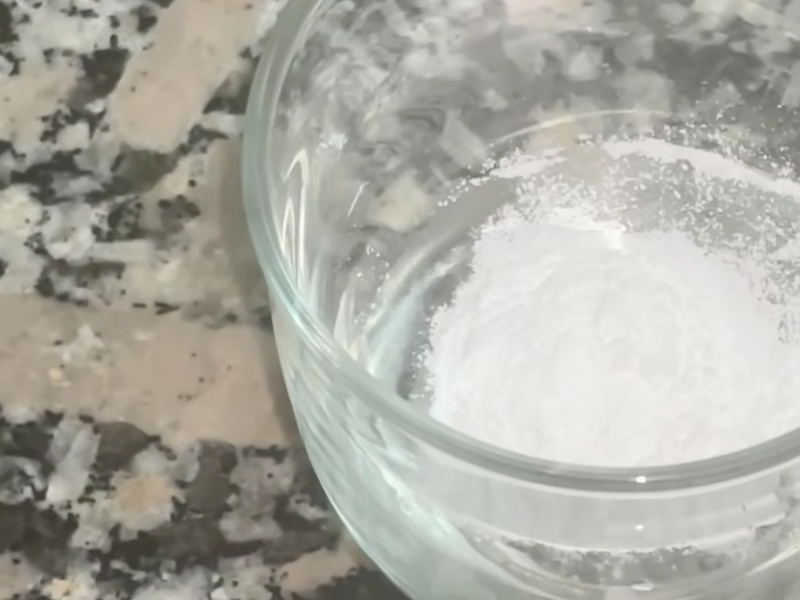
Add the hyaluronic acid powder gradually across the surface of the liquid, the way you’d salt a salad. Don’t try to whisk it hard or you’ll get clumps.
Let it rest
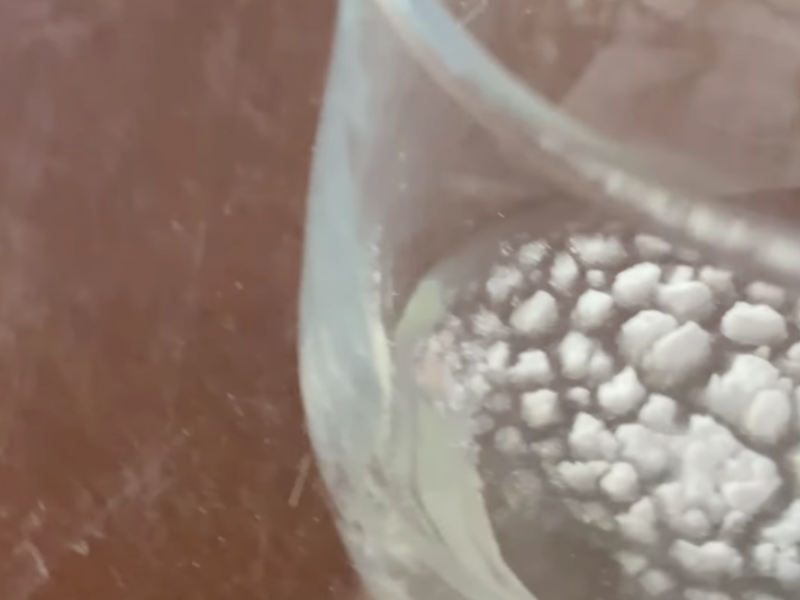
Cover the container and let it sit for 4 to 8 hours. The powder absorbs the water on its own and turns into a clear, thick gel.
Preserve and bottle
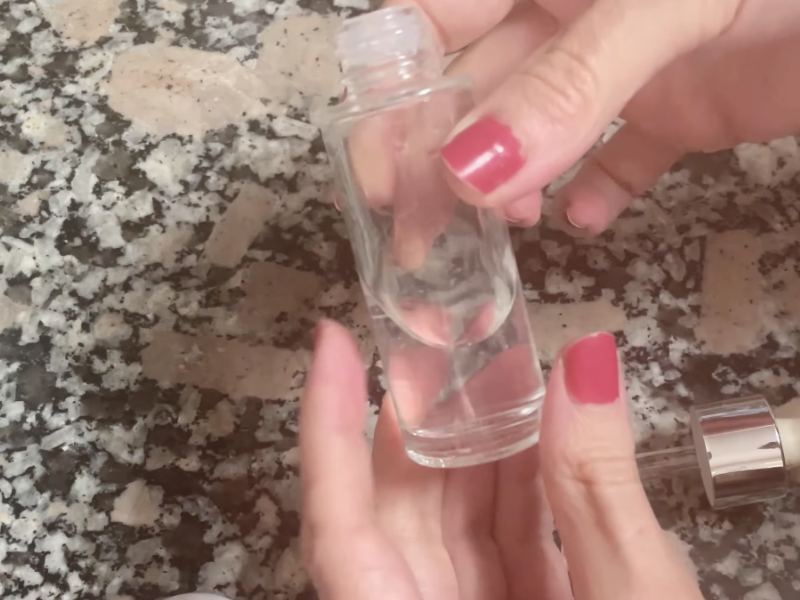
Add the drops of broad spectrum preservative at the percentage on its label and stir gently one last time. Transfer to the dark glass bottle using a small funnel or a very steady hand, and label it with the date.
Tools:
- scale
- glass beaker
Materials: 40 grams rose hydrosol (or distilled water). 0.4 g pure powdered hyaluronic acid (a mix of high and low molecular weight). 6 drops broad spectrum preservative (such as Cosgard).
My own experience: the before and after
I’ll speak from the heart here. Before I started doing this, my skincare routine was a chaotic pile of expensive products that left my skin looking dull. When I began formulating my own serum, it wasn’t just my skin that improved, it was my relationship with myself.
There’s something powerful about knowing exactly what you’re putting on the largest organ of your body. That “I can do this” feeling carries over into other parts of life. Suddenly you’re cooking more thoughtfully, choosing your reading more carefully, taking better care of your space. Hyaluronic acid was my gateway into a much more consistent, energized way of living.
The environmental side of homemade skincare
I don’t want to skip this part. Every time you refill your glass bottle instead of buying a new plastic one wrapped in cardboard and cellophane, you’re giving the planet a small break. The beauty industry generates an enormous amount of packaging waste. Buying ingredients in bulk and reusing your bottles cuts down on that meaningfully. And by skipping microplastics and persistent synthetic ingredients, what goes down the drain when you wash your face is gentler on rivers and oceans. It’s beauty with a bit of thought behind it.
Your path to a more genuine, thoughtful kind of beauty
Well, my friend, I hope this guide lit the same spark of curiosity in you that got me started years ago. Making a hyaluronic acid serum is more than a beauty recipe, it’s a step toward independence, saving money and taking real care of yourself. You get to decide which ingredients touch your skin and how you want to feel each morning when you look in the mirror.
Don’t worry if the first attempt isn’t perfect or if waiting for the gel to form feels strange. That’s part of learning. Enjoy the process, smell the hydrosols, feel the texture of the gel on your fingers and, above all, be good to yourself. You deserve those few minutes a day.
Are you going to try it this week? I’d love to hear whether you already knew this trick or whether you have a question we didn’t cover. Is there another ingredient you’re curious about and want to learn to use? Tell me in the comments! I love reading about your experiences and learning together on this path toward a more natural way of living.