Learn how to make homemade body wash with this complete, detailed guide. Natural recipes, tips for keeping it fresh, and practical advice for caring for your skin more sustainably. Come make the switch to DIY skincare!
Have you ever stopped to really read the label on that bottle of body wash in your shower? If you have, you probably felt like you were trying to decode ancient hieroglyphics, or a chemistry formula from a high security lab. Sulfates, parabens, synthetic fragrances, microplastics… the list goes on and on, and honestly, it’s a little discouraging.
A couple of years ago I was in exactly that spot. My skin always felt dry, irritated and dull no matter how much lotion I put on after showering. That’s when I decided enough was enough. If I could cook my own food, as I show on my other blog, so I’d know exactly what was going into my body, why wouldn’t I do the same with what I put on my skin?
It isn’t just about saving a few dollars or being greener (though it’s that too), it’s about connection, autonomy and treating yourself with ingredients you’ve chosen.
This post contains affiliate links. Using them supports my work.
Why you should dive into homemade skincare today
If you’re here, something inside you is saying there’s a better way to do this. As someone who can’t sit still when inspiration strikes, I promise you that making your own personal care products is one of the most satisfying decisions you can make.
Total control over what touches your skin
Our skin is the body’s largest organ, and while it’s a remarkably good barrier rather than a sponge, what we put on it still matters, especially for anyone whose skin is sensitive or reactive. When you make your own body wash, you’re the one in charge. Want sweet almond oil for extra conditioning? Add it. Prefer to skip strong fragrance because your skin is sensitive? Leave it out. You decide.
A break for the planet and for your wallet
Let’s be honest: the amount of plastic we go through in the bathroom is wild. Switching to homemade means you can reuse glass or sturdy plastic bottles over and over. And while the up front cost of some ingredients looks higher, over time the savings add up. A quart of homemade wash costs a fraction of those high end “natural” brands on the shelf.
The satisfaction of making something with your hands
There’s something magical about mixing oils, floral waters and essential oils. It’s a pause, a ritual, a bit of modern alchemy. The first time you use a wash you designed and made yourself, the sense of accomplishment is wonderful. You feel capable and connected to what you’re using.
The basics: what is body wash, really?
Before we put on the apron, it helps to understand what we’re making. Not all “gels” are the same, and depending on what you want, we’ll use different techniques.
The difference between soap and body wash
We use these terms interchangeably, but technically they’re different things. Traditional soap is made through saponification, the reaction of a fat with a strong base like lye. The body wash you find at the store is usually a synthetic liquid detergent (a syndet), which is also why it sits closer to skin’s natural pH than true soap does.
At home we have two main routes:
- The quick route: start with a ready-made soap base (like liquid Castile soap) and customize it.
- The from-scratch route: build the wash yourself using gentle surfactants derived from coconut or sugar. That’s what we’re doing today.
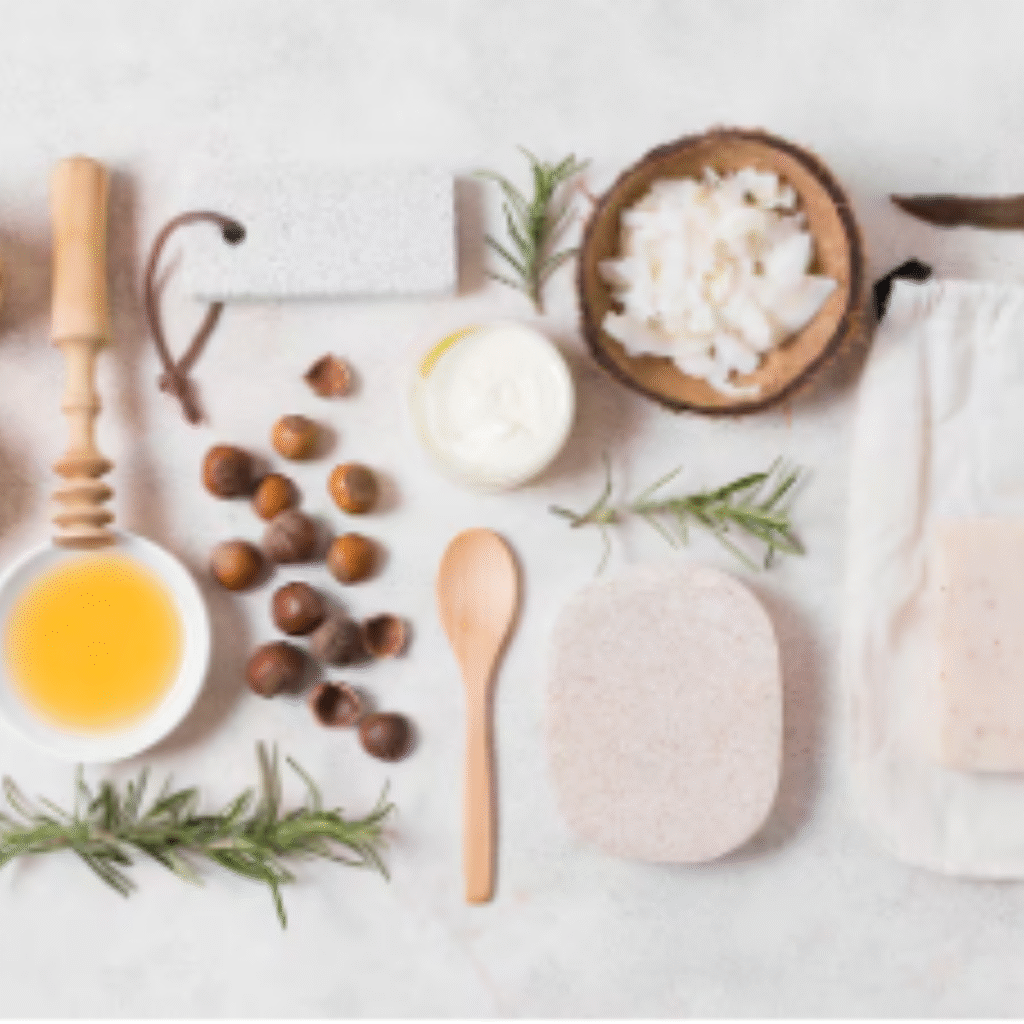
Star ingredients for homemade body wash
For a body wash to really work, it has to balance three jobs: cleansing, conditioning and feeling good to use. Here are my go-to allies.
Plant oils: food for your skin
This is where the conditioning happens. Which one you choose depends on your skin type:
- Coconut oil: conditioning and popular, but go easy. In a wash, any oil will cut back your lather rather than boost it, and coconut oil is on the more pore clogging end for some people.
- Sweet almond oil: my favorite for dry, delicate skin. It’s gentle and absorbs beautifully. Skip it if there’s any tree nut allergy in the house.
- Jojoba oil: a good pick if you’re prone to body breakouts, since its structure is similar to skin’s own sebum and it tends to feel light rather than heavy.
- Avocado oil: rich and nourishing, a nice choice for mature or sun-stressed skin.
Vegetable glycerin: the softness secret
Glycerin is a humectant, which means it draws moisture toward the skin. Adding a little to your mix is the difference between a wash that just cleans and one that leaves skin feeling silky.
Hydrosols and floral waters
Instead of plain distilled water, I love using floral waters. Rose water is soothing, lavender is relaxing and orange blossom is bright and uplifting. They add a subtle, lovely scent and a bit of character. Today I’m using chamomile.
Essential oils
If there’s one thing I love about natural skincare, it’s essential oils. It isn’t only that they smell good, they’re concentrated plant extracts and scent has a real effect on how we feel.
Winning combinations for your mood
- To start the day with energy: lemon, bitter orange and a touch of peppermint. Like a shot of espresso for your shower.
- For a relaxing shower before bed: lavender, ylang ylang and mandarin. It sets you up for a calm evening.
- For a refreshing post-workout shower: eucalyptus, rosemary and tea tree. Bracing, clearing and a classic combination.
Important precautions
Remember that essential oils are highly concentrated. Never apply them undiluted to skin and always respect recommended amounts, generally under 1% in a rinse-off product. A few more things worth knowing: citrus oils like lemon and bitter orange can make skin more sun sensitive, so keep them low and rinse well; peppermint and eucalyptus shouldn’t be used on young children; and if you’re pregnant, nursing or have a medical condition, check with a professional first. Patch test any new blend on your inner arm before using it all over.
The master recipe for homemade body wash
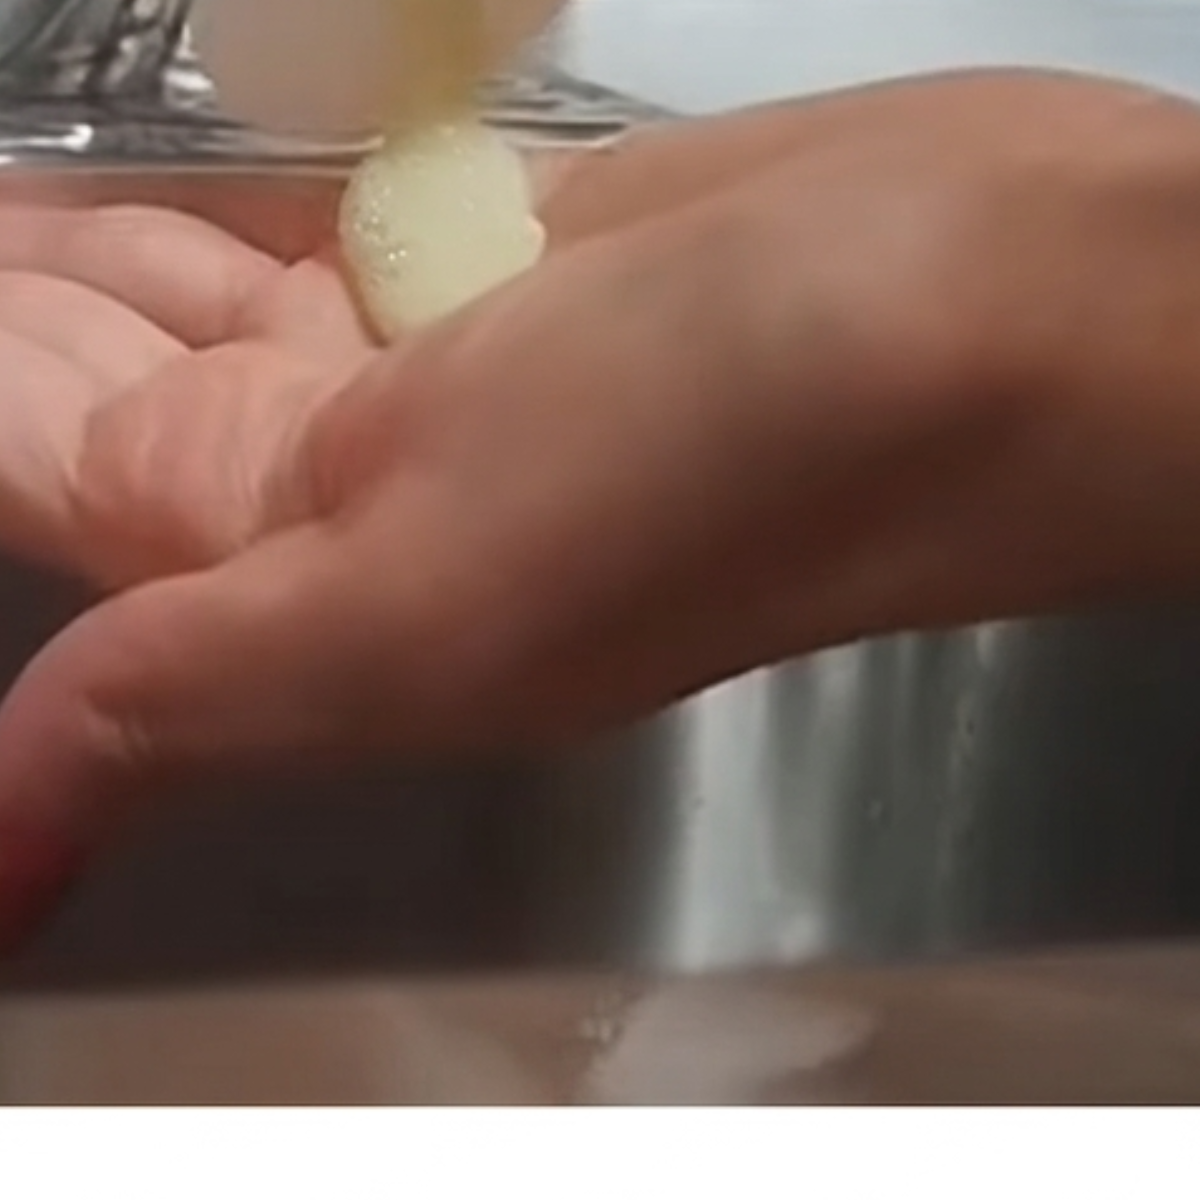
How to make homemade body wash for sensitive skin
Total Time: 35 minutes
Make the infusion
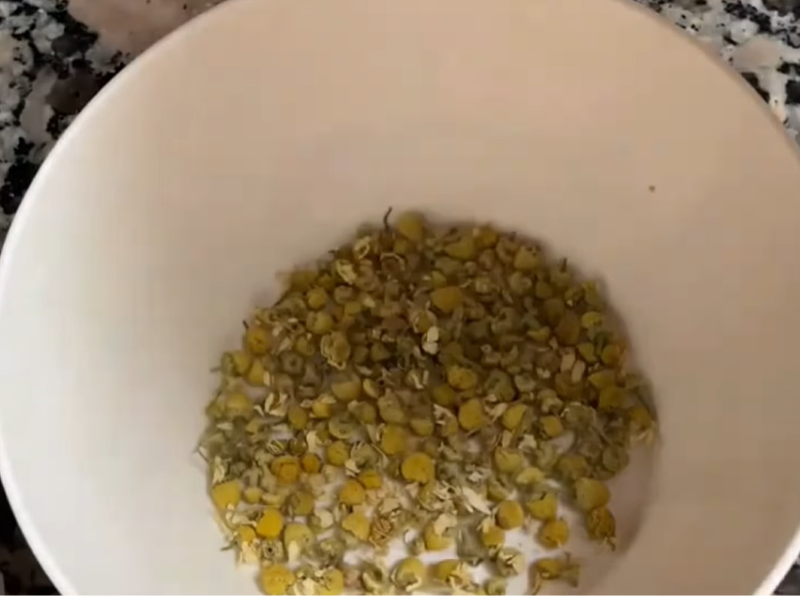
Put the flowers in a bowl and pour the boiling distilled water over them. Let steep for 15 minutes, then strain well.
Water phase
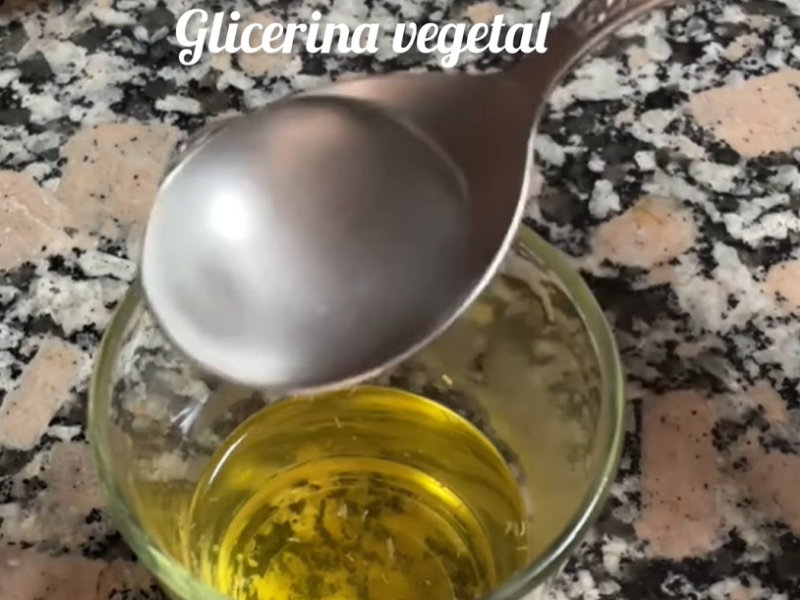
Add the glycerin to the infusion and set aside.
Oil phase

In another container, combine the oil and the BTMS and melt in a double boiler.
Match the temperatures

Set the water phase in the same double boiler as the oil phase so both reach the same temperature.
Combine the phases and add the betaine

Pour the water phase into the oil phase along with the coconut betaine and blend slowly with an immersion blender (like making mayonnaise) until it emulsifies. Don’t worry if it looks thin, it thickens as it cools.
Add the preservative and any extras

Once the mixture has cooled to below about 105°F, add your preservative at the percentage on its label. This is also the moment for essential oils and vitamin E. Check the pH with strips: most preservatives of this type need to be below pH 6.
Bottle it and enjoy
Pour into a clean, sanitized bottle, label it with the date, and it’s ready for daily use.
Tools:
- A glass or stainless steel bowl.
- A wooden or silicone spoon (kept only for your DIY projects).
- A small funnel.
- A bottle to store your body wash.
- An accurate kitchen scale.
- pH strips.
Materials: 30 g dried chamomile flowers. 150 ml distilled water (or lavender hydrosol). 10 ml sweet almond oil. 2 tablespoons vegetable glycerin. 10 drops essential oil of your choice. 32 g coconut betaine. Broad spectrum preservative such as Sharomix (per label instructions). 10 g BTMS.
Here it is on video too
How to keep your homemade body wash fresh
This is the part where we get a little more serious. Any time we put water into a homemade preparation, we’re creating an environment bacteria and mold love. Don’t worry, though, there are simple ways to keep your wash in good shape.
Why distilled water matters
Never, and I mean never, use tap water for any preparation you aren’t using immediately. Tap water contains minerals, chlorine and possible microorganisms that will spoil your wash within days. Distilled water is clean and predictable.
Preservatives: are they necessary?
Short answer: yes. Anything containing water needs a broad spectrum preservative, and a shower bottle is a warm, damp place where contamination is easy and invisible. Even a small batch you plan to finish in two weeks can grow bacteria long before you’d see or smell anything, so this isn’t the place to cut corners.
Use a broad spectrum preservative accepted in natural cosmetics, like Cosgard or Sharomix, at the exact percentage on its label, and check that your pH falls within the range where it works (usually below 6). If you’d rather skip preservatives entirely, make a single-use amount and use it the same day.
Vitamin E: your shield against rancidity
Vitamin E (tocopherol) isn’t a preservative against bacteria, it’s an antioxidant. It helps keep your plant oils from oxidizing and smelling rancid over time. Adding a few drops is a great idea for extending the life of the oils, and it’s lovely for skin too. Just don’t let it replace a real preservative, because those are two different jobs.
Warning signs
Learn to listen to your product. If the color changes noticeably, if a strange film appears on the surface, or if the smell turns rancid or musty, it’s time to say goodbye. And keep in mind that contamination isn’t always visible, which is another reason to date your bottle and not stretch it past a couple of months. Safety first.

Expert tips for a professional result
After plenty of attempts (and a few spectacular failures), I’ve collected some tricks that will save you time and frustration.
- Patience is your best friend: blend slowly. Whip it too fast and you’ll create a mountain of foam that takes hours to settle, making it impossible to bottle properly.
- Always label: trust me, you think you’ll remember what’s in that bottle, but three weeks later you’ll be wondering whether you used almond oil or coconut. Always note the date and the main ingredients.
- Reuse with style: old glass canning jars with a pump adapter look beautiful in the bathroom and keep packaging out of the trash.
Frequently asked questions about homemade body wash
Can I use a grated bar of soap instead of liquid Castile soap?
Yes, you can. You’ll need to dissolve the soap shavings in hot water (not boiling) and let it sit. Keep in mind the texture can turn a bit stringy or gelatinous as it cools, but it works. Note that true soap is alkaline, so it will feel different on skin than a syndet wash and may be too drying for very sensitive skin.
My wash separated into two layers, what did I do wrong?
With a Castile soap version this is common, since there’s no real emulsifier holding oil and water together. Just shake gently before each use. If you made the emulsified version with BTMS and it separates, that usually means the phases weren’t at the same temperature or it wasn’t blended long enough.
Does it lather a lot?
It won’t foam like a commercial wash loaded with strong foaming agents, but it cleans just as well. Lather isn’t the same as cleaning, it’s mostly a visual cue we’ve been trained to expect. If you want more foam, add a little more coconut betaine rather than more oil, since oils reduce lather.
How long does homemade body wash last?
With a proper broad spectrum preservative and good hygiene, two to three months is a reasonable window. Without a preservative, it should be treated as same-day only, since water based products can grow bacteria within days without any visible sign.
Can I use it on children or babies?
For little ones, simpler is better. Use very diluted Castile soap with a touch of almond oil and leave essential oils out entirely for babies and toddlers. Children’s skin is thinner and more permeable, so check with your pediatrician before using any homemade product on a baby, and patch test first.
A change that starts in your shower
Making your own body wash is much more than a craft project. It’s a small, deliberate act of pushing back against mindless consumption. It’s a way of telling yourself that you matter, that your wellbeing is worth that bit of extra effort.
When you start noticing your skin feeling more comfortable, and your shower turning into a genuine little spa moment, there’s no going back. You get pickier, more curious and, above all, more independent.
I’d love to know what you think of this recipe. Are you going to try the basic version, or do you have an essential oil combination in mind that you think will be amazing?
Tell me in the comments, I love reading about your experiences and learning together. This community of natural alchemists keeps growing!
If you enjoyed this post, don’t forget to share it with that friend who’s also looking for a more natural way of living. Let’s make the world smell a little better, one bottle of body wash at a time!
A big hug, and happy making!