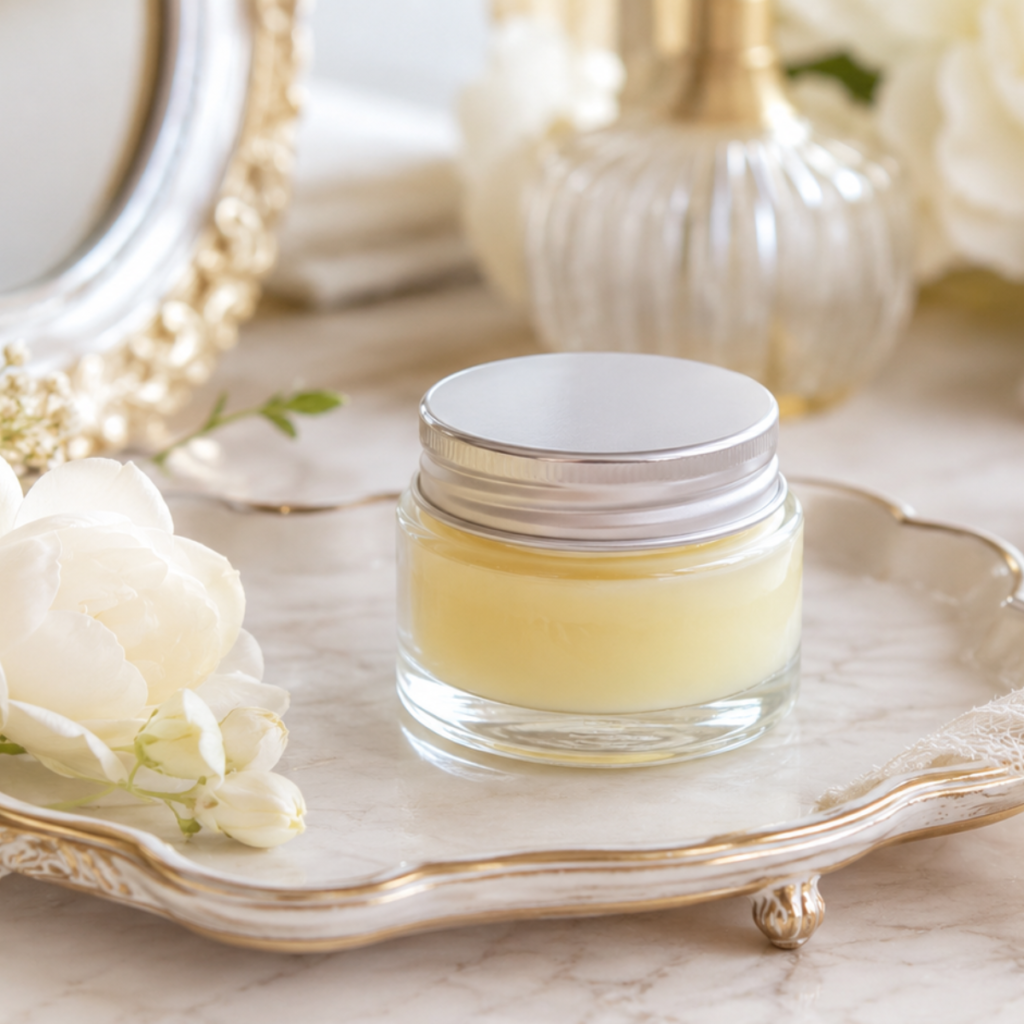
Want soft, naturally cared for lips? Learn how to make your own vegan lip balm with olive oil and cocoa butter. A complete, step by step, sustainable guide.
Has your mouth ever felt so dry that you’re convinced your lips will crack if you smile? That used to happen to me constantly. I’d look for solutions in stores but always ended up reading labels full of strange names, petroleum derivatives or animal ingredients that didn’t sit right with me. That’s when I decided to take matters into my own hands and start experimenting in my kitchen.
This post contains affiliate links. Buying through them helps me out, at no extra cost to you.
Why vegan lip balm is the change your routine needs
You’re probably wondering whether it’s really worth the effort. I understand completely, we live in a world where instant is the norm. But let me tell you: the feeling of applying something you made yourself, with ingredients you could find in a well stocked pantry, is priceless.
The vegan lip balm we’re making today rests on three pillars I settled on after plenty of testing on my own skin:
- Olive oil: Mediterranean liquid gold that conditions deeply and brings natural antioxidants.
- Cocoa butter: the queen of nourishment, wonderful on stubbornly chapped lips.
- Candelilla wax: the perfect plant based alternative to beeswax, giving our balm the solid, protective consistency we need.
First step: understanding the plant alchemy
Before we get into pots and scales, I like us to understand what each ingredient does. We often follow recipes without knowing why, and I think knowing the basic science, explained simply, makes the process much more magical.
Olive oil is a classic for a reason. It’s rich in vitamin E and polyphenols, antioxidants that are lovely for the skin. It’s a heavier oil that absorbs gradually, creating a protective film that helps keep the natural moisture in your lips from escaping.
Cocoa butter is the solid base that melts beautifully against the warmth of your lips. It’s rich in fatty acids that help soften and soothe skin.
If your lips tend to get raw or very dry from the weather, cocoa butter will be your best ally.
Finally, candelilla wax. Unlike other plant waxes, candelilla comes from the leaves of a shrub that grows in desert regions. It’s remarkably heat resistant and has a texture that makes the balm easy to apply without melting in your pocket when you carry it everywhere.
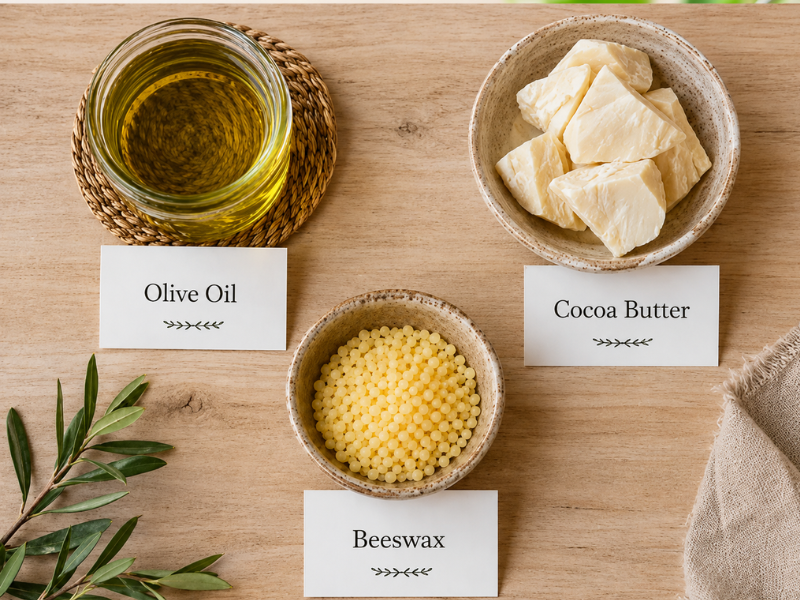
Setting up your work space: less is more
I’d encourage you to do this in a calm moment, with music you like or in comfortable silence. Making your own skincare is above all a small ritual.
To get started, all you need is:
-Containers for your lip balm. Reuse tins from balms you’ve finished, or buy aluminum tins or compostable cardboard tubes. Anything to cut down on plastic.
-A precision scale (they’re inexpensive and essential for getting the texture right).
-A heatproof container (a beaker or a glass jar that can handle a double boiler).
-A small spatula or a spoon for stirring.
The recipe: balancing science and nature
For a vegan lip balm to work, it needs a solid structure, but not so solid that it feels like a candle. The key is the ratio.
For a small batch of roughly 73 grams, which fills several small tins, we’ll use these amounts:
- 45 grams extra virgin olive oil.
- 14 grams cocoa butter.
- 14 grams candelilla wax.
- Scent (optional)
A tip before you pour: candelilla is considerably harder than beeswax, so before filling all your tins, drop a spoonful of the melted mixture onto a cold plate and let it set for a minute. If it comes out too firm for your liking, stir in a little more olive oil; if it’s too soft, add a pinch more wax.
If you’d like to add scent, you’ll need around 5 to 10 drops of pure essential oil (lavender for something calming, peppermint for a refreshing lift, or sweet orange for a bit of brightness), or a ready made cosmetic fragrance.
Step by step: making your lip balm with care
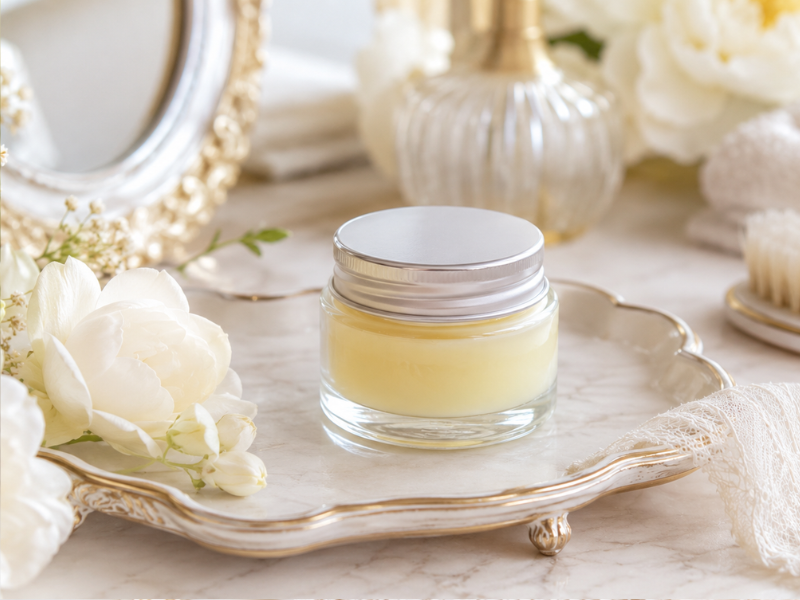
Follow this detailed guide to make your own lip balm from scratch.
Total Time: 20 minutes
Preparation
Make sure your final containers are perfectly clean and sanitized with a little rubbing alcohol, and completely dry before you pour.
Weighing
Turn on your scale and weigh each ingredient into a separate container before combining them. Accuracy here is the difference between a balm that sets rock hard and one that melts in the sun.
Melting
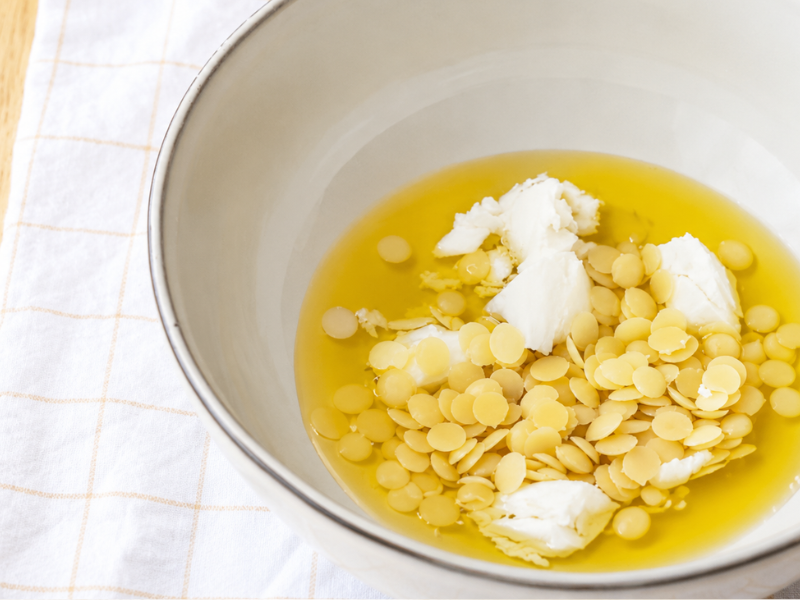
Set the container with your ingredients over a double boiler on very low heat. Stir gently until the candelilla wax has completely dissolved.
Customizing
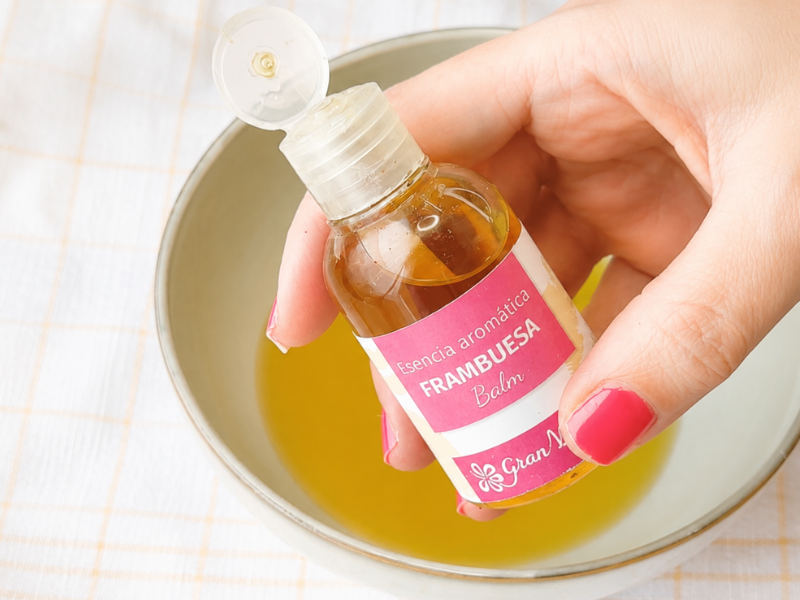
Once everything is melted, take it off the heat. Now is when you add your drops of essential oil, if you want them. Adding them while the mixture is piping hot will let the scent evaporate fast, so wait a few seconds for the temperature to drop slightly first.
Pouring
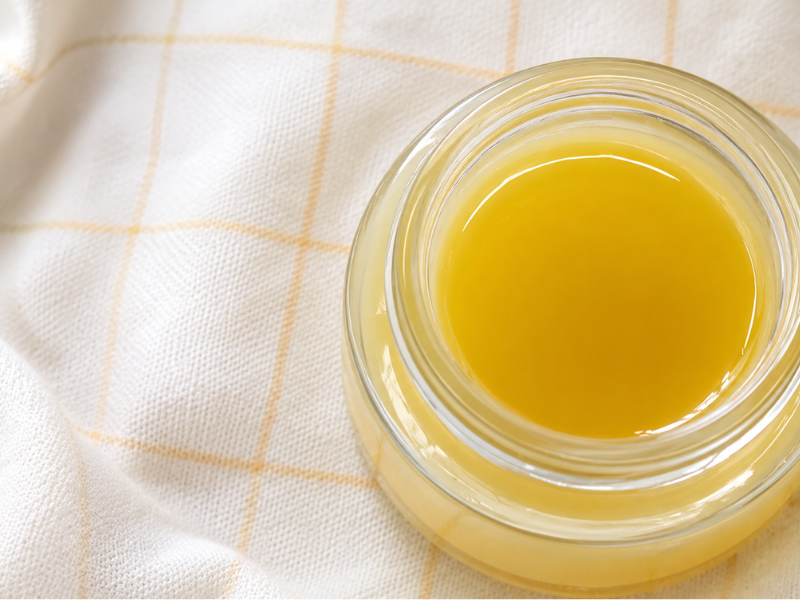
Carefully pour the liquid mixture into your containers, calmly but without stopping. If it starts setting mid-pour, give it a brief burst of heat. Let the tins sit uncovered somewhere cool and out of drafts for at least a couple of hours, then label them with the date.
Tools:
- Digital precision scale (grams).
- Heatproof container (beaker or glass jar).
- Saucepan for the double boiler.
- Small silicone spatula or glass stir rod.
- Final containers (tins or lip balm tubes).
Materials: 45 g extra virgin olive oil. 14 g pure cocoa butter. 14 g candelilla wax (in flakes). 5-10 drops essential oil (optional).
You can watch it on YouTube if you prefer
Why candelilla wax and not another one?
You might wonder why I’ve become such a candelilla fan. In vegan cosmetics there are other options like carnauba wax or even berry waxes.
But candelilla has one lovely quality: it gives lips a beautiful natural shine. It also creates a strong physical barrier against wind and cold, ideal if you live somewhere with harsh winters or very dry summers.
Another detail I love is how easy it is to work with. Other waxes take much more mixing or have melting points that can make your balm crumble. Candelilla is forgiving and consistent.
Frequently asked questions about vegan lip balm
Can the balm go bad?
Since there’s no water in it, homemade lip balms are quite stable and don’t need a preservative. What they can do is go rancid, since olive oil isn’t a preservative and does oxidize over time. Kept somewhere cool and away from direct light, it’ll last around six months to a year, and a couple of drops of vitamin E will help stretch that. Label it with the date, and if the smell turns sharp or crayon-like, it’s time for a fresh batch.
Can I swap the olive oil for something else?
Absolutely. Sweet almond oil or jojoba are excellent alternatives with a lighter texture that absorbs faster. Just skip almond oil if there’s a tree nut allergy in the house. Olive is the richest of the three, and experimenting is part of the fun.
How do I know if my cocoa butter is good quality?
Look for an ivory or pale yellow color and a soft, almost nutty smell. If it’s stark white and smells of nothing, it’s likely been heavily refined, which strips out much of the natural aroma and some of the minor compounds. Refined cocoa butter still works perfectly well in a balm, it just has less character.
Why is my balm slightly grainy?
That’s cocoa butter blooming, which happens when it cools slowly or gets overheated and its fat crystals reorganize. It’s completely harmless. If you want that smooth professional texture, melt the butter fully and then cool the balm quickly, popping the filled tins in the fridge for a few minutes right after pouring. If yours came out grainy, don’t toss it, just melt it again and cool it fast.
What if I can’t find candelilla wax?
Candelilla is the star vegan option, but if it’s hard to source where you live, look for sunflower wax or rice bran wax, which are also plant based. Note that each wax has a different hardness, so you’ll need to adjust the amount and test a spoonful before pouring. What I wouldn’t recommend is paraffin, since that’s exactly what we’re trying to avoid.
Customizing your balm: the art of nuance
One of the things I enjoy most about this process is playing perfumer. The basic olive and cocoa balm has a lovely, clean natural scent on its own, but sometimes you want something different. This is where your creativity comes in.
How to choose your scent:
- For calm: lavender essential oil is unbeatable. Buy from a supplier that publishes the botanical name and batch information, and ignore “therapeutic grade” labels, since that’s a marketing phrase rather than a regulated standard. One drop and your lips feel soothed after a stressful day.
- For brightness: sweet orange or mandarin are my favorites. They’re bright, citrusy and instantly lift your mood. Steer clear of bergamot and expressed lemon here, since they’re phototoxic and lips get plenty of sun.
- For freshness: peppermint is the classic, with that cooling tingle. Use it very sparingly, because on lips it easily crosses from refreshing into stinging, and skip it in balms meant for young children.
The golden rule: less is more. Essential oils are potent, and lip balm inevitably gets swallowed in small amounts, so never exceed the recommended proportion. The skin on your lips is some of the most sensitive on your body, and if a batch stings or tingles uncomfortably, that’s a sign to remelt it with more oil and butter rather than push through.
Turning your balm into the perfect gift
You know what’s better than making your own balm? Giving it to someone you love. It’s a gesture that says far more than anything store bought. It says “I spent time thinking about you, making something with my hands, using ingredients that take care of you.”
To make it an unforgettable gift, here are a few touches:
- Packaging matters: wrap the tin in a piece of cotton fabric (scraps you have around the house work), tie it with hemp twine and add a sprig of dried lavender or a label you made on recycled paper.
- A personalized label: give it a name. “Sunshine Balm” for the olive oil version, or “Sweet Rest” for the lavender one. Adding the date you made it is a professional touch and genuinely useful.
- An ingredient card: write out on a small card which ingredients you used and why they’re special. Listing them also matters if the person has any allergies, so it’s practical as well as charming.
Building sustainability into your lifestyle
By making this balm, you’re removing one piece of plastic waste from your beauty routine. But why not go a step further? Sustainability isn’t a destination, it’s a path of small daily decisions.
Once you get used to making your own balm, you start looking at your makeup bag differently. What else could I make myself? Maybe you’ll find yourself wanting to make a sugar and oil lip scrub, or a simple body cream. Making your own skincare is a door that, once opened, you don’t want to close again.
Now you have everything you need to become a real pro at homemade skincare. When you make your first batch, I’d love to hear how it went, which scent you chose and how your lips feel.