Learn how to transform the feel of your home with natural wax melts. A complete guide to a cozy, welcoming house that smells wonderful, the easy way.
If you’re the kind of person who thinks walking into a good smelling house can change your whole mood, get comfortable, because you’re going to enjoy this one.
Picture opening the door after an exhausting day and being met by soft lavender, comforting vanilla, or that clean citrus that perks you right up. That’s exactly what you get when you discover the world of wax melts.
I’ve spent a long time trying different ways to scent my space. I’ve been through the usual store bought sprays that leave your lungs feeling coated, electric diffusers that break after two months, and classic candles that make me a little nervous to leave burning if I have to go to another room. But when I found solid wax melts, something clicked.
This post contains affiliate links. Using them helps me out, at no extra cost to you.
What wax melts actually are
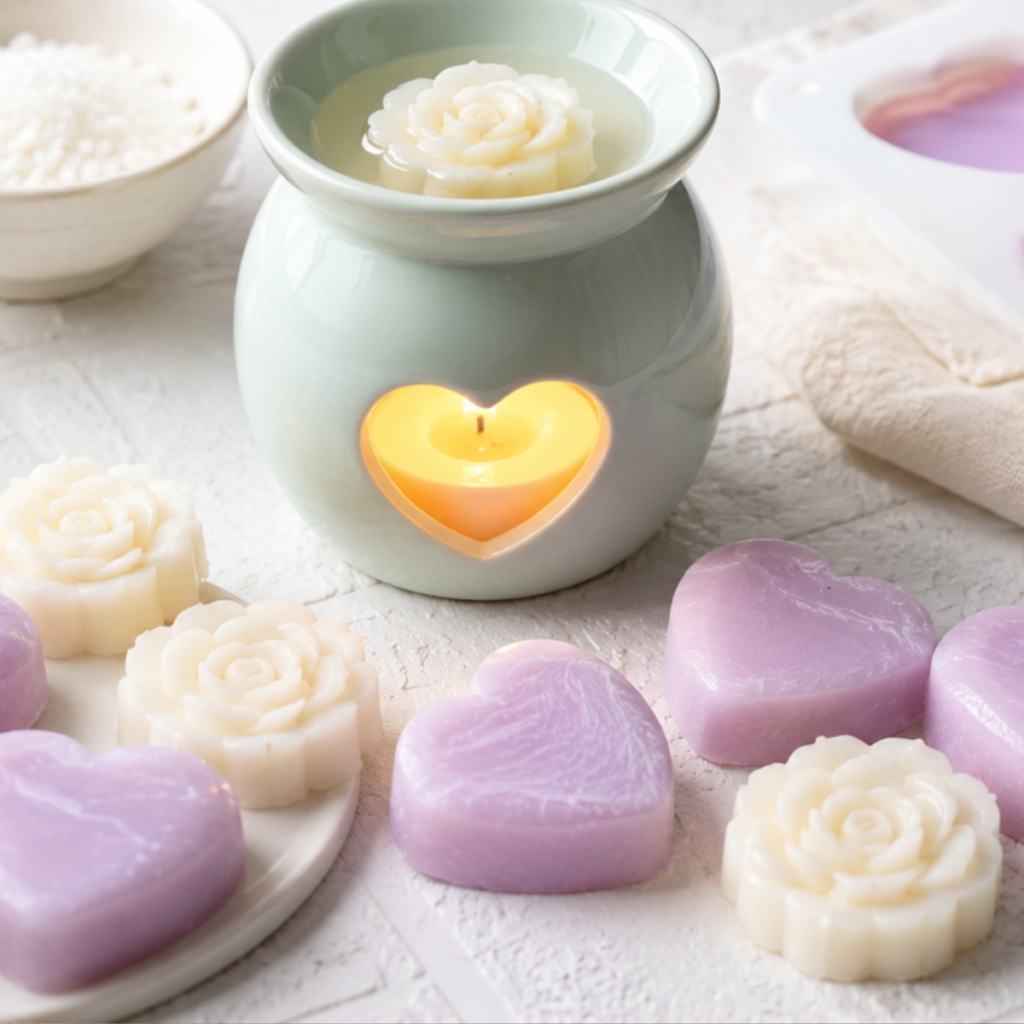
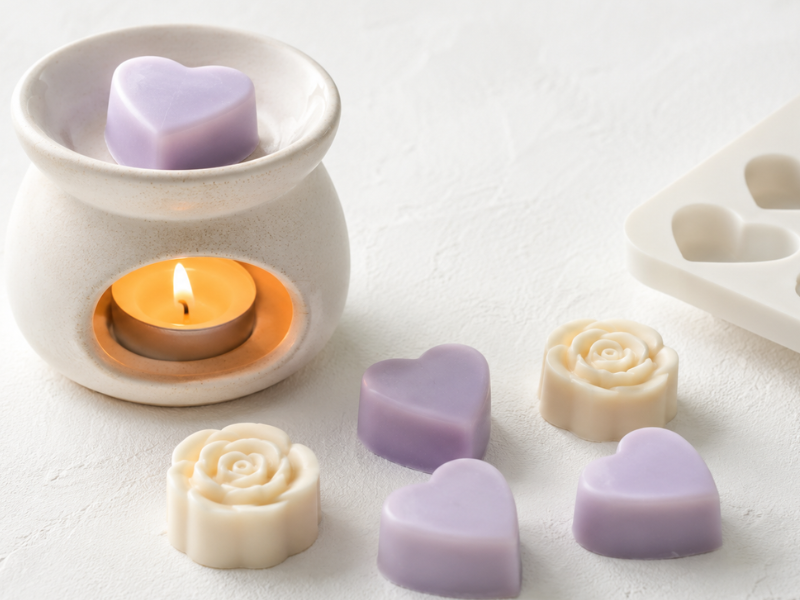
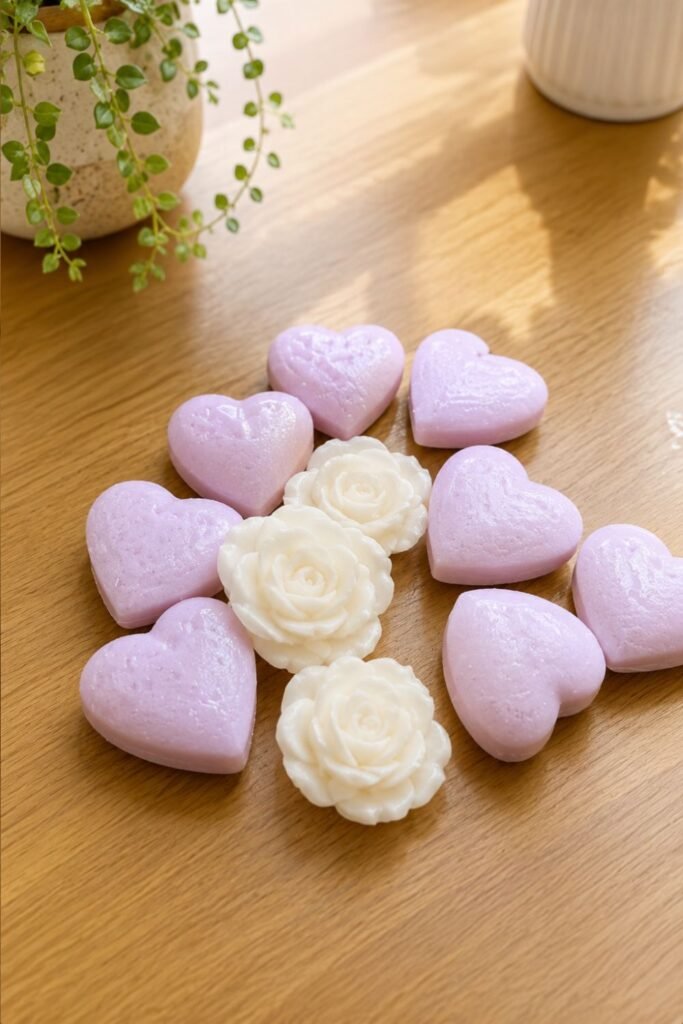
If you’ve never heard of them, don’t worry, it takes a second to understand. Wax melts are small portions of wax (shaped like chocolates, stars or hearts, or simply sold as bars you snap apart) that are saturated with essential oils or concentrated fragrance.
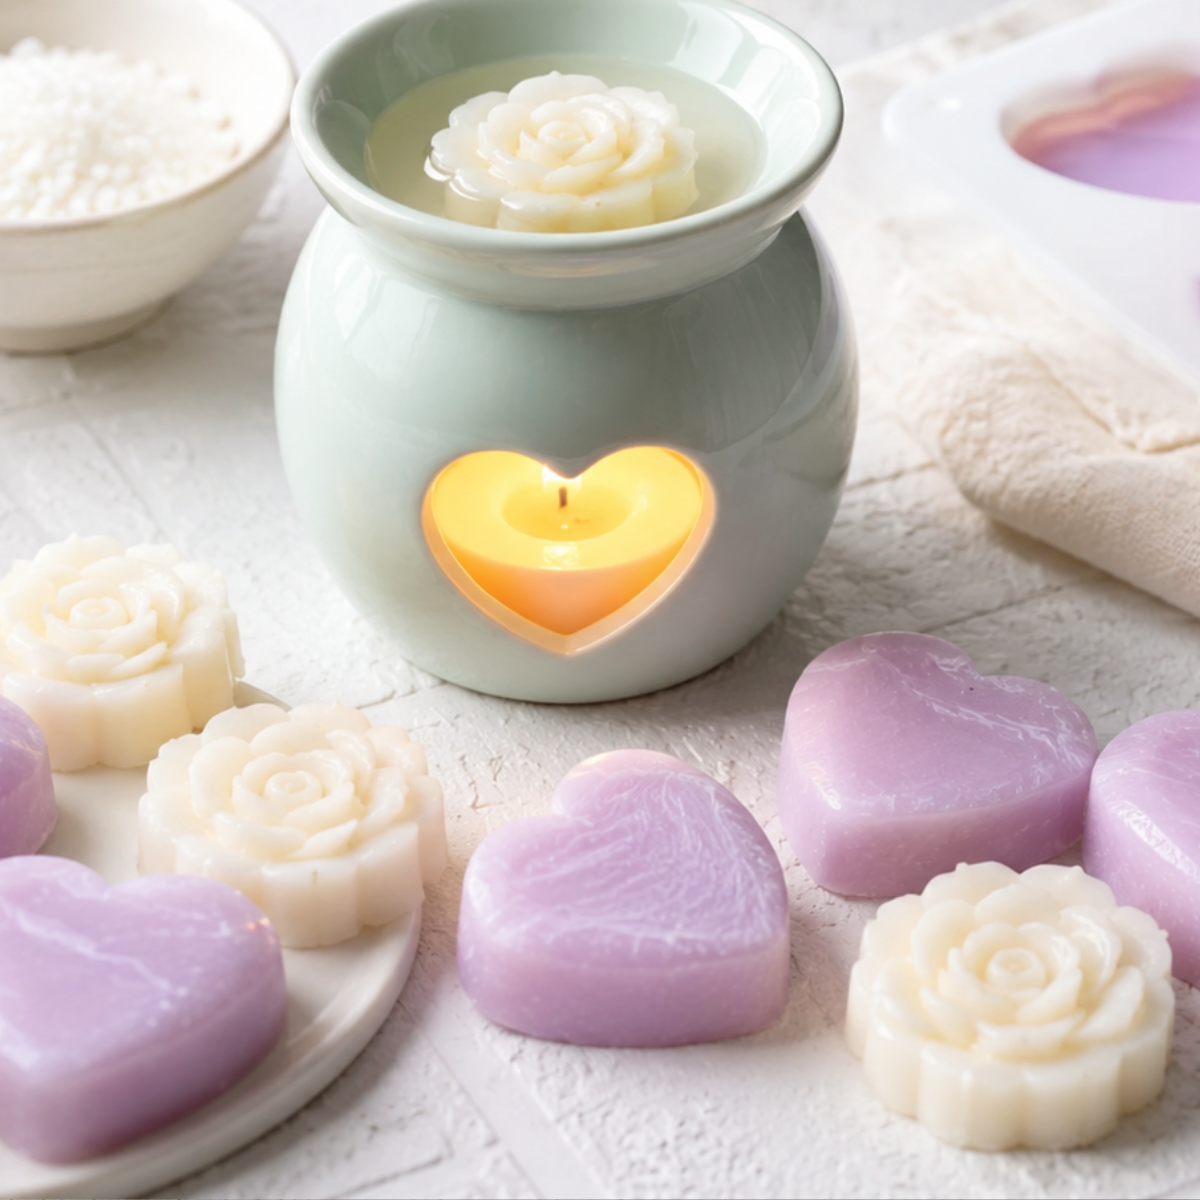
Unlike a conventional candle, these little shapes have no wick. They don’t burn. The magic is that you place them on the top of a warmer, either a classic one with a tea light underneath or an electric model.
With that indirect heat, the wax melts slowly, and it’s during that melting that it releases all the scent held inside.
Why they’re winning out over traditional candles
I love candles, I won’t deny it. They have an unmatched romance to them. But wax melts have a set of practical advantages that mean I keep reaching for them day to day:
- More concentrated scent: with no flame burning off the fragrance oil, evaporation is more gradual and even. That usually means a stronger, longer lasting scent in the room.
- You use all of it: wicked candles often tunnel down the middle, wasting a ton of wax stuck to the jar walls. That doesn’t happen here. You use exactly the amount you want and it melts completely.
- Safety: with no exposed flame in the melt itself, the risk drops considerably, especially with an electric warmer. If you have curious pets or kids running around, that’s real peace of mind. Do remember that a traditional warmer still uses an open tea light flame and shouldn’t be left unattended.
- Versatility: you can change scent every day if you feel like it. Coffee in the morning and a touch of jasmine in the afternoon? Just swap one melt for another. With a big candle you’re tied to that scent for weeks.
What you need to get started
Making your own wax melts at home is a genuinely satisfying process. Let’s go through the components that actually matter so the result comes out great.
Choosing your wax
You’ll find several types on the market, but I’ll tell you upfront which is my favorite and why.
Paraffin wax
A petroleum derivative. It’s been the industry standard because it’s cheap and holds fragrance very well. The drawbacks are mainly that it isn’t renewable and, in burning candles, it produces soot. You’ll see claims that heating paraffin releases toxic compounds; the research there is genuinely mixed and mostly concerns burning candles rather than warming wax, so I’d frame my preference for plant waxes as being about sustainability rather than fear.
Beeswax
A natural option with a delicious honey scent all on its own. That said, its own aroma competes when you want to add other fragrances like citrus or mint. It’s also quite hard with a high melting point, which makes it slower to release scent in small warmers. And it isn’t vegan.
Soy wax (or other plant waxes like coconut or rapeseed)
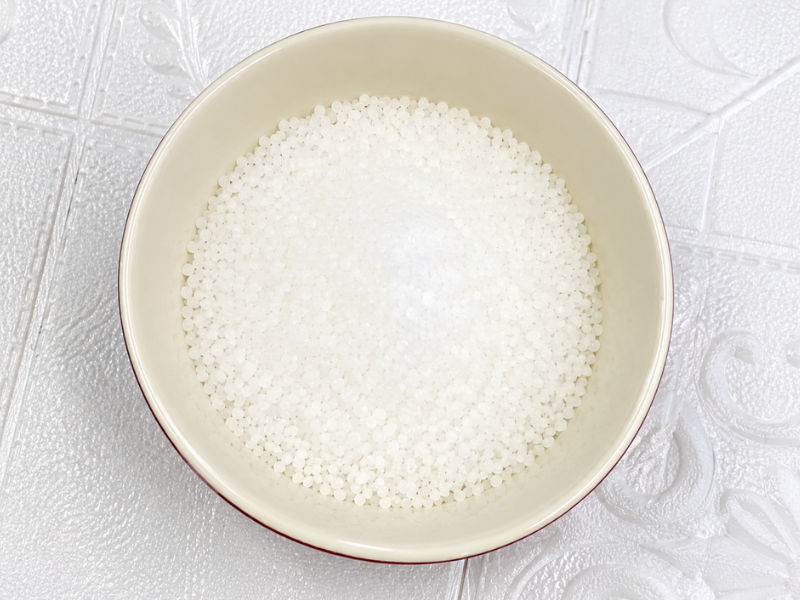
For me, this is the winner. Soy wax is plant based, biodegradable and renewable. It has a low melting point, which means it melts easily and releases scent gently and steadily, and since nothing is actually burning in a warmer, there’s no smoke at all.
It also has a pretty creamy finish and cleans up easily with warm water and soap if you spill some on the counter.
Important note: make sure you buy soy wax specifically made for molds or melts (often sold as a higher melt point soy wax, still lower than paraffin). If you buy container soy wax made for jar candles, the result will be too soft and you won’t be able to unmold your shapes without breaking them or having them stick.
Soy wax
Oils and fragrances: the soul of the melt
Once you have your base, it’s time to give it personality. There are two main routes, and which you choose depends on what you’re after.
Pure essential oils
These are direct extracts from plants, flowers, bark or roots, and they’re what aromatherapy is built on. If you want to unwind, lavender is a lovely choice. If you need to focus, peppermint or rosemary work well for a lot of people. The downsides are that they’re more volatile, they don’t hold up as long under heat, and they cost more.
One thing worth knowing: diffusing essential oils isn’t neutral for everyone in the house. Cats and birds are particularly sensitive to some of them, and strong scent can bother people with asthma or migraines, so keep the room ventilated and go easy.
Fragrance oils
These are compositions created specifically for perfumery and cosmetics. They can combine natural and safe synthetic ingredients. The big advantage is that they’re designed to hold up better to warmer temperatures, so the scent lasts much longer in the room.
They also let you enjoy scents that don’t exist as natural essential oils, like fresh baked cookies, cotton candy or sea breeze.
Whichever you choose, the essential thing is that it’s good quality and rated for use in candles. Skip the cheap unlabeled oils that don’t specify what’s in them, since they often contain solvents that smell burnt after ten minutes. A candle rated fragrance oil will also list a flash point, which is useful for knowing how hot your wax can be when you add it.
Molds and other tools
Silicone molds are your best friends for shaping them. You can reuse chocolate or ice cube molds you have at home, as long as you clean them thoroughly afterward, or better, keep them exclusively for your scented crafts rather than switching back and forth with food.
Small geometric shapes are ideal because they unmold easily and are just the right size for one warmer session.
Besides molds, you’ll need:
- A saucepan and a glass or stainless steel container for melting the wax in a double boiler.
- A wooden spatula or spoon (kept only for this) for stirring.
- A digital scale for weighing ingredients accurately.
- A kitchen thermometer, which takes the guesswork out of when to add fragrance.
How to make your wax melts step by step
How to make wax melts for a warmer
Amounts
A typical fragrance load for soy wax is around 6% to 10% of the total weight. I’d start at 6 to 8%, since going to the maximum can leave oil seeping out of the finished melts, and always check the maximum load your particular wax states. A simple example: for a mold that holds 100 grams total, use 92 to 94 grams of soy wax for molds and 6 to 8 grams of your chosen fragrance.
Melt the wax
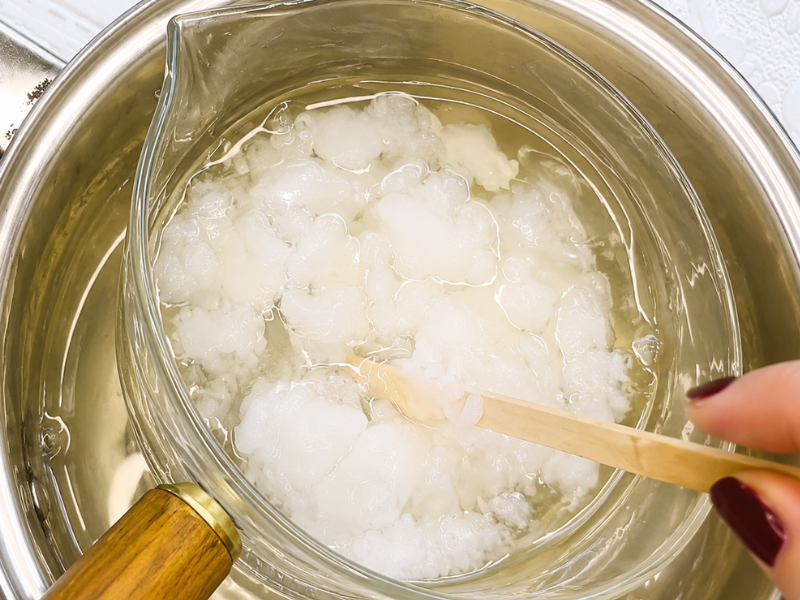
Set the container of wax flakes over a double boiler on medium-low heat. It’s very important that not a single drop of water gets into the wax, since it would ruin the mixture.
Stir slowly with your spatula. You’ll watch it go from opaque white to a clear golden liquid. Once only a few flakes remain, take it off the heat and let the residual warmth finish the job. Never melt wax over direct heat or leave it unattended, since overheated wax can smoke and eventually catch fire.
Add the fragrance
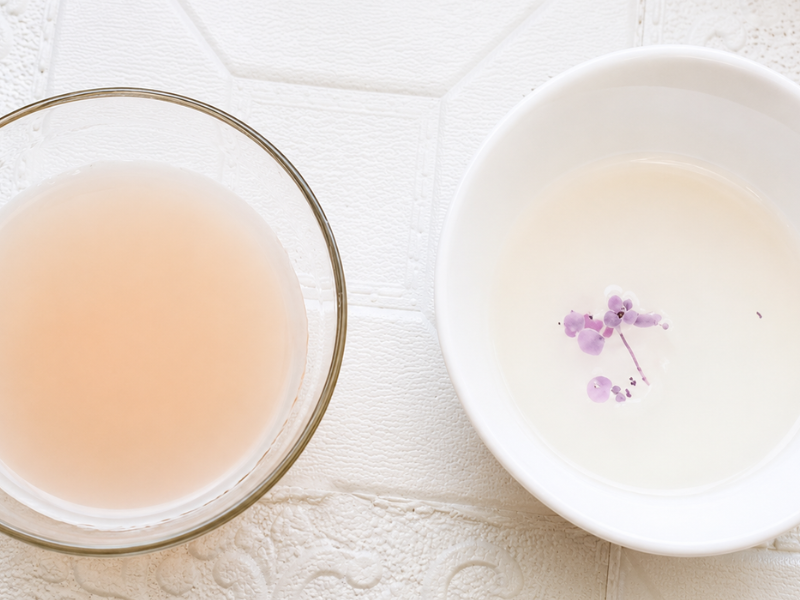
Let the melted wax cool off the heat, ideally to around 140 to 150°F or whatever your fragrance supplier recommends. Pour the fragrance in slowly and stir steadily but gently for about two minutes. Don’t stir vigorously, or you’ll work air bubbles into the mixture.
Pour into the molds
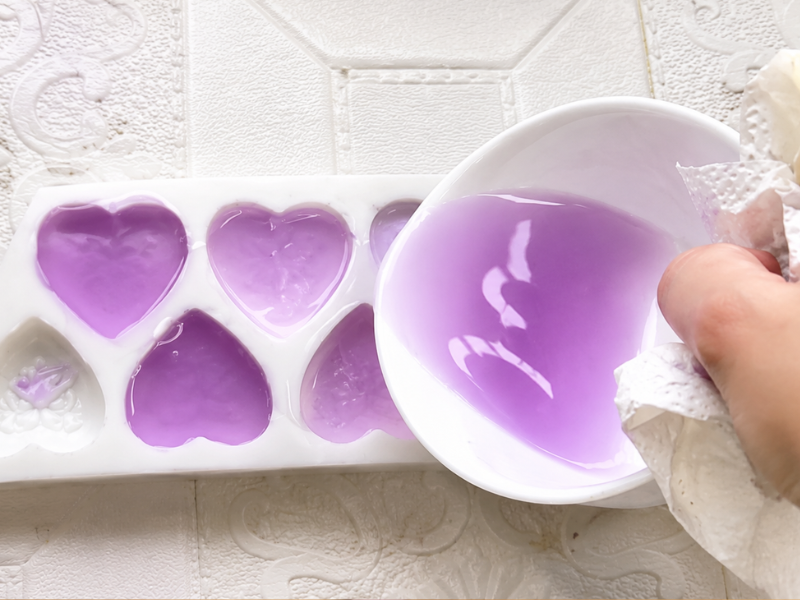
Pour the liquid into the silicone molds slowly and steadily, on a flat surface where the molds won’t be moved for the next few hours. If you want to decorate, now’s the moment: sprinkle dried petals (lavender or calendula) or a little biodegradable glitter on top. Keep decorations light and on the surface only, since dried botanicals can scorch and smoke on a warmer, and pick them out before melting if you’d rather not risk it.
Let them cool
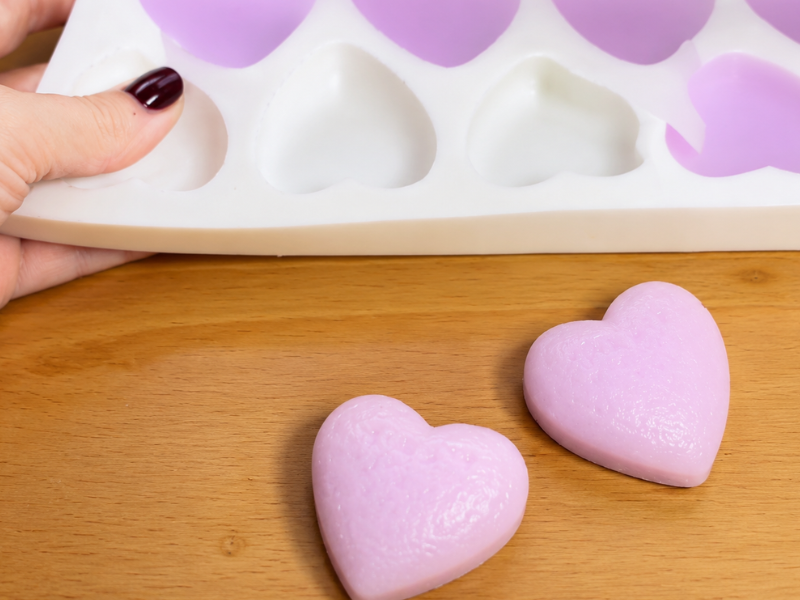
I know you’ll want to poke them after ten minutes to see if they’re ready, but patience is your ally here. Let them cool at room temperature somewhere cool, dry and out of direct drafts. Don’t put them in the freezer or fridge to speed things up, since sudden temperature changes cause surface cracks, white patches (the dreaded frosting) or uneven shrinkage.
Let them rest at least 24 hours before unmolding. The next day they’ll release from the silicone beautifully, with a lovely satin finish.
If you’d rather watch it on video, here it is
How to store your wax melts
Once your scented shapes are ready, don’t leave them sitting on a plate on the living room shelf if you aren’t using them right away. Plant wax is porous and loses scent when it’s continuously exposed to air.
The right container
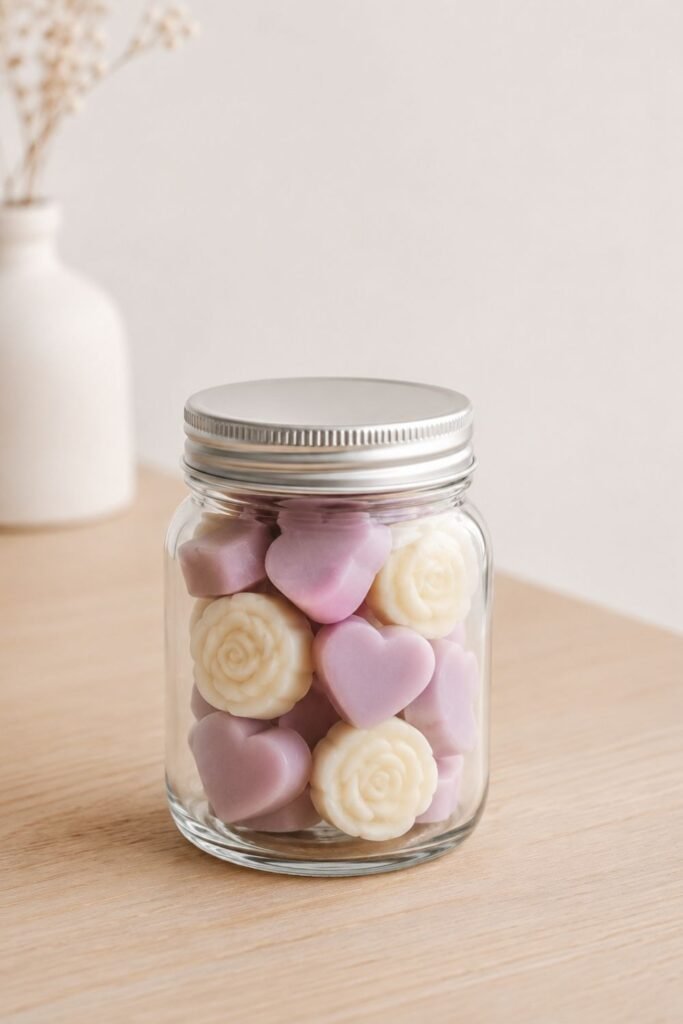
Ideally, store them in glass jars with airtight lids or in resealable kraft paper bags. Mason jars look beautiful on any shelf and keep the oils from evaporating before their time. Label them with the scent and the date, since after a few weeks all your jars start to look the same.
Keep them out of direct light and heat
Store your containers in a cabinet, a drawer or somewhere they won’t get direct sunlight or sit near heat sources like radiators.
Prolonged sun can fade the color if you’ve used dye, and it will soften soy wax and weaken the scent.
Curing time
Although you can use a wax melt right after unmolding, letting them cure, meaning resting sealed in their jar, for a week or two before the first use noticeably improves the scent throw.
Over those days the wax structure finishes stabilizing and binds more thoroughly with the fragrance.
How to use your wax melts properly
Using these is about as simple as it gets, but there are a couple of guidelines for getting the most out of them.
- Place the warmer strategically: put it on a level, heat resistant surface away from drafts (drafts cool the dish and keep the wax from reaching temperature) and far from curtains or anything flammable. Keep it out of reach of children and pets, since the dish and the melted wax get hot enough to burn.
- Use the right amount: put one or two shapes in the top dish depending on its size. Don’t fill it to the brim, because melted wax can overflow and make a real mess. And never add water to the dish.
- Light it or switch it on: with a traditional warmer, put an unscented tea light in the base and light it, never leaving it burning unattended or overnight. With an electric one, just hit the switch. Within about five minutes you’ll see the edges start to liquefy and the scent fill the room.
- Enjoy your sessions: a single 10 gram melt usually gives around 6 to 8 hours of continuous scent. You can switch the warmer off whenever you like; the wax resolidifies in the dish and holds its scent for next time. Repeat until the melted wax no longer gives off any fragrance.
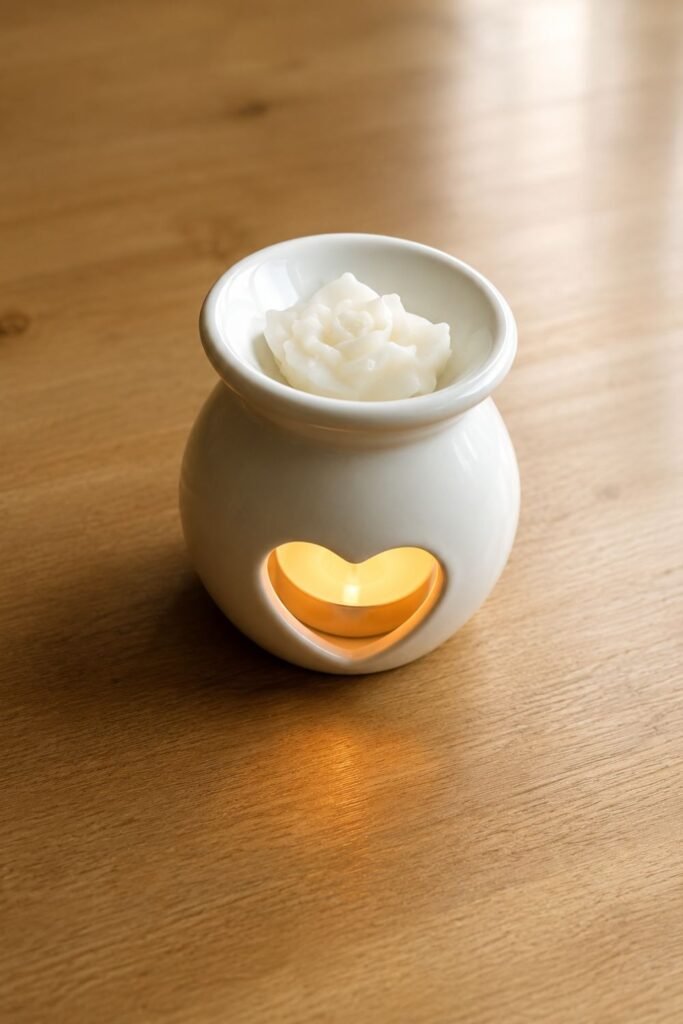
How to clean the warmer
This is the question everyone asks once the scent runs out: how do I get this puddle of solid wax out so I can put a new scent in? Don’t scrape with a knife or use steel wool unless you want to ruin the glaze on your warmer. There are two foolproof methods that are quick and clean.
The cotton pad trick (while the wax is liquid)
When the scent is gone and the wax is still fully melted and warm, blow out the tea light or unplug the warmer. Make absolutely sure the flame is out before you go anywhere near it with cotton or paper. Take a couple of cotton rounds (or a piece of rolled paper towel) and drop them onto the liquid wax.
The cotton soaks up the liquid instantly, like a sponge. Lift it out with tongs so you don’t burn yourself, wipe with a dry paper towel to catch any residue, and you’re done. Clean in ten seconds.
The freezer trick (with solid wax)
If you forgot and the wax has cooled and hardened in the dish, no problem. If your warmer has a removable dish, put it in the freezer for about ten minutes.
The cold makes soy wax contract. When you take it out, press lightly with your finger on one edge of the wax disc and it’ll pop out whole like a coin, leaving no trace.
If your warmer is one piece and won’t fit in the freezer, turn it on for barely a minute, just enough to warm the underside of the wax so it releases. Push the solid block out gently and it’ll come away clean.
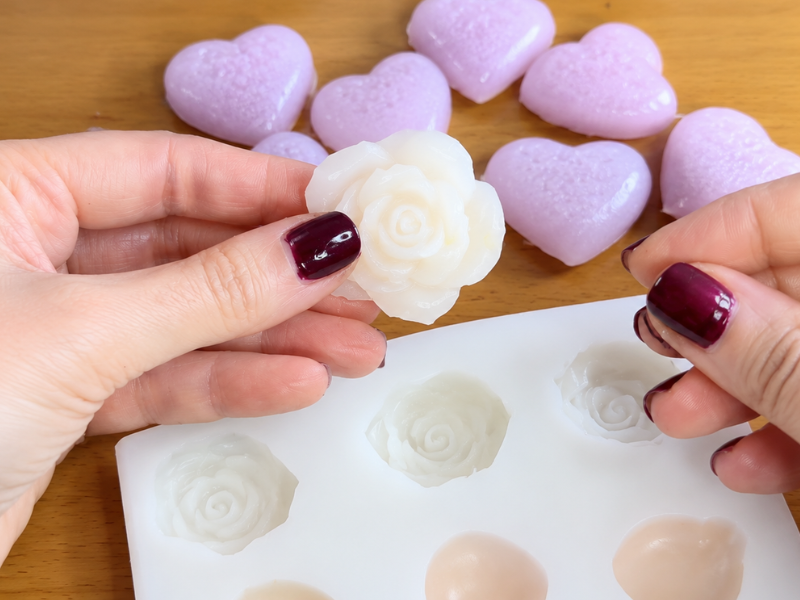
You can use molds in all kinds of shapes
Frequently asked questions about wax melts
Does the wax disappear with use, like a candle?
No, it never disappears. This is a very common question. In a candle, the wax is consumed because it fuels the flame through the wick. In a wax melt, with no flame, the only thing evaporating is the essential oil or fragrance inside. The wax always stays in the dish, it just reaches a point where it doesn’t smell like anything. When that happens, it’s time to remove it using the tricks above and add a fresh one.
Can I mix different melts in the same warmer?
Absolutely, and it’s one of the most fun parts. You get to play perfumer at home. If you have vanilla melts and coffee melts, use one of each for a cozy coffee shop scent. Want something fresh with a bit of depth? Mix lemon with a touch of lavender. Experiment until you find your signature combination.
What if my warmer doesn’t get hot enough and there’s barely any scent?
If you’re using a tea light warmer, check that the distance between the flame and the bottom of the top dish isn’t too great (around 3 to 4 inches is ideal). If it’s electric, check the wattage of the bulb or the internal element, since very cheap models sometimes don’t reach the temperature soy wax needs to release its scent properly.
Do wax melts expire?
They don’t expire in the sense of spoiling, but they do lose intensity over the months, especially if they aren’t well protected from air. With quality fragrance and airtight glass jars, they hold up well for a year or more, though the scent will be at its best in the first several months.
That’s our deep dive into the wonderful world of wax melts. As you can see, it’s an incredibly simple, clean and creative way to give your home a scent that’s genuinely yours, without reaching for mystery products off a shelf.
And making them yourself is addictive. There’s something relaxing about it, a kind of reconnection with your home that feels wonderful.
If you’re a fan of traditional reed diffusers, I have a homemade version for you in this other post, don’t miss it!
Now I’d love to hear from you. Had you already tried this format, or are you still loyal to traditional candles? Which scents make a place feel like home to you?
Leave me a comment below with your thoughts, or any questions about temperatures or the steps. I love hearing from you and swapping ideas!