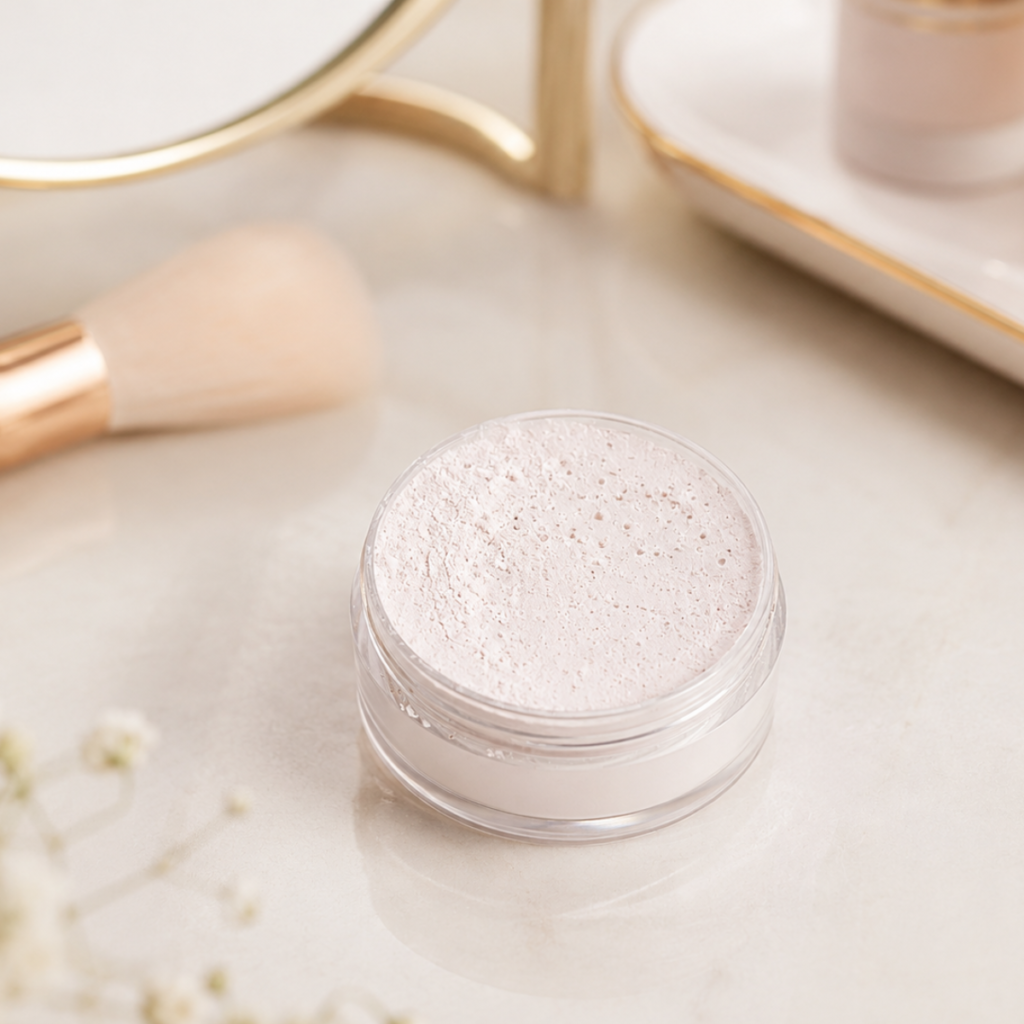
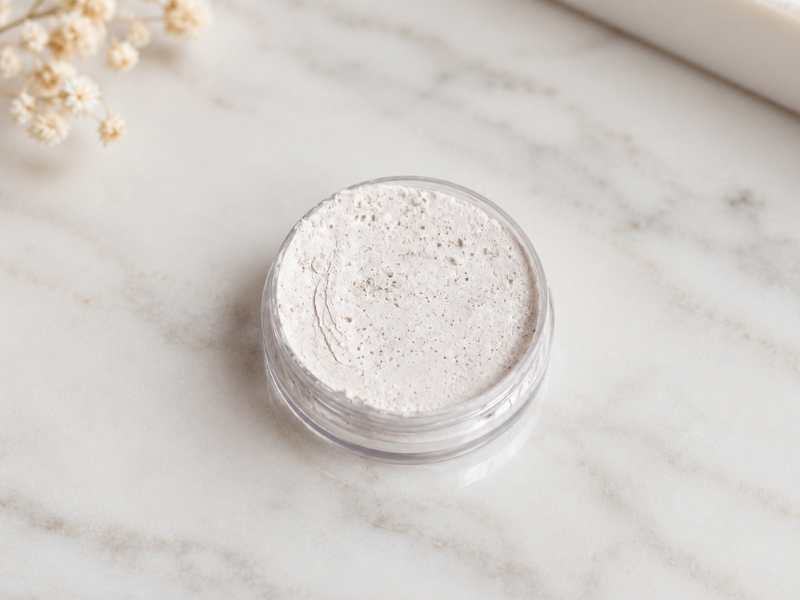
Have you ever stared at your makeup bag wondering about all the unpronounceable ingredients you put on your face every morning? That happened to me a while back. So I decided to make my own translucent setting powder at home.
I realized the answer wasn’t in a high end store, it was in my kitchen pantry. Yes, exactly as you read it. Today I want to invite you to discover the art of making your own translucent powder. It’s a simple process and, above all, a genuinely effective one.
Get ready to change up your beauty routine with this complete guide, where we’ll go through every detail, because you deserve to know exactly what’s going on your skin.
This post contains affiliate links.
Why you might want to switch to homemade translucent powder
The cosmetics industry is fascinating, but it doesn’t always make things easy to understand. When I started looking into what commercial pressed and loose powders contain, I found endless lists of silicones, preservatives and synthetic fragrances. Not all of those are problematic, but for some of us they’re more than our skin wants, and a shorter ingredient list is simply easier to troubleshoot when something doesn’t agree with you.
Making your own powder with natural ingredients like cornstarch isn’t only about saving money, though your wallet will definitely thank you.
Cornstarch is a wonderful ingredient because of how well it absorbs excess oil without leaving skin tight, giving that velvety finish we’re all after.
And by controlling the ingredients yourself, you know exactly what’s going on your face. That said, natural doesn’t mean allergy proof, since plenty of people react to natural ingredients too, so a patch test on your inner arm is still worth doing before your first full use.
The magic behind the ingredients: cornstarch and cocoa
You’re probably thinking, seriously, cornstarch and cocoa? Yes. Nature has some clever solutions for our beauty needs.
Cornstarch is the main mattifying agent. It clings nicely to skin and helps hold makeup in place for hours, keeping those unwelcome shines from showing up mid afternoon. It’s very fine, which means it’s less likely to settle into fine lines, something a lot of us worry about.
Pure unsweetened cocoa powder, meanwhile, is our ally for color. Commercial translucent powders often leave a whitish cast, especially in flash photos. Adding cocoa lets us customize the shade so it melts into your skin tone, whether you’re fair or deeper. It’s essentially color matching on your own terms, like an artist mixing pigments.
Step by step guide to making your own translucent powder
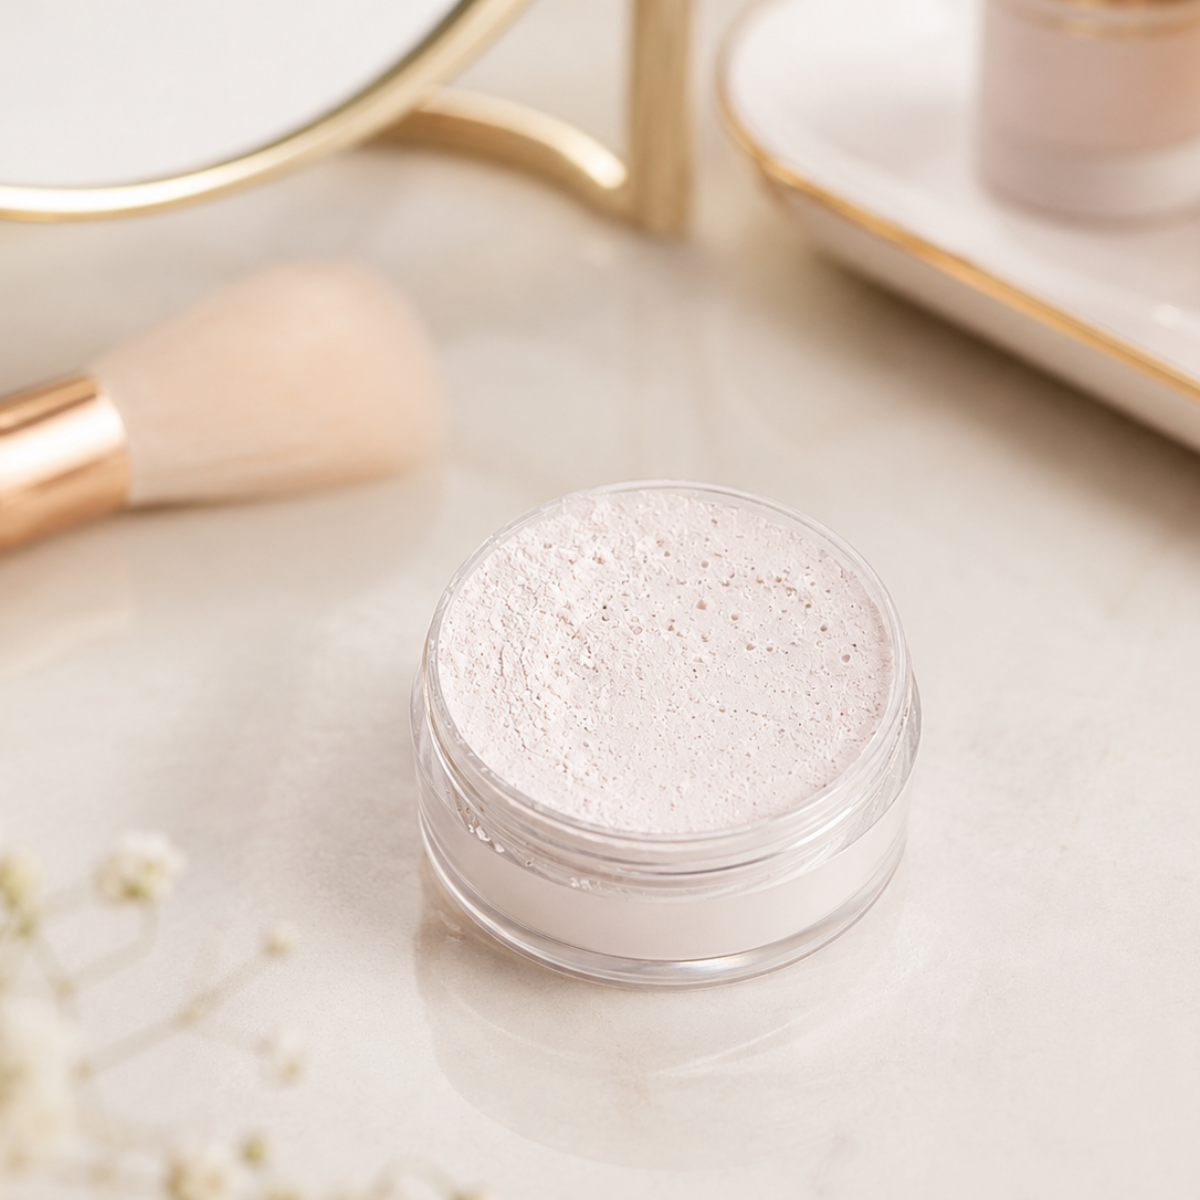
Learn how to make your own homemade translucent setting powder. An easy, natural step by step guide you can try today.
Total Time: 5 minutes
Mix the base
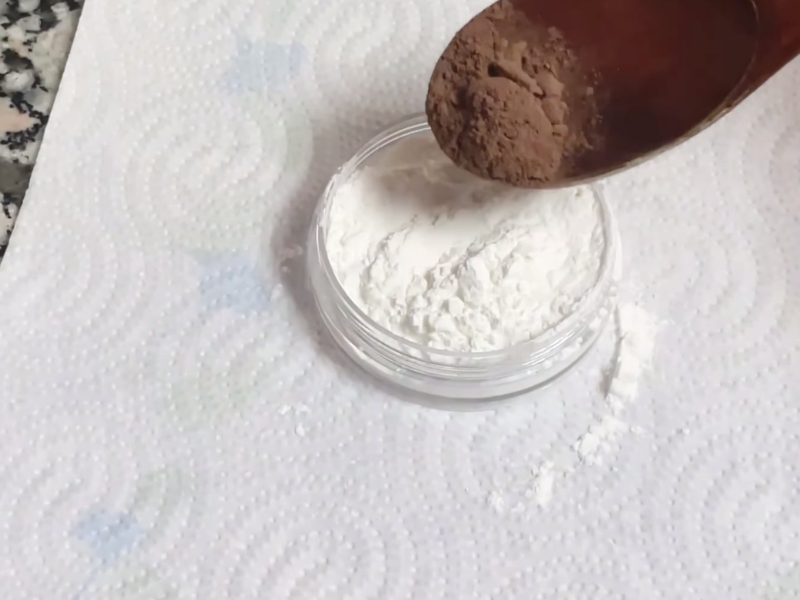
Put the cornstarch in your bowl. Add a little pure cocoa. If your skin tone is fair, start with a quarter teaspoon; if it’s deeper, add a bit more. Work with clean, completely dry tools, since any moisture will shorten the life of the powder.
Sift
Pass the mixture through a fine sieve at least twice. This removes any lumps and makes the powder extremely fine.
Adjust the shade to your skin
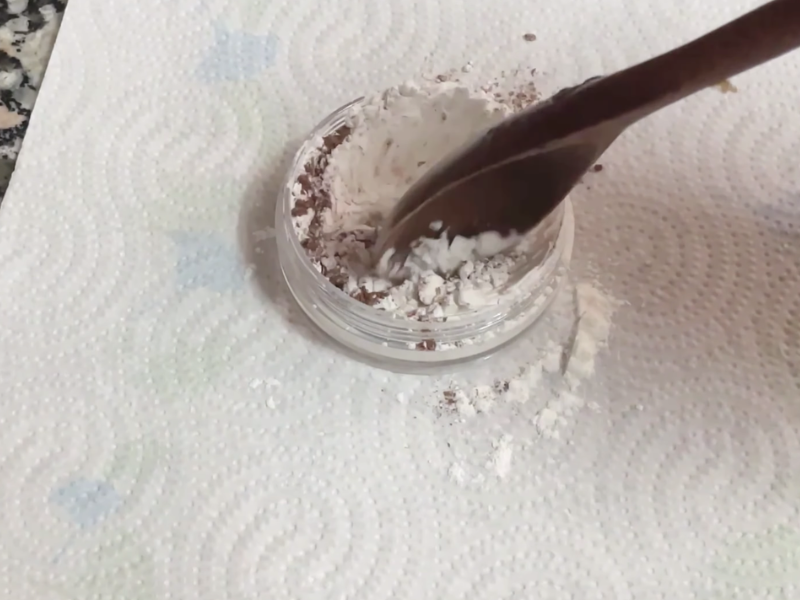
Test a little of the mixture along your jawline. Too light? Add a touch more cocoa. Too dark? A little more cornstarch. Play with it until it disappears into your skin when blended. That’s your perfect shade.
Storage and use
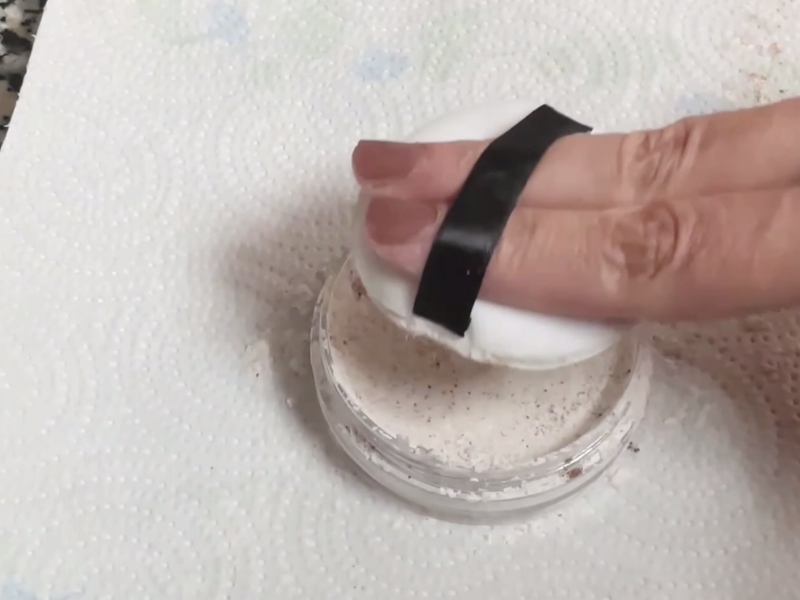
Keep your powder in an airtight jar away from moisture, and label it with the date. To apply, use a large soft brush or a puff, pressing the product onto the skin rather than dragging it. That gives you the matte, velvety effect that lasts through the day.
Tools:
- A small bowl for mixing
- A spoon for combining the ingredients
- A clean, dry airtight container for storing the finished powder
- A fine sieve
Materials: 2 tablespoons cornstarch 1/2 teaspoon pure cocoa powder (unsweetened, with no additives) 1 teaspoon white clay (optional, best if your skin is oily) 1 drop of jojoba oil (optional, only if your skin is very dry)
A note on cinnamon: you’ll see it suggested in some recipes for adjusting undertone, but cinnamon is a common skin irritant and I wouldn’t put it on my face. Cocoa alone gives you plenty of range to work with.
You can watch it on video if you prefer
Customizing your powder for your skin type
Every complexion is different, and the best part of this recipe is that it’s completely adaptable.
Oily skin: the clay trick
If your skin gets shiny quickly, you can boost the absorbency by adding a teaspoon of white clay (kaolin) to the mix. Clay absorbs oil more effectively than starch alone, keeping skin matte longer without touch ups.
Dry or dehydrated skin
If the powder feels too drying, add a single drop of jojoba oil at the end, mixing very patiently so it doesn’t form clumps. Jojoba is the closest thing to our skin’s own sebum, so it conditions lightly without adding greasiness. I’d skip essential oils here, since the face is a sensitive area and a powder isn’t a great way to dilute them. Keep in mind that any oil you add shortens the shelf life, so make a small batch.
Sensitive skin
If your skin reacts to everything, skip the essential oils and the cinnamon. Stick with cornstarch and pure cocoa, which are about as simple as it gets. Cocoa can still cause a reaction in people sensitive to it, so patch test first. Simplicity is your best friend here.
How to apply your powder
Application is everything. It isn’t just about putting powder on, it’s about setting the moisturizer and makeup underneath.
The right brush
Use a large, soft, densely packed powder brush or a puff. What matters is that it can pick up product without dumping it all at once. A stiff brush will just move around the makeup underneath instead of setting it. Wash your brush or puff regularly, since a preservative free powder plus a dirty brush is exactly how contamination starts.
The pressing technique
Instead of sweeping powder across your face, I’d recommend pressing. Load the puff, tap off the excess and press gently onto the areas where you tend to get shiny: the classic T-zone of forehead, nose and chin. Pressing sets the makeup and keeps everything from shifting, which makes it last much longer.
Frequently asked questions about homemade translucent powder
Can it go bad over time?
Because there’s no water in it, it lasts a good while, though not forever. Six months to a year is a realistic window if you keep it somewhere cool and dry with the lid closed. Moisture is the enemy: if water gets into the container, the starch can turn pasty or grow mold. There’s no preservative in here, so always use dry brushes, don’t dip a damp puff back in, and toss it if the smell, color or texture changes.
Why does it smell like chocolate?
It’s unavoidable, but delicious! The scent comes naturally from the cocoa. If it bothers you, you can use slightly less cocoa, or simply let it settle, since the smell on your face isn’t strong at all.
What if I get the color wrong?
No drama. Too dark? Add more cornstarch. Too light? Add a bit more cocoa. The mixture is completely adjustable. Play with it until you find your exact shade. One practical note: cocoa can transfer onto light colored collars and pillowcases, so go easy on the amount.
Can I use it if I have acne?
It depends, and this is where I’d be honest rather than enthusiastic. Some people with acne prone skin do fine with it, but starches like cornstarch can feed the yeast involved in fungal acne and may not suit everyone, and cocoa isn’t ideal for congested skin either. Try it on a small area for a week before committing, and if you’re dealing with persistent or painful acne, a dermatologist will get you further than any homemade powder.
The impact of your choice on the environment
Making your own beauty products isn’t only an act of self care, it’s a small act of care for the planet too. Every year, millions of makeup containers end up in landfills.
By making your own powder and reusing the same container, you’re cutting down on packaging waste. You’re also avoiding the plastic components sometimes found in conventional makeup that end up in the water when we wash our faces at the end of the day.
It’s a small gesture, but multiplied across a lot of us, it adds up.
Investing in your beauty ritual
What I’m suggesting isn’t just a makeup trick, it’s a shift in perspective. It’s about turning getting ready into a conscious ritual. When you make what you put on your skin yourself, you build a different relationship with your body. It’s a moment of pause, creativity and real self care.
Give it a try this weekend. All you need is curiosity, a little cornstarch and cocoa, and the willingness to try something different. It might feel strange at first, but once you see the result, that softness on your skin and how your makeup holds up through the day, you may not want to go back.
I’d love to know how it goes. Did you give the recipe a try? Which proportions worked best for your skin tone? Share your experience in the comments, because we learn so much from swapping our little wins and questions. I can’t wait to hear from you.