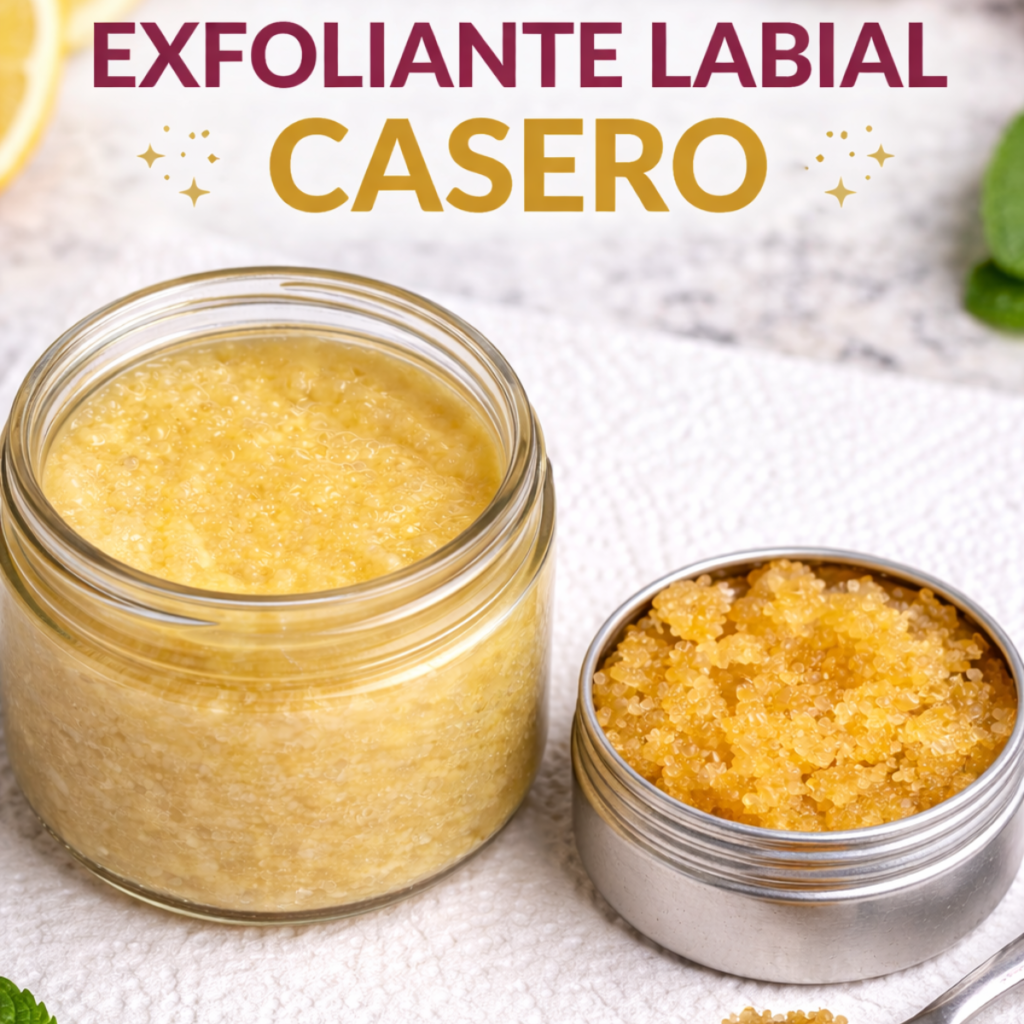
Discover how to get genuinely soft lips. A complete guide to making a homemade lip scrub with natural, effective ingredients.
I’ve always thought that real beauty has a lot to do with how we feel in our own skin, and with the care we put into small details. Lips are probably one of the most delicate and most exposed areas of the body, and yet they’re often the last thing we think about until they start bothering us.
In this post we’re going to talk about why exfoliating them matters, which ingredients suit which skin, and how to make a professional-feeling product without leaving your kitchen. Get ready, because after reading this you’ll never look at a bag of sugar the same way again.
Why exfoliate your lips? It’s more than vanity
We sometimes think exfoliating is just about removing the flaky bits that look bad under lipstick, but it goes deeper than that. The skin on our lips is extremely thin and has no oil or sweat glands. That means it lacks the natural protective layer the rest of our face has, which leaves it vulnerable to everything: cold, wind, indoor heating, even what we eat.
When we exfoliate, we’re helping the natural cell renewal cycle along. By removing dead cells from the surface, we let the newer, healthier skin underneath show. And best of all, massaging the area stimulates circulation. You know that rosy color and slightly fuller look you get after a good lip treatment? That’s blood flow.
Also, if you’re someone who uses lip balm constantly and feels like it does nothing, the answer is usually a lack of exfoliation. If there’s a layer of dead skin sitting on your lips, the balm stays up there acting as a barrier without actually hydrating anything underneath. Exfoliating opens the door so the moisture can get in.
Where exfoliation comes from
I love digging into where these practices come from. Don’t think scrubs were invented by nineties fashion magazines. In ancient Egypt, people used mixtures of honey, oils and fine mineral particles to smooth the skin. Roman women were also expert at using wine sediment and aromatic oils to keep their skin soft.
What we’re doing today is reconnecting with those natural elements, but with what we now know about what actually works. It’s fascinating to think that something as simple as mixing a grain with an oil has been a beauty secret for millennia.
The ingredients that will transform your smile
For a lip scrub to really work, it needs a good balance between two things: an exfoliating agent (the grain) and an emollient (the fat that moisturizes). Let’s break them down so you understand why not just anything will do.
The exfoliating agent, the heart of the mixture
This is where we usually reach for sugar, and there’s a good reason. Sugar granules are hard enough to lift dead skin but soft enough that they dissolve as you work, so the scrub gets gentler the longer you massage rather than harsher. That self-limiting quality is exactly what you want on skin this thin, and it’s why sugar beats salt for lips.
One thing I want to clear up, because you’ll read it on practically every blog including, for a long time, mine: sugar is often said to contain glycolic acid and therefore to exfoliate chemically as well as physically. Sugarcane does contain glycolic acid, but the refined sugar in your pantry is essentially pure sucrose. And even if there were traces, an oil-based scrub with no water in it and no adjusted pH wouldn’t let an acid do anything. The exfoliation here is mechanical, and that’s perfectly good. We don’t need to invent chemistry it doesn’t have.
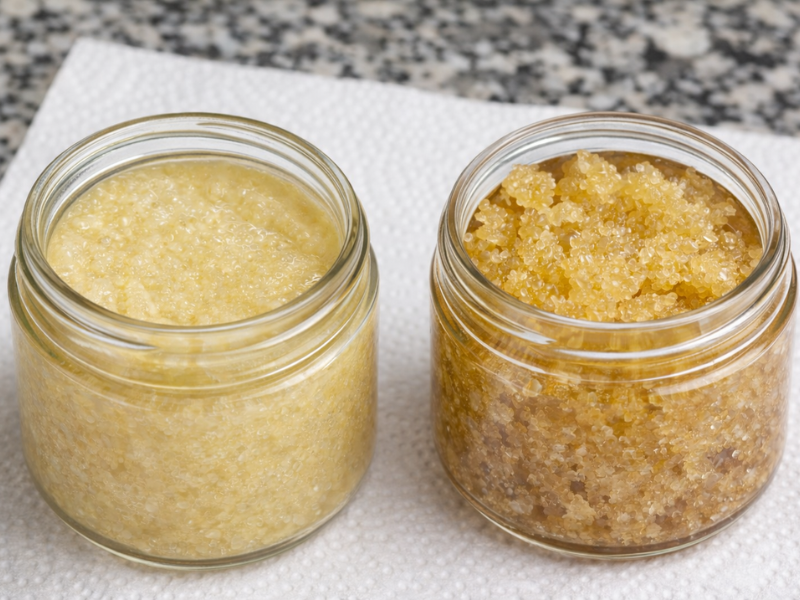
Use white sugar for a standard exfoliation, or brown sugar for something gentler, since the granules tend to be a little rounder and damper. Some people use ground coffee, and while the caffeine is nice in theory, coffee grounds are irregular and sharp-edged, so I’d keep those for body scrubs rather than lips.
Oils and butters, the part that repairs
Without a good oil, the scrub would be far too harsh. The oil lets the grain glide and replenishes the skin’s lipids while you work. My absolute favorite for lip scrubs is virgin coconut oil. It smells like paradise, it’s solid at room temperature (which gives the paste an incredible texture) and it has antimicrobial properties.
But let’s not stop there. Sweet almond oil is a classic for its vitamin E content, and olive oil, that liquid gold, is one of the best skin conditioners there is.
Sugar and oil are the pillars, but there are a couple of allies I always keep on hand because they’re what really deliver when lips are in emergency mode.
Honey, our grandmothers’ liquid treasure
I can’t imagine natural lip care without honey. Besides being a fantastic natural humectant (meaning it draws water toward the skin), honey is a first-rate healer. If you have those small cracks that sometimes actually hurt, honey works like an invisible bandage while the tissue repairs. Look for a mild one like wildflower or rosemary honey, which add a little extra nourishment.
Vitamin E, the keeper of your scrub
I always have a little bottle of vitamin E on my shelf. It’s a good antioxidant, but its most practical job in this recipe is keeping the oils from going rancid so quickly. Adding one capsule or a couple of drops means your scrub stays in good condition for much longer. Just don’t overdo it: a little goes a long way, and more than about half a percent of the mixture makes it sticky without adding any benefit.
Recipe one: the classic sugar scrub
This is where I get creative. I’ve tried a lot of proportions and this is the one that, to my taste, balances grip and softness perfectly. I don’t want a stiff paste that’s hard to spread, but I don’t want oil with four grains of sugar floating in it either.
The proportions
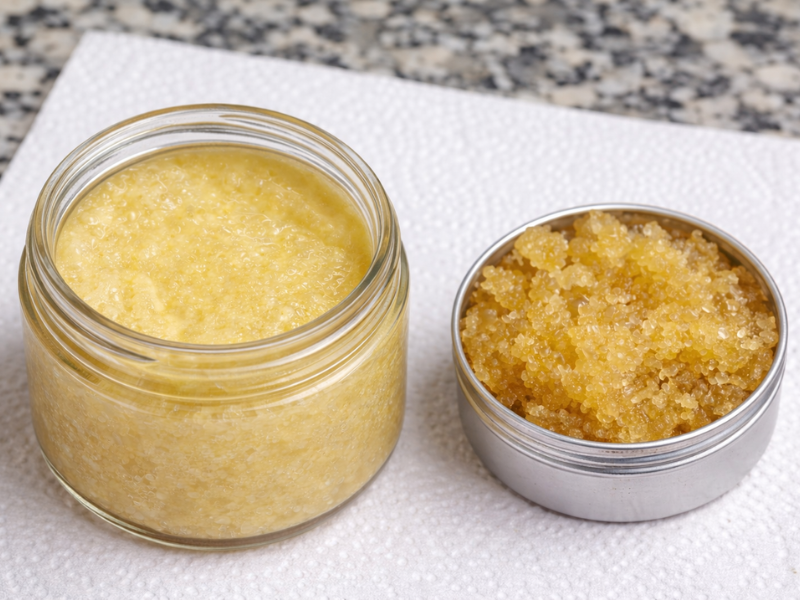
Make a small amount so it’s always fresh. This much lasts me three or four weeks:
80% brown sugar
18.5% oil
1% flavor or essential oil (completely optional)
0.5% vitamin E
If you don’t have a scale that measures to a tenth of a gram, here’s the same thing in kitchen terms, which is how I actually make it most days: 4 teaspoons of sugar to 1 teaspoon of oil, plus 2 drops of vitamin E and 1 drop of flavor. That gives you a small jar’s worth and lands you within a hair of those percentages.
How to make it
Start with a small glass bowl. I like glass because it’s easy to keep clean and doesn’t hold onto smells. Put the sugar in first, then add the oil. If your coconut oil is very solid because it’s winter, warm it slightly in your hands or over a double boiler, but only enough to make it workable, not fully liquid.
Stir with a small wooden spoon, calmly, enjoying the process. It’s a little self-care ritual before you’ve even used the product. Finally, add the vitamin E and the flavor. The result should look like wet sand: dense and glossy.
Customize it to your mood
One of the advantages of making your own products is that you can play with the senses. Depending on how I wake up, I give my mixture a different twist. Here are my three favorite variations.
Mint for freshness
If I have an event, or I just want my lips to feel more alive, I add a single drop of peppermint essential oil. Mint creates a light tingle that boosts microcirculation, and the visual effect is slightly fuller lips with a pretty rosy color. One drop is genuinely the limit here, and if it stings rather than tingles, that’s irritation talking, so rinse it off and use less next time.
Vanilla and coconut, the comforting one
This is my evening mix. Vanilla is warm and relaxing. I like using natural vanilla extract (the baking kind works if it’s good quality, though bear in mind most are alcohol based, so use just a drop). It’s the scrub I use during a long Sunday bath. Pure comfort, and it leaves a delicious taste.
Orange for brightness
Sometimes I use a little organic orange zest or a drop of sweet orange essential oil. Citrus is pure cheerfulness. One caveat worth knowing, though: cold-pressed citrus oils and fresh zest are phototoxic, and lips get more direct sun than almost anywhere else on your body. Save this one for evenings, or use a steam-distilled orange oil, which doesn’t carry that risk.
Recipe two: the creamy lip scrub
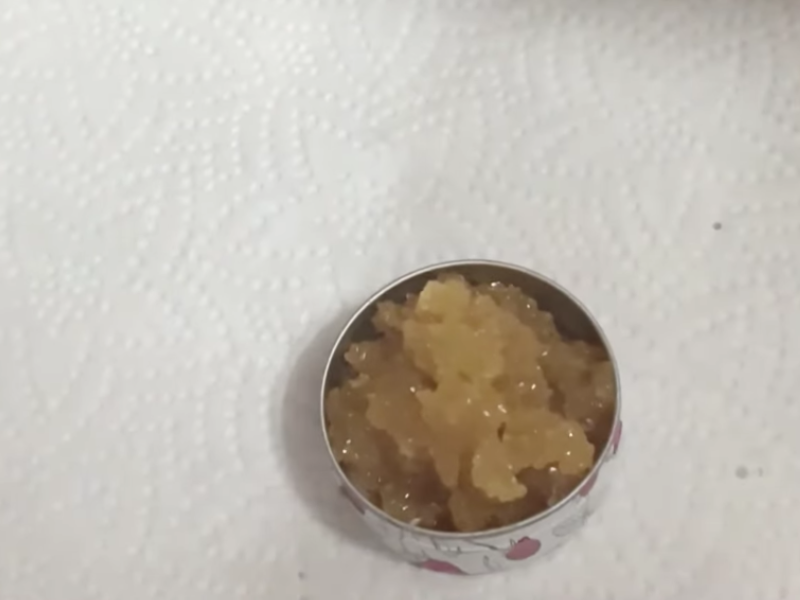
This one is softer and creamier. Ideal if your lips are sensitive, or if you want to use it more often.
The proportions
Again, make a small batch so it stays fresh.
60% brown sugar
23.5% oil
15% shea butter
1% flavor or essential oil (completely optional)
0.5% vitamin E
In kitchen terms: 4 teaspoons of sugar, 1½ teaspoons of oil and 1 teaspoon of shea butter, plus 2 drops of vitamin E and 1 drop of flavor.
How to make it
Start by melting the shea butter with the oil over a double boiler. Then let the mixture cool, stirring now and then. Once it’s completely cool, you’ll see it has a creamy texture.
That’s the moment to add the sugar and mix until it’s fully incorporated. If you add the sugar while the mixture is still warm it’ll dissolve, and you’ll lose the exfoliation entirely, so do wait.
Finally, add the vitamin E and the flavor. The result should be like a dense, soft face cream.
How to use your lip scrub
It isn’t just a matter of rubbing and being done. For the scrub to do its job without irritating your skin, follow a few simple steps. First, make sure your lips are clean, with no lipstick or gloss left on. Take a pea-sized amount on your ring finger, which applies the least pressure.
Work in very gentle circles across the upper and lower lip. There’s no need to press, let the sugar do its job. I spend about a minute on this massage. Then leave the mixture on for another two minutes so the oils and butter sink in. Finally, wipe it off with a cotton pad dampened in warm water, or just rinse with water. The softness afterward is genuinely startling.
How to store it so it lasts
The first thing to be clear about is that since this is something we make in the kitchen with no synthetic preservatives, hygiene matters. You don’t need to set up a laboratory, but you do need a bit of care.
The right container
A small glass jar is your best option. I tend to reuse little jam jars from hotels, or empty cream pots. Glass is the cleanest thing there is and doesn’t react with oils. If the jar is dark glass, even better, since light degrades the oils, but if not, any bathroom cabinet will do.
Before you fill it, make sure the jar is clean and, above all, completely dry. Water is the enemy of these homemade mixtures, because water is where mold and bacteria appear. If there’s water left in the jar, your scrub will turn within days.
How long you can keep it
Made with coconut or olive oil and sugar, the mixture will keep happily for three or four weeks at room temperature, as long as it isn’t excessively hot. If your house runs warm, put it in the refrigerator. It’ll firm up a little, but it softens right away with the warmth of your fingers.
One trick for making it last is not putting your fingers straight into the jar. I know that’s the easy way, but our hands always carry bacteria. Use a little wooden stick, a coffee spoon or even the handle of a clean spoon to scoop out what you need. That way the rest of the jar stays pristine. And a related point: don’t double dip after touching your lips, since the moisture that comes back on your finger is exactly what spoils it.
Frequently asked questions
How often should I exfoliate my lips?
Don’t overdo it. Lip skin is very thin, and exfoliating daily will leave it raw. Once a week is normal, or twice at most if you’re getting a lot of flaking from cold or wind. Listen to your skin: if your lips turn red or sting, stop. Less is more here.
Can you eat the scrub?
Technically you could, since it’s sugar and oil, which are food. In fact it’s hard not to lick your lips because it tastes good. But bear in mind the whole point is removing dead skin, so swallowing that isn’t the most appealing idea. And if you’ve added any essential oil, even mint, you definitely shouldn’t be ingesting it. Use it for what it’s for and rinse well afterward.
What if my lips are cracked or broken?
This one matters. If your lips are split, bleeding or have any open sore, don’t exfoliate. Sugar is an abrasive and all you’ll do is open the wound further and hurt yourself. In that case, use honey or a very rich balm and wait for the skin to close. Once it’s healed, then you can exfoliate to remove whatever dry skin is left.
And if your lips crack persistently and never quite heal, especially at the corners of your mouth, that’s worth showing a doctor rather than treating at home. It can be a sign of something a scrub won’t fix.
White sugar or brown sugar?
Use whatever’s in your pantry. White sugar tends to have smaller, sharper granules, so it scrubs a bit harder. Brown sugar is usually coarser and damper, which makes it gentler. If your lips are very sensitive, go with brown. If you want a deeper clean, white works beautifully. You can also mix them and get the best of both.
The step everyone forgets
A lot of people exfoliate and then leave their lips as they are. Big mistake. Exfoliating removes the protective layer of dead cells and leaves the new skin exposed. If you don’t moisturize quickly, it’ll dry out twice as fast.
As soon as you’ve rinsed the scrub off with warm water and patted your lips dry (patting, not rubbing with a towel), put on a good lip balm. It can be a store-bought one you like, one you’ve made yourself, or simply a drop of coconut or olive oil. Your skin will drink in the moisture at that moment, and the soft effect will last far longer.
Learn how to make a lip scrub at home with sugar, oil and honey. A quick, cheap way to keep your lips soft all year round.
Total Time: 5 minutes
Start with the sugar
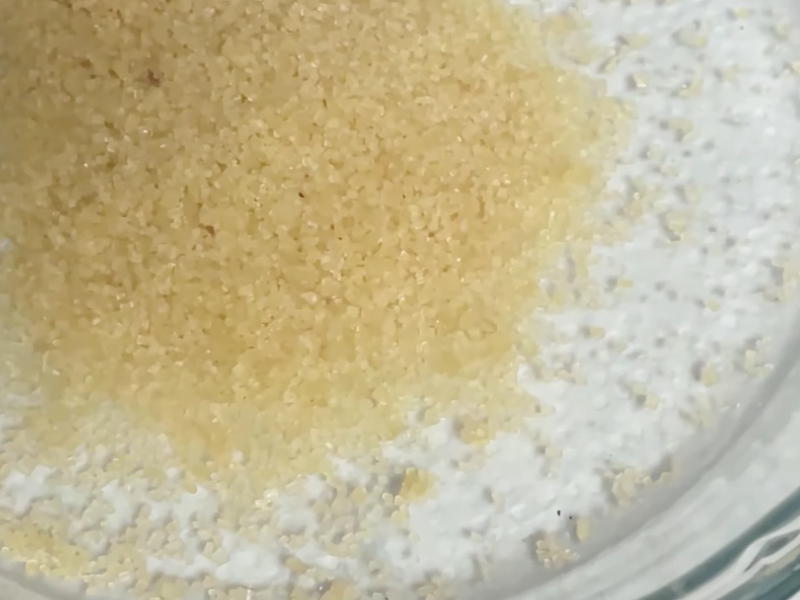
Put the sugar in the bowl. Choose white sugar for a stronger exfoliation or brown for a gentler one.
Add the oil
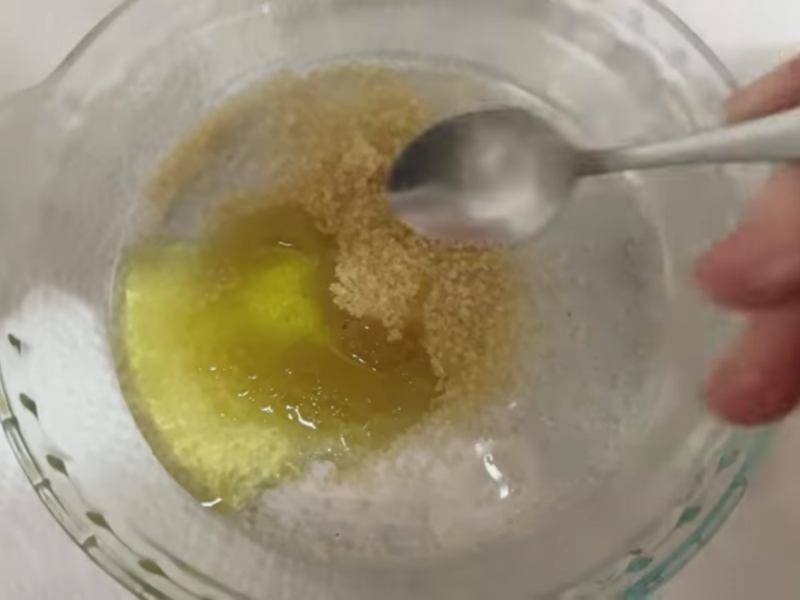
Pour the oil over the sugar. If your coconut oil is very hard, soften it slightly with the warmth of your hands before mixing.
Mix well
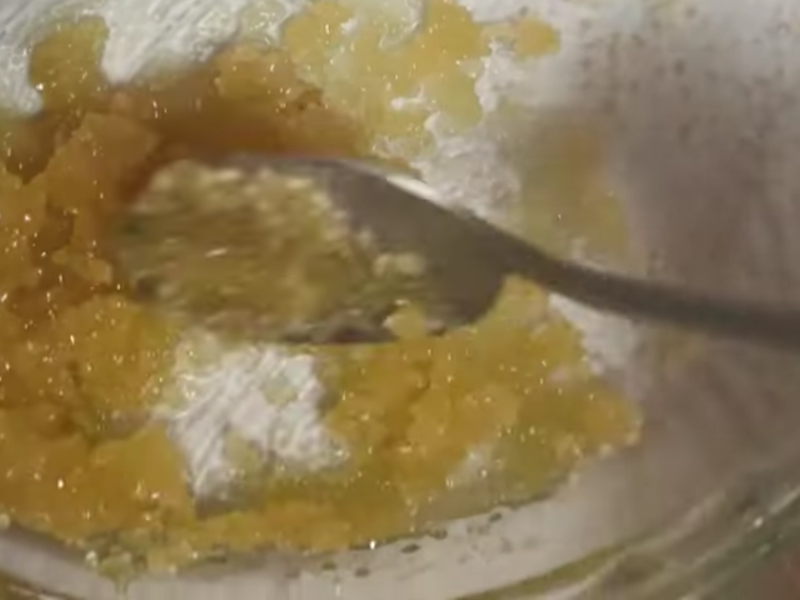
Stir everything with the spoon until it looks like wet sand. If it’s too runny, add a little more sugar. If it’s too dry, add a few more drops of oil.
Store and use
Transfer the mixture to a clean, dry jar. To use, take a small amount, massage your lips for a minute and rinse with warm water.
Estimated Cost: 1 USD
Supply:
- 4 teaspoons brown sugar
- 1 teaspoon oil (coconut, olive or almond)
- 2 drops vitamin E
- 1 drop flavor or essential oil (optional)
Tools:
- A small glass bowl
- A wooden or plastic spoon
- A small jar with a lid
I hope that clears up any doubts about getting started. As you can see there’s no great science to it, and the results show from the first minute. I love making it on Sunday afternoons, as part of my wind-down before the week begins.
I’d really like to hear how it goes if you try it. What ingredients did you have at home? Did you prefer it with coconut oil or with good old olive oil? In the end, the best part of this is that everyone adapts it to what they have and what they like.