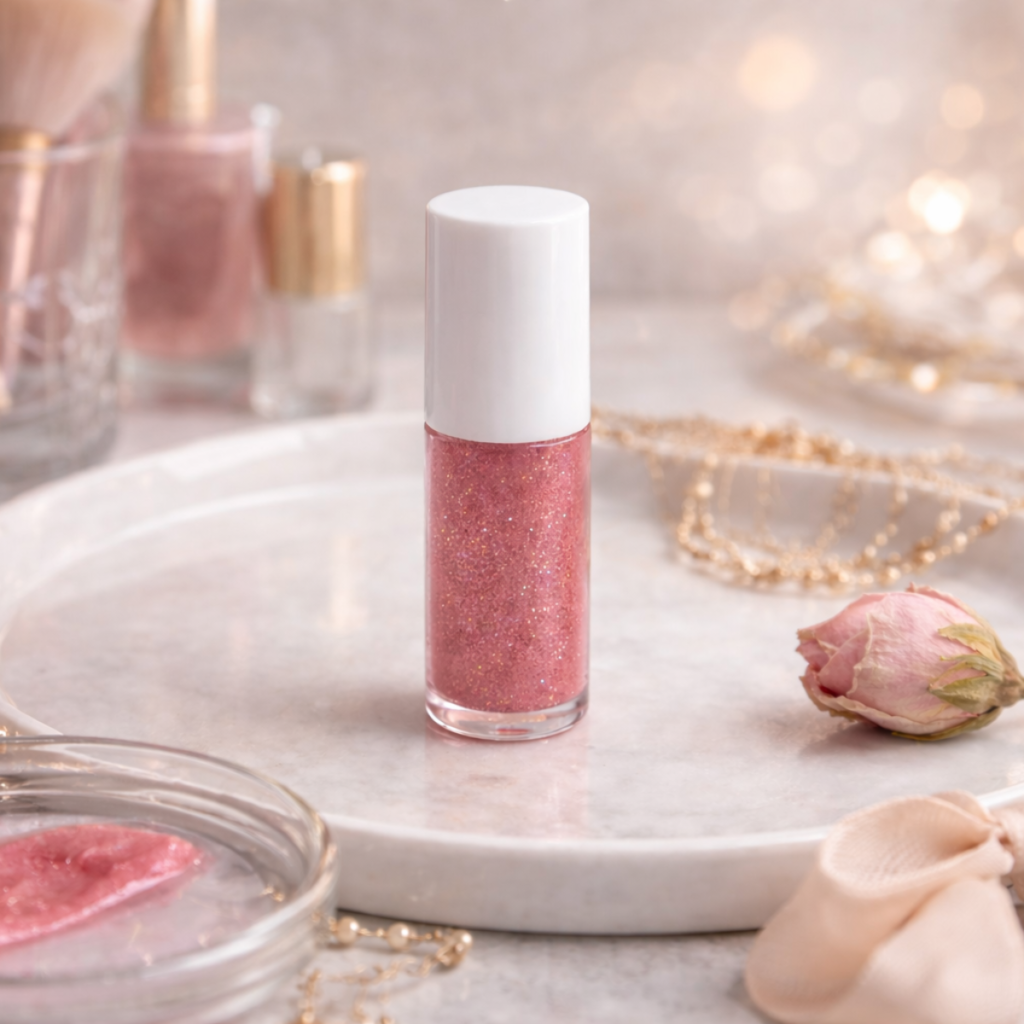
Learn how to make your own homemade lip gloss with candelilla wax, castor oil, vitamin E and natural micas. An easy, vegan, endlessly customizable formula. Everything you need to know is right here.
Making your own lip gloss lets you control every single component. You can dial in the texture, the color and the scent exactly how you want them. You can also adapt the formula to the season, to your own preferences or to what your skin needs. What more could you ask for?
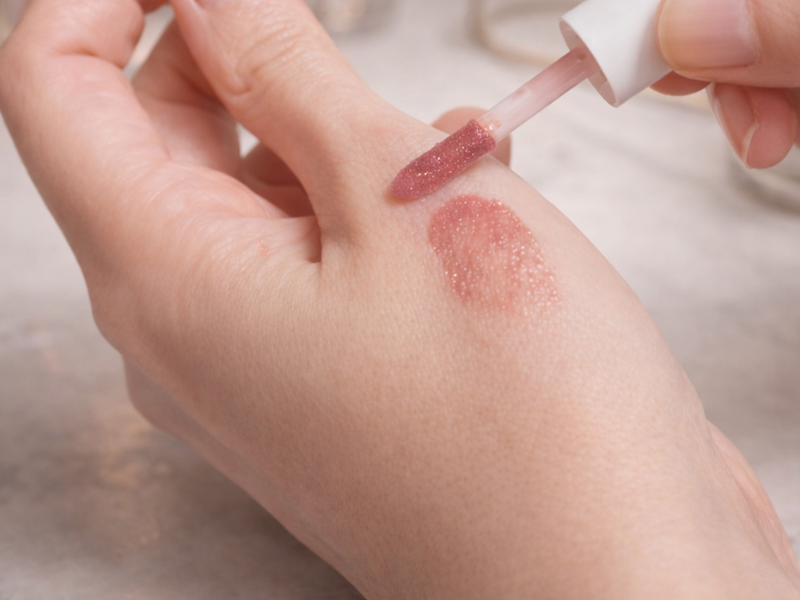
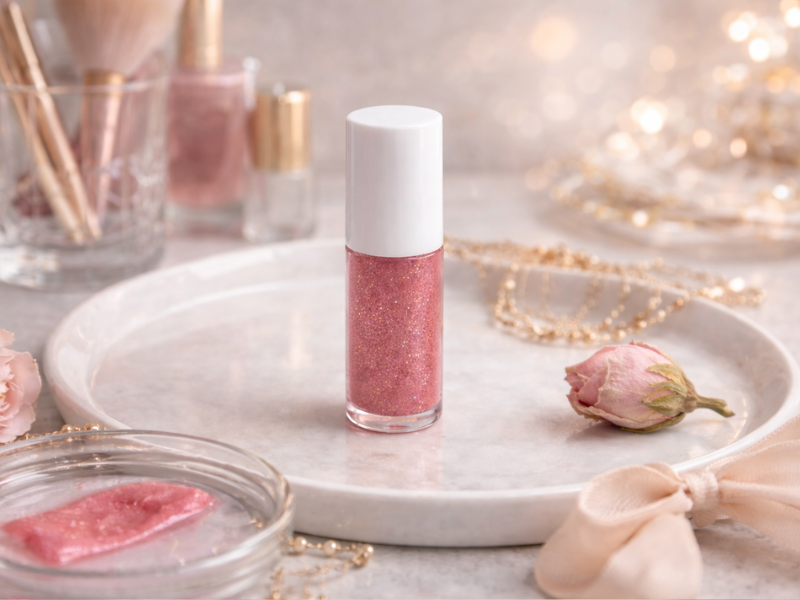
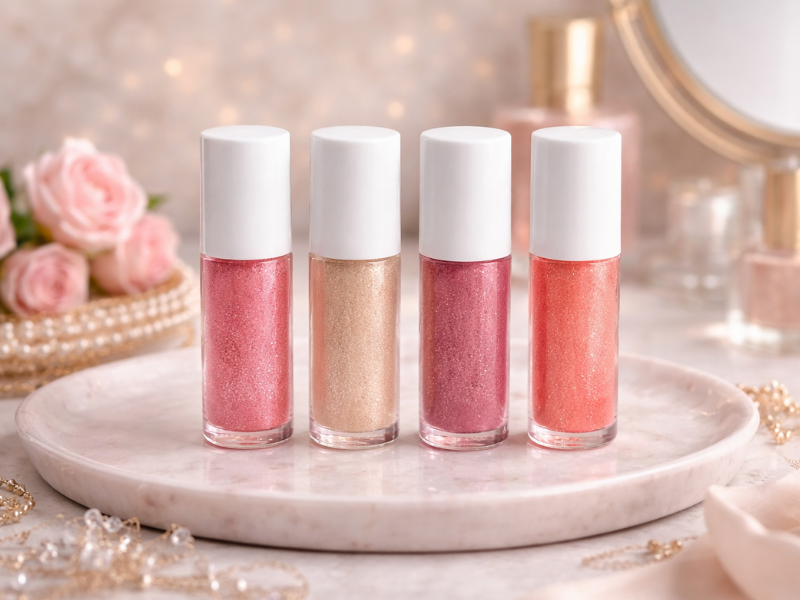
The key ingredients and what they do.
Candelilla wax.
Candelilla wax is a plant wax that comes from Euphorbia cerifera, a shrub native to Mexico. It’s an excellent vegan alternative to beeswax. Its main job is giving the gloss structure and body, keeping it stable with that shiny finish we all love. It also holds up well to heat, which makes it perfect if you live somewhere warm.
Castor oil (or another oil you prefer).
Castor oil, pressed from the seeds of Ricinus communis, is prized for its thick texture and high natural shine. It’s humectant and moisturizing, which helps keep lips soft and nourished. It’s one of the most widely used oils in lip gloss because it gives that slightly tacky finish that makes the gloss stay put longer.
Vitamin E.
Vitamin E, or tocopherol, is a natural antioxidant that protects the oils from going rancid and helps extend the shelf life of your product. It’s also good for the skin, helping fight free radical damage. A few drops in your homemade gloss improves the formula and gives your lips a little extra nourishment.
A word on amounts, because this one trips people up: vitamin E works at very low levels, around 0.5 to 1% of the total. More isn’t better. Past that point it adds nothing, makes the texture sticky and can actually speed up oxidation instead of slowing it down. For a batch this size, two or three drops is exactly right.
Natural micas.
Micas are mineral pigments used to add color and shimmer. You’ll find a huge range of shades and finishes: matte, pearl, metallic or iridescent. It’s important to choose cosmetic-grade micas that are certified and, where possible, ethically sourced. Because they’re such fine powders, they blend into the formula easily and let you customize every gloss you make.
One thing to check carefully: not every cosmetic mica is approved for lips. Plenty are labeled for eyes or soap only. In the US, look for colorants that are FDA-approved for lip use, and if the supplier doesn’t state it clearly, assume it isn’t.
What you’ll need.
Before you start, make sure you have everything on hand. You don’t need much, but working clean and safely matters.
- A heatproof container, like a small glass or stainless steel cup.
- A saucepan for the double boiler.
- A silicone spatula or wooden spoon.
- A syringe or dropper for filling the tubes.
- Lip gloss tubes or small jars, clean and completely dry.
- 70% rubbing alcohol to sanitize your equipment.
- Nitrile gloves if you’d rather avoid direct contact.
- A scale that reads to 0.01 g. The amounts here are tiny, and a regular kitchen scale won’t see the difference.
How to make lip gloss, step by step.
The base formula.
- 0.75 g candelilla wax (about 9%).
- 7.15 g cold-pressed castor oil (about 90%).
- 0.08 g pure vitamin E, roughly 2 to 3 drops (about 1%).
- Mica to taste, starting with the tip of a knife.
That comes to about 8 g, enough for one small gloss tube. I’ve given the percentages alongside so you can scale it up easily: for a 30 g batch, that’s roughly 2.7 g wax, 27 g castor oil and 8 drops of vitamin E.
Step 1: Melt the wax.
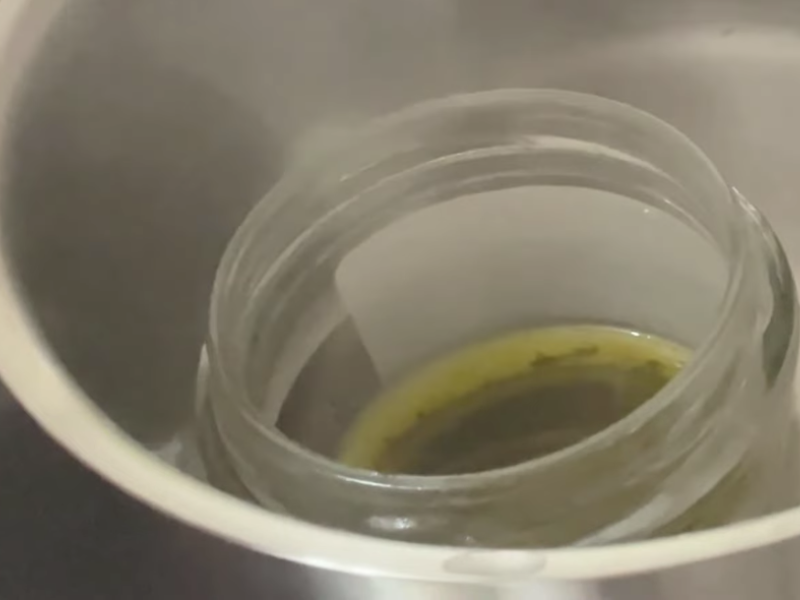
Put the candelilla wax in your heatproof container and melt it in a double boiler together with the oil. Stir gently to help it along. Keep the heat low so the wax doesn’t overheat.
Step 2: Add the vitamin E.
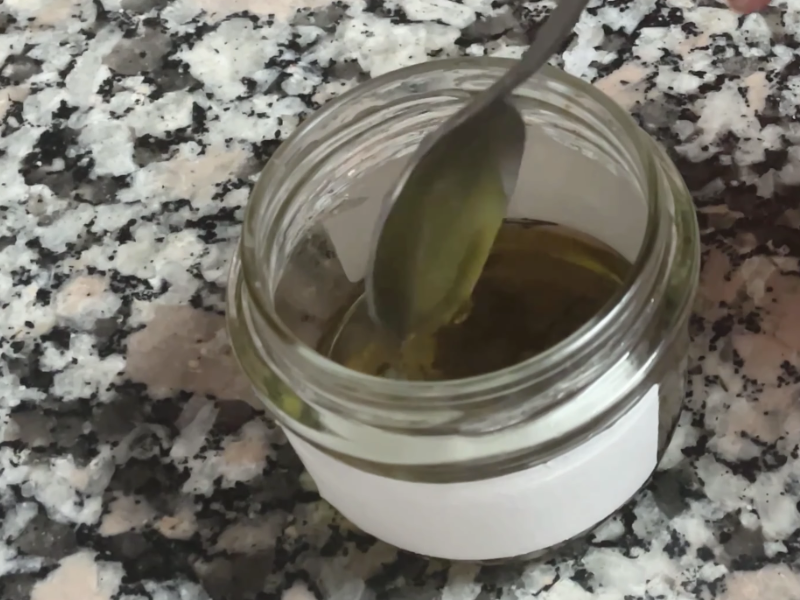
Take the container off the heat. Let the mixture cool a little, but not enough to start setting, then add the vitamin E. Stir carefully so it’s distributed evenly through the base.
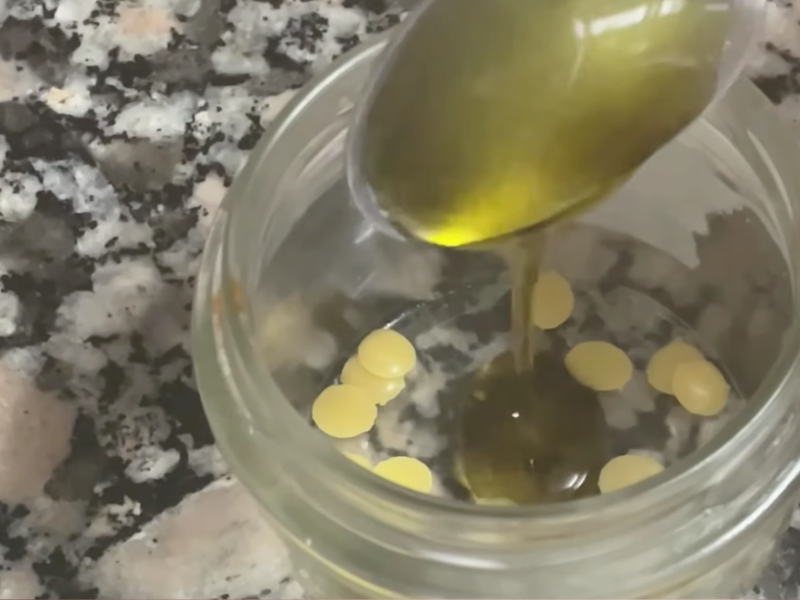
Step 3: Add the mica.
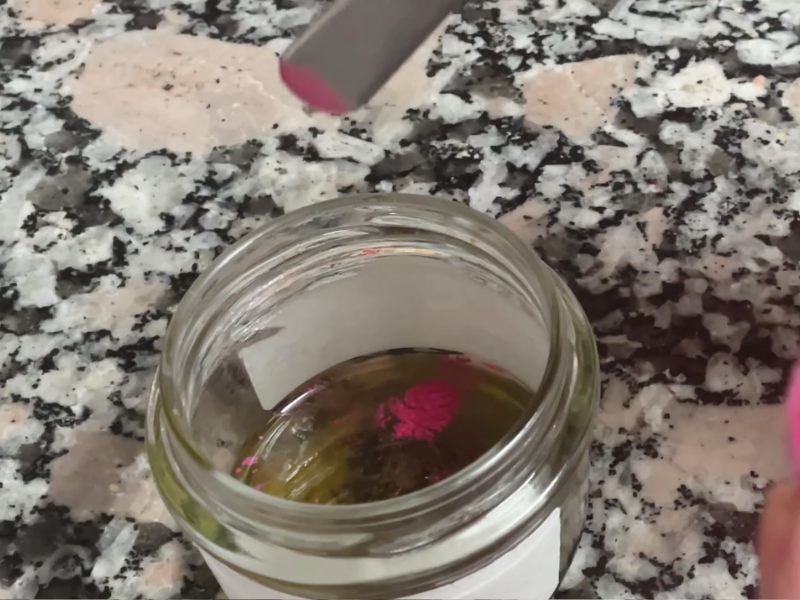
Add the mica a little at a time. Start with the tip of a knife and mix thoroughly before deciding whether you want more. If you’re using several shades, make sure they’re fully blended so the color comes out even.
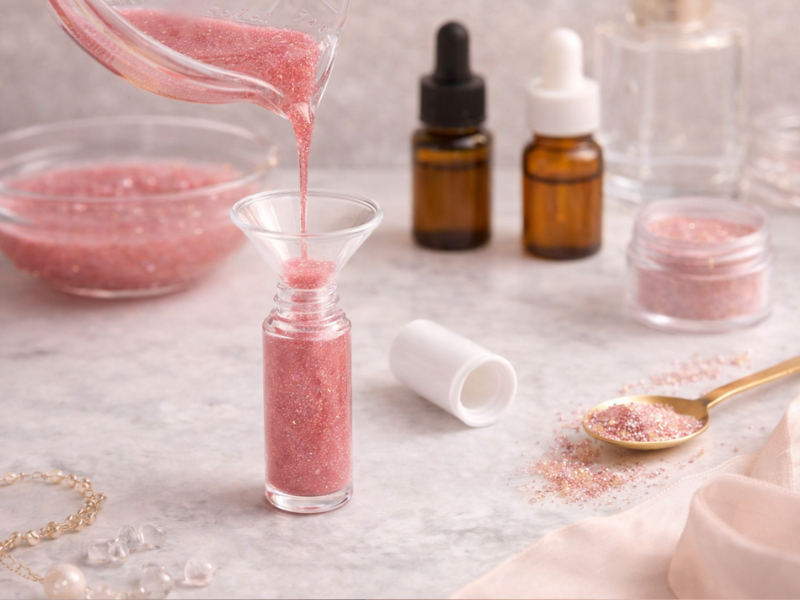
Step 4: Fill the tubes.
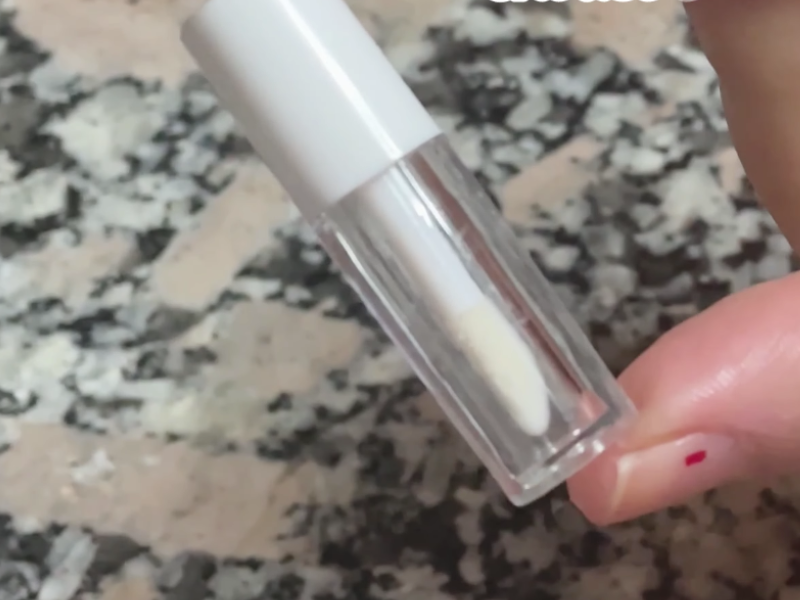
Using a syringe or dropper, fill the tubes or little jars you’ll be keeping your gloss in. Do it while the mixture is still liquid. Let it set before capping.
Once it’s cool, check the consistency. If it’s too firm to come out of a doe-foot applicator comfortably, remelt it with a little more castor oil. If it feels too runny, add a pinch more wax. This is the one part that takes a batch or two to dial in.
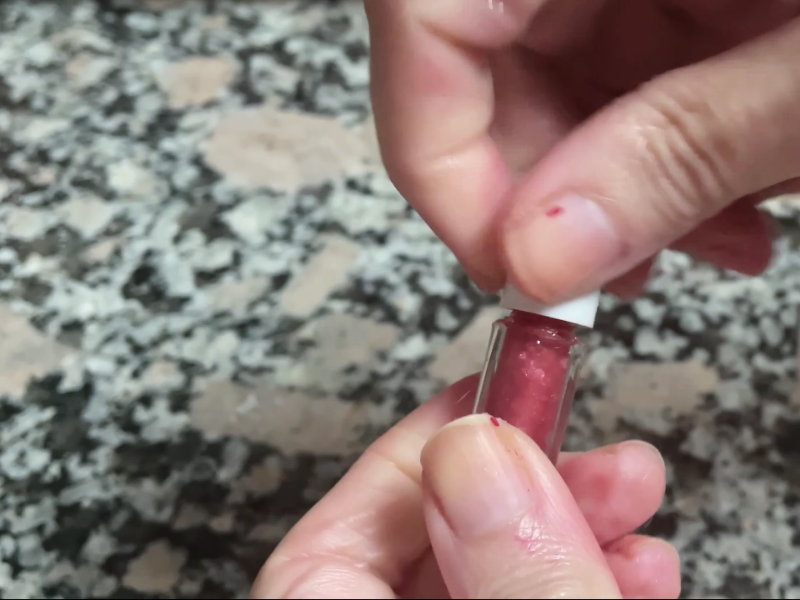
You can watch it on video instead if you’d rather
How to store your homemade lip gloss.
Keep your glosses somewhere dry, out of the sun and away from heat. The vitamin E helps extend the shelf life, but if you notice a change in smell or color over time, don’t use it. If your tube has a doe-foot or sponge applicator, clean it now and then so bacteria don’t build up. Homemade glosses will keep around six months in good condition.
Since there’s no water in this formula, it doesn’t need a preservative. That also means water is the thing to keep out of it — don’t add anything wet, and make sure your tubes are bone dry before you fill them.
Making it your own.
One of the advantages of making it yourself is that you can adapt it to whatever you’re in the mood for. Here are a few ideas:
-Use oils that already have a natural scent, like virgin coconut oil or hazelnut oil.
-Add a few drops of a cosmetic flavor oil like mint, vanilla or sweet orange. Check that it’s meant for lip products specifically, since not every fragrance oil is.
-If you want something flashier, go for pearlescent micas or add a pinch of glitter. It has to be cosmetic glitter approved for lips, though — craft glitter is cut glass or plastic as far as your mouth is concerned, and it doesn’t belong anywhere near it.
-For a more natural tint, infuse the oil with dried rose or calendula petals to get a soft shine with barely-there color. Make sure the petals are completely dry and strain the oil thoroughly, since any moisture will shorten how long it keeps.
Frequently asked questions about homemade lip gloss.
Can I swap the candelilla wax for something else?
Yes. If you don’t have candelilla, or you’re not making vegan cosmetics, beeswax works. The texture changes slightly, a little creamier, but it still does the job. Two things to know: beeswax melts at a lower temperature, and it’s a softer wax, so you’ll need roughly twice as much to get the same firmness.
Can I make gloss without pigment?
Yes. If you prefer something more natural, you can make a completely clear gloss, or one with just a light scent. You can even make a purely moisturizing gloss with no color at all, if what you’re after is nourishment and protection.
How long does homemade lip gloss last?
It depends on the quality of your ingredients and how you store it. Generally, up to six months if it’s kept well and doesn’t get contaminated. Keep an eye out for any change in smell or texture over time.
Is there a matte version?
Not really. Lip gloss is shiny by definition. For a matte effect you’d be better off making a tinted lip balm or a solid lipstick with a velvety texture. The formula and the type of pigment would both be different.
How much mica is safe for lips?
Assuming you’re using a mica approved for lip use, you can go up to around 3% of the total mixture. In practice, a small pinch per tube gives you plenty of color and shine — start with the tip of a knife and build up from there, because it’s much easier to add than to take away.
Can I make gloss without any wax?
You can, though the texture will be much runnier. Some glosses are made with thick oils alone, like castor and jojoba, but they won’t cling or last the same way.
Can I use liquid colorant instead of mica?
Only if it’s approved for lips and stable in an oil base. A lot of liquid colorants are water-based, so they won’t blend into oils and will simply separate out.
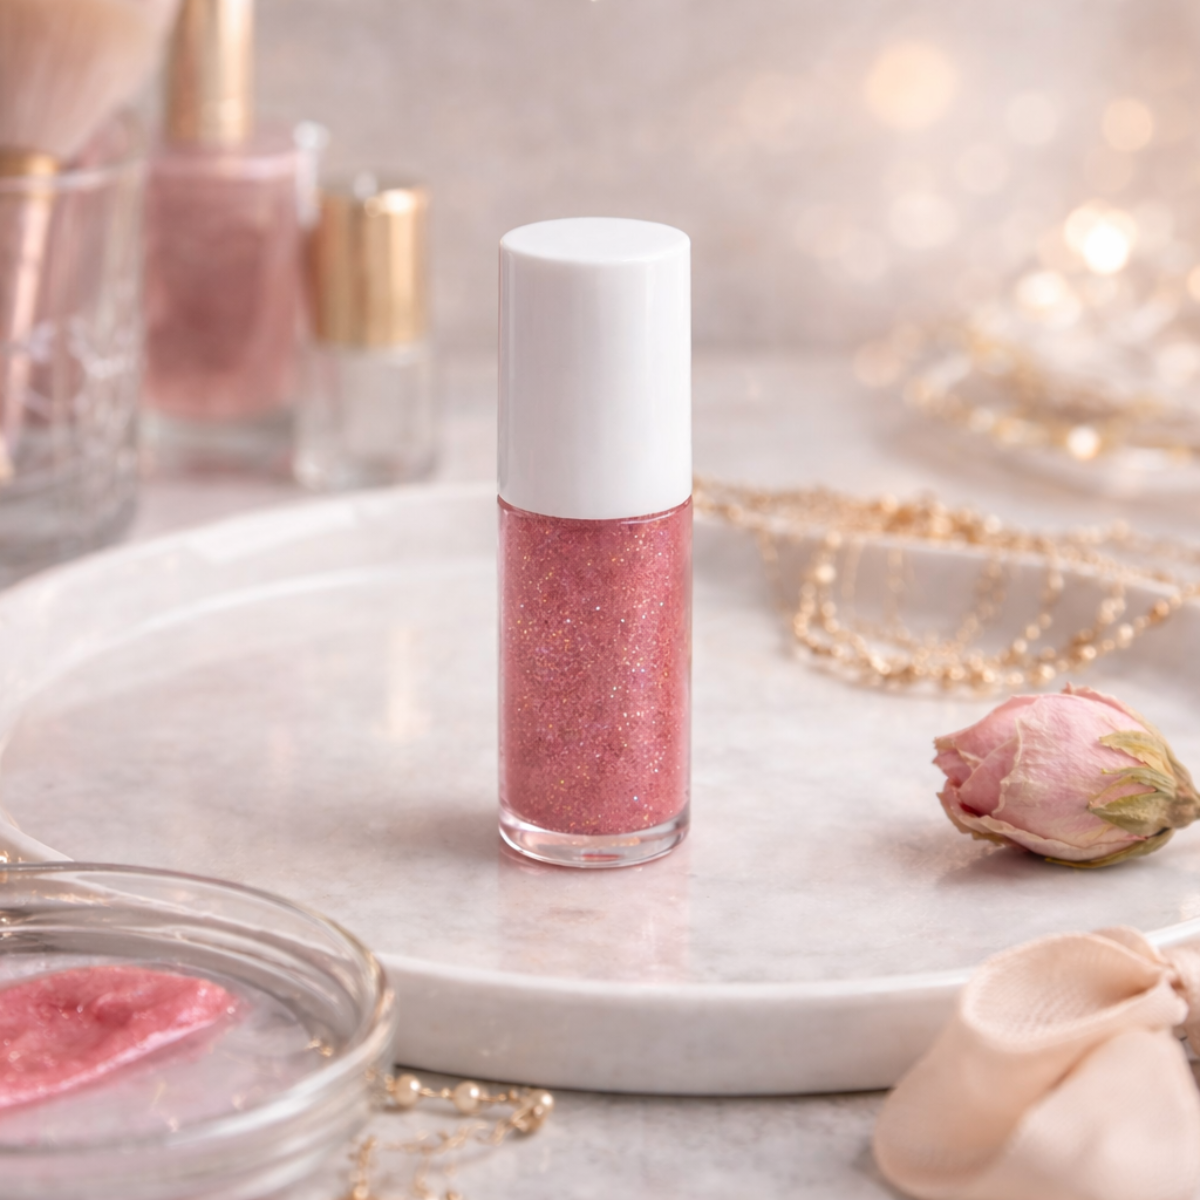
A homemade gloss with natural ingredients, fully customizable and beautifully smooth. Great for everyday use, for gifting, or as part of your self-care routine.
Total Time: 10 minutes
Melt the wax
Melt the candelilla wax in a double boiler.
Add the oil
Add the castor oil and stir until combined.
Add the vitamin E
Take it off the heat and stir in 2 to 3 drops of vitamin E.
Color it
Add lip-safe mica a little at a time until you get the shade you want.
Fill and cool
Pour into the tubes and let it cool completely before capping.
Tools:
- Heatproof cup or jar
- Saucepan for a double boiler
- Silicone spatula
- Syringe or dropper
- Gloss tubes or small jars
- Scale accurate to 0.01 g
- 70% rubbing alcohol for sanitizing
Materials: 0.75 g candelilla wax 7.15 g cold-pressed castor oil 0.08 g pure vitamin E (2-3 drops) Lip-safe mica, starting with a small pinch
Making your own lip gloss is a lot more than a craft project. It’s a way of taking care of your skin, of connecting with what you use every day and of expressing your own style. It lets you play with colors, scents and textures, knowing that what’s on your lips is something you created. It’s simple, it’s quick and it’s completely customizable. Once you’ve tried it, going back is hard.
Have you ever made your own gloss? What shade would you want to create? Do you lean toward citrus scents or something sweeter? I’d love to know. If you have questions, or you want to share how yours turned out, leave a comment. Your experience might be exactly what inspires someone else.