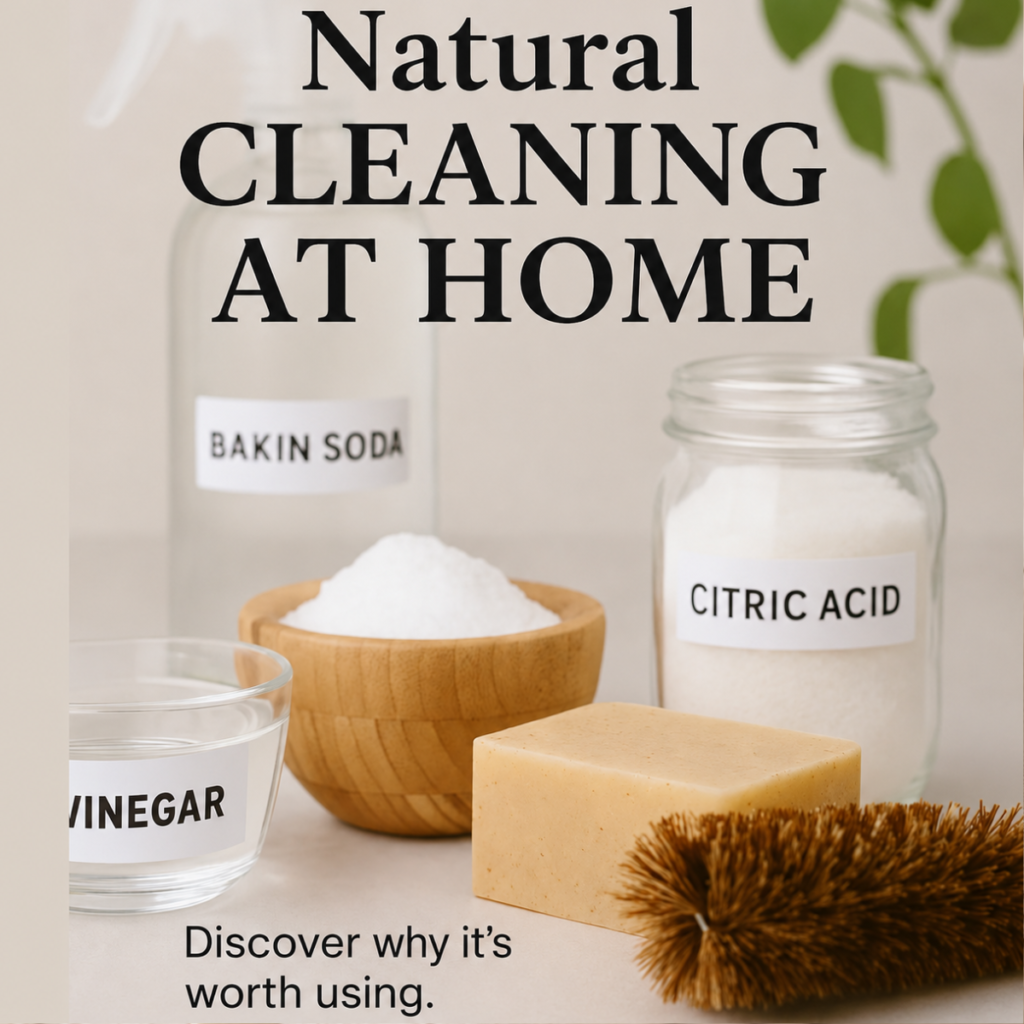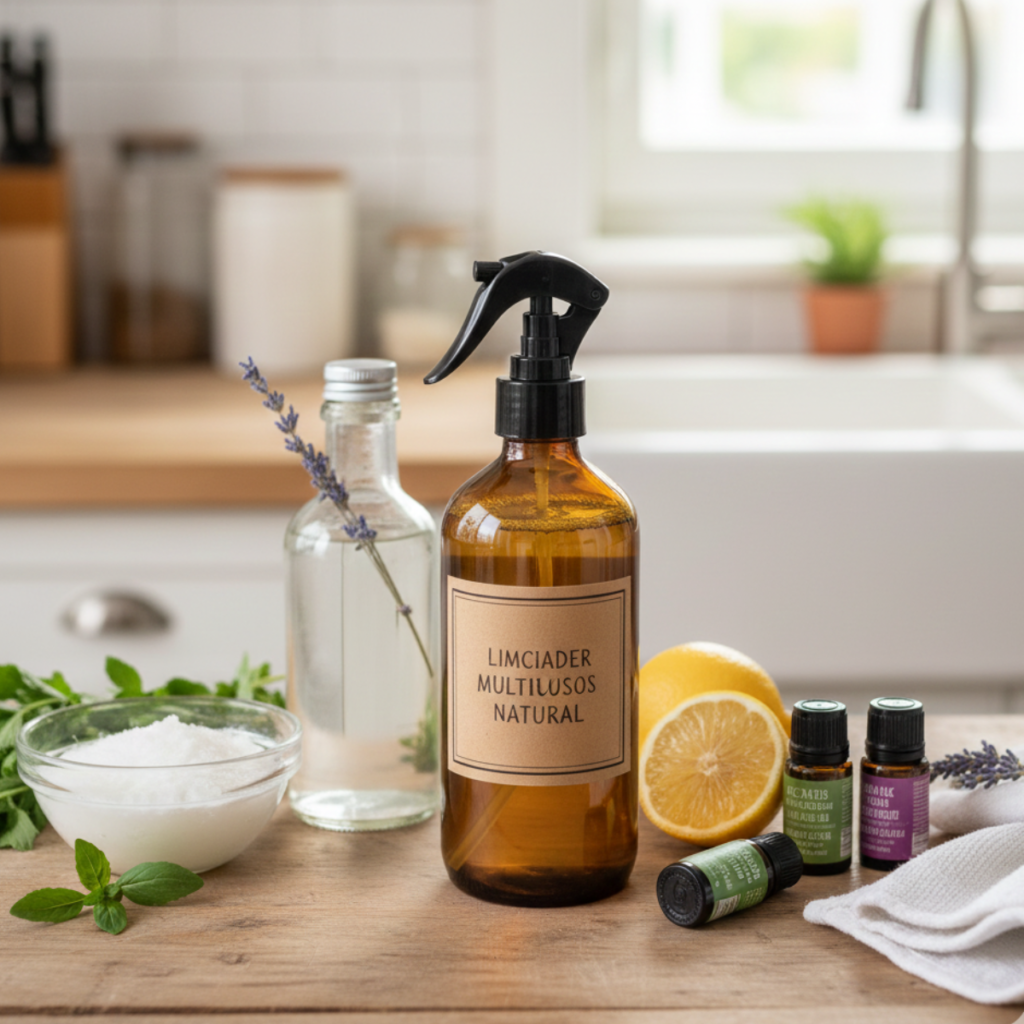
Learn how to make your own homemade all-purpose cleaner for floors and countertops. A natural, cheap, seriously effective recipe with vinegar and soap. Say goodbye to harsh chemicals and let your house shine.
Have you ever stopped to read the labels on the cleaning products we buy at the supermarket? It’s madness. Unpronounceable names, hazard warnings everywhere. I got to a point where I asked myself: do I really need all this for my house to be clean? The short answer is a flat no. The long answer is this guide, which I’ve put together for you with a lot of care.
Cleaning shouldn’t be torture for your lungs or your wallet. Since I discovered what vinegar, water and natural soap can do, my life has changed. Not only do I save a lot of money, my house smells genuinely clean, and I know my countertops are safe to set food down on.
The three ingredients and what each one actually does
Before I give you the exact amounts, I want you to understand why these ingredients work. This isn’t just something our grandmothers did, it’s real chemistry applied to real life. And understanding it matters more than you’d think, because as you’ll see in a moment, two of these ingredients don’t belong in the same bottle.
Vinegar, nature’s limescale destroyer
White vinegar, or cleaning vinegar, is essentially acetic acid. That acid is a beast against limescale, mineral deposits and grime, and it neutralizes odors rather than just masking them. People often tell me they don’t want their house smelling like a salad. Don’t worry, that’s what the essential oils are for. And the vinegar smell disappears as soon as it dries, taking the bad smells with it.
One thing worth being accurate about: vinegar is a very good cleaner, but it’s a weak disinfectant. It’s excellent for everyday wiping down, but if something genuinely needs sanitizing, like a countertop after raw chicken, or a bathroom after someone’s had a stomach bug, use a registered disinfectant for that job and go back to this for the other 95% of your cleaning.
Natural soap, the one that grabs the dirt
Vinegar is great, but to really lift dirt away we need a surfactant. Natural soap, like castile or coconut oil soap, has molecules that cling to water at one end and to grease at the other. That’s what pulls the dirt off the surface and onto your cloth. Vinegar alone cleans, but soap is what tackles grease.
Water, the necessary carrier
It seems obvious, but water is the base. I always recommend distilled water, or water you’ve boiled first. Why? Because tap water sometimes carries a lot of chlorine or minerals, and that can leave marks on dark surfaces, or spoil the mixture faster if you’re planning to keep it a while.
Why vinegar and castile soap cannot share a bottle
This is the part I wish somebody had told me when I started, because I wasted a lot of vinegar and a lot of good soap before I understood it.
Castile soap is alkaline. It’s made by combining oils with an alkali, and what makes it clean is that alkaline structure. Vinegar is an acid. When you put the two together in a bottle, the acid reverses the reaction that made the soap in the first place. The soap breaks back down into the oils it came from, and instead of a cleaner you get a cloudy liquid with white curds floating in it.
That mixture doesn’t clean well. You’ve cancelled out the soap and you’re left with vinegar plus a film of oily residue that you then smear across your countertop. If you’ve ever made a homemade cleaner that left everything slightly streaky and wondered what you did wrong, this is almost certainly it. It isn’t your technique, it’s the chemistry.
So what do we do? Two options, and I use both.
The first is to keep them in separate bottles. It sounds like more work but it really isn’t, and each bottle is better at its job than any compromise would be. That’s the version I’ll give you below.
The second, if you really want everything in one bottle, is to swap the castile soap for a surfactant that tolerates acid. Coco betaine is the easy one to find, it’s gentle, and unlike true soap it stays perfectly stable in an acidic mix. A tablespoon of coco betaine in the vinegar spray below gives you a genuine one-bottle all-purpose cleaner.
Recipe one: the vinegar spray
This is my workhorse for limescale, faucets, tile, the inside of the refrigerator, garbage cans and general wiping down. It’s what I reach for most.
What you’ll need
- A spray bottle of about 16 oz (glass is better, since essential oils keep longer in it and vinegar can degrade some plastics over time).
- 1 cup of distilled water.
- 2/3 cup of white cleaning vinegar.
- 10 drops of essential oil.
- Optional, for a one-bottle version: 1 tablespoon of coco betaine.
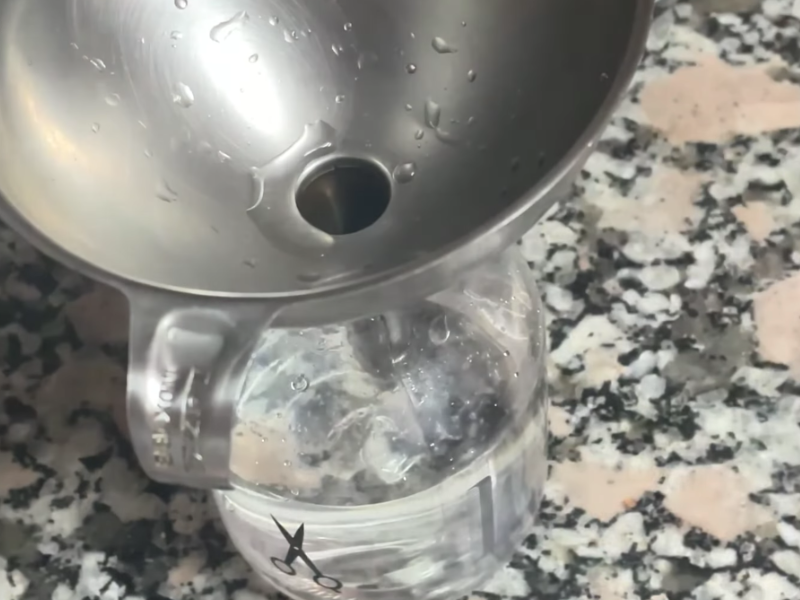
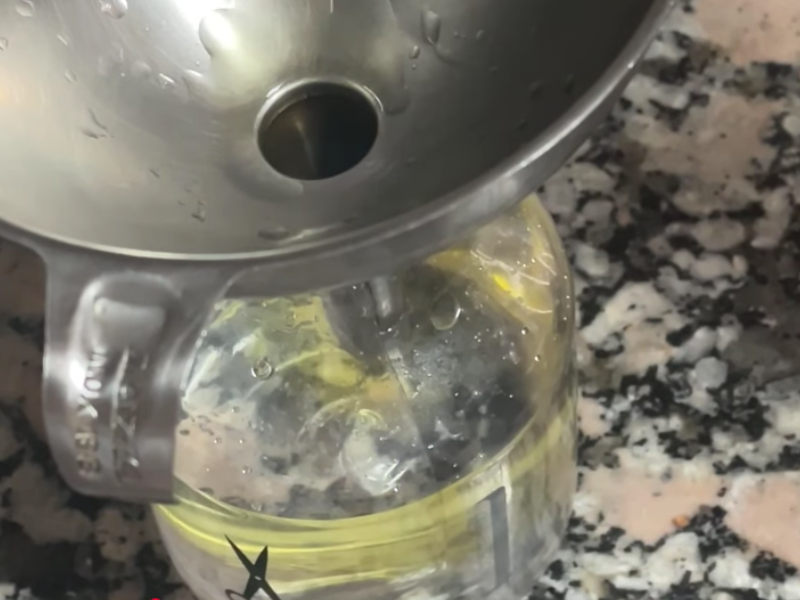
Pour the water in first, then the vinegar, then the essential oils. If you’re using coco betaine, add it last and swirl gently rather than shaking, so you don’t fill the bottle with foam.
Recipe two: the soap spray
This one is for grease. The stovetop, the range hood, greasy cabinet doors, the inside of the microwave. Anywhere vinegar alone won’t cut it.
What you’ll need
- A 16 oz spray bottle.
- 2 cups of distilled water.
- 1 tablespoon of liquid castile soap.
- 10 drops of essential oil.
A trick I learned the hard way: never put the soap in first. Do that and pour water on top of it and you’ll create so much foam you won’t be able to fill the bottle. Water first, soap last, always.
Swirl it very gently. We’re not making a milkshake, we just want the ingredients combined.
Now for my favorite part, the essential oils. They aren’t just there to smell nice, many of them have antibacterial and antifungal properties. Tea tree is a good natural disinfectant, lemon cuts grease beautifully and lavender calms the whole atmosphere of a room.
If you’d like to see the process on video, you can also subscribe to the YouTube channel, it’s free!
Adapting it for floors
If you want to use this for mopping, the process is similar but scaled up. I stopped buying that electric-blue floor cleaner from the supermarket a long time ago.
The same rule applies here: pick one or the other, not both in the same bucket. For a normal mop bucket I either add a good splash of vinegar, about half a cup, or a teaspoon of natural soap, depending on what the floor needs that day. Vinegar for shine and mineral residue, soap for actual grime and greasy patches near the stove.
Don’t overdo the soap on floors. Too much and you’ll leave a tacky film that attracts more dust afterward. Balance is everything.
The vinegar version is ideal for ceramic and porcelain tile, and works on laminate too if you wring the mop out really well. Vinegar makes floors shine because it removes the mineral residue from hard water that leaves them looking dull.
Can you use it on natural stone countertops?
I have to be very honest with you here, because I don’t want you wrecking your kitchen. Vinegar is an acid, and as such it’s the mortal enemy of marble, limestone and unsealed natural stone. The acid eats into the polish and leaves permanent dull marks, which is what we call etching.
If your countertop is marble or another natural stone, skip the vinegar entirely and use the soap spray, or swap in rubbing alcohol. Castile soap with water and a few drops of sweet orange essential oil is plenty to clean without any risk to the stone.
Quartz countertops, the engineered kind like Silestone or Caesarstone, are a trap worth knowing about. People assume they’re bulletproof because they’re not porous, but the manufacturers specifically say not to use vinegar or any acidic cleaner on them. The stone particles are fine with it, but the resin that binds them isn’t, and over time acid dulls the surface. On quartz, use the soap spray.
On stainless steel and sealed wood the vinegar spray is usually fine, but always, always test a corner that doesn’t show first. Better safe than sorry.
The art of aromatherapy in cleaning
The smell of vinegar is strong, there’s no denying it. That’s where our friends the essential oils come in. They don’t just smell wonderful, they add something to the cleaner too.
Here are my three favorite combinations, the ones I keep in rotation depending on my mood:
- Fresh Start (lemon and eucalyptus): this is my morning blend. Lemon is king for cutting grease on countertops and eucalyptus opens up your airways. It gives that deep-clean feeling, almost hospital-like, without the medicinal smell.
- Sweet Home (orange and cinnamon): perfect for winter. Orange helps dissolve sticky residue and cinnamon has real antiseptic properties. It also makes your kitchen smell like fresh-baked cookies. Go easy on the cinnamon, though, two or three drops at most, because cinnamon oil is one of the most irritating essential oils there is on skin.
- Relax and Clean (lavender and tea tree): this is my choice for the bathroom and bedroom floors. Tea tree is one of the better natural antimicrobials, and lavender leaves a calm in the air that helps you sleep better.
Always use pure essential oils, not the cheap synthetic fragrance oils from discount stores. What we’re after is the property of the plant, not just the smell.
One important caveat if you have animals at home. Tea tree, eucalyptus and citrus oils are all toxic to cats and dogs, and floors are exactly where they walk and then lick their paws. If you have pets, leave the essential oils out of anything you mop with, keep them out of the room until it’s dry, and save the scented blends for surfaces they don’t reach.
And one rule with no exceptions: never mix vinegar with bleach or any chlorine-based product. The combination releases chlorine gas. Keep them in separate bottles and don’t use one right after the other on the same surface.
How to store your homemade cleaner
Since this cleaner has no synthetic preservatives (that’s the whole point!), there are a couple of things you should know so it doesn’t spoil on you.
Ideally, make what you’ll use within a month or two. The vinegar version has a low pH, which makes it hard for anything to grow in the bottle. The soap version has no such protection, so make that one in smaller batches and keep an eye on it. If you want to be a storage professional, here are my tips:
- No light: try to use amber or cobalt blue glass bottles. Essential oils are very sensitive to sunlight and lose their properties in direct sun. If you’re using a clear bottle, keep it in the cabinet under the sink.
- Temperature matters: don’t leave the bottle next to the stove or anywhere that gets hot. Heat can separate the mixture or make the scent evaporate faster.
- Shake before using: with no industrial emulsifiers in there, it’s normal for the oils to float on top. Give it a gentle swirl before you spray and you’re set.
- Label it: write what’s in it and the date you made it. Two identical bottles under the sink with different contents is a recipe for confusion.
Frequently asked questions
I know you have a thousand questions, because I had them too. Let’s answer the ones going through your head right now.
Does vinegar damage tile grout?
It can, if the grout is cement based and unsealed and you use vinegar on it undiluted and often. Acid slowly eats into cement. Diluted the way it is in this recipe, and used occasionally, you’re generally fine. If your grout is old, crumbly or you’ve never sealed it, use the soap spray there instead and keep the vinegar for the tile itself.
Is it good for windows and mirrors?
For glass, use the vinegar spray, not the soap one. Soap on mirrors and windows leaves streaks and a hazy film. For glass, mix half water and half vinegar with a splash of rubbing alcohol, and dry with a microfiber cloth or newspaper. For everything else, countertops, tables, doors, floors, the soap version is the winner on grease.
Why will this cleaner change your life (and your budget)?
Let’s do quick math. A brand-name all-purpose cleaner can cost you four or five dollars. Cleaning vinegar costs pennies, water is nearly free, and a bottle of castile soap lasts forever because you only use a tablespoon at a time.
By the end of the year you’ve saved money you can spend on something far more fun than cleaning products. But beyond the money, it’s the peace of mind. Knowing that if your dog licks the floor, or your child puts an apple straight down on the counter, they aren’t picking up ammonia or bleach residue. That’s worth something.
And you’re helping the planet. Fewer plastic bottles in the trash, fewer chemicals going down the drain. A small gesture that, multiplied across thousands of homes, adds up to a lot.

Step by step guide to making a powerful, cheap homemade all-purpose cleaner for countertops and floors, using basic household ingredients.
Total Time: 5 minutes
Pour in the water
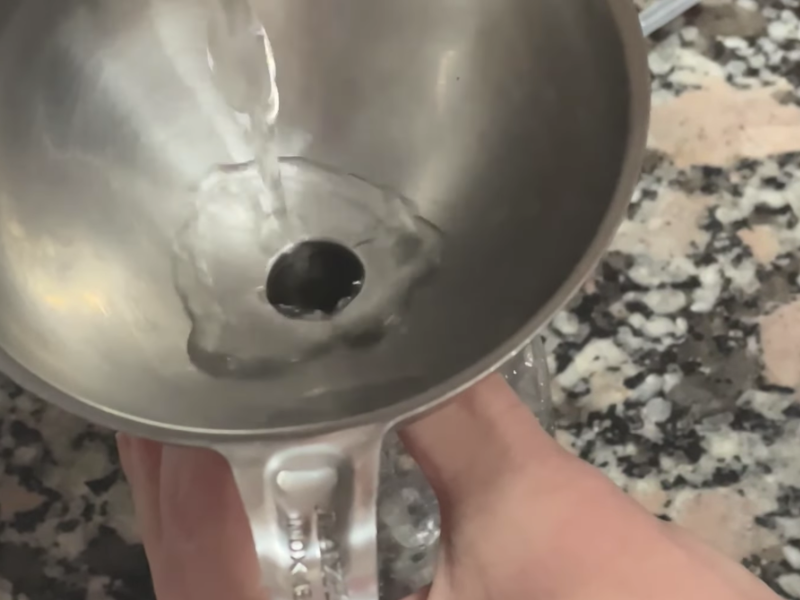
Pour the distilled water into the spray bottle using the funnel.
Add the vinegar
Carefully pour the white vinegar in on top of the water.
Choose your surfactant
For a one-bottle cleaner, add a tablespoon of coco betaine, which stays stable in acid. If you’d rather use castile soap, put it in a separate bottle with water only, since vinegar breaks soap down.
Add the scent
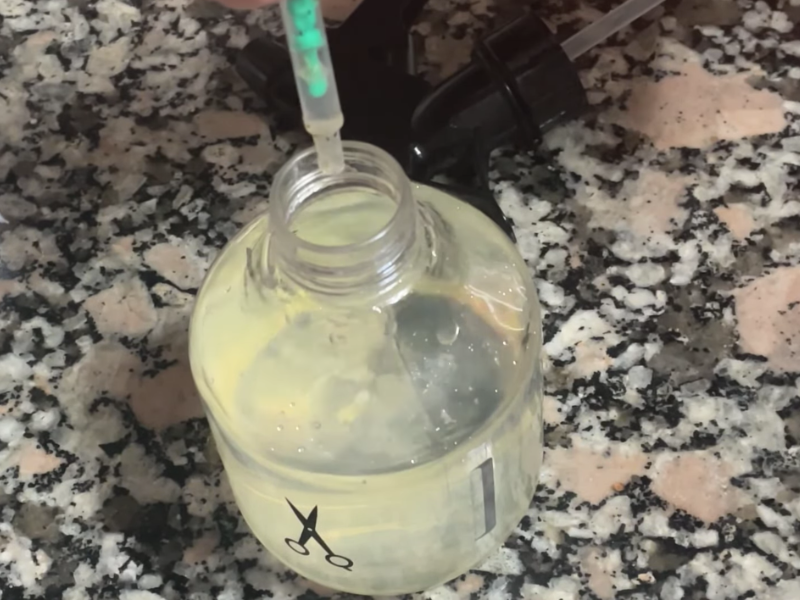
Add the drops of your favorite essential oils, chosen for the property you’re after as well as the smell.
Cap and combine
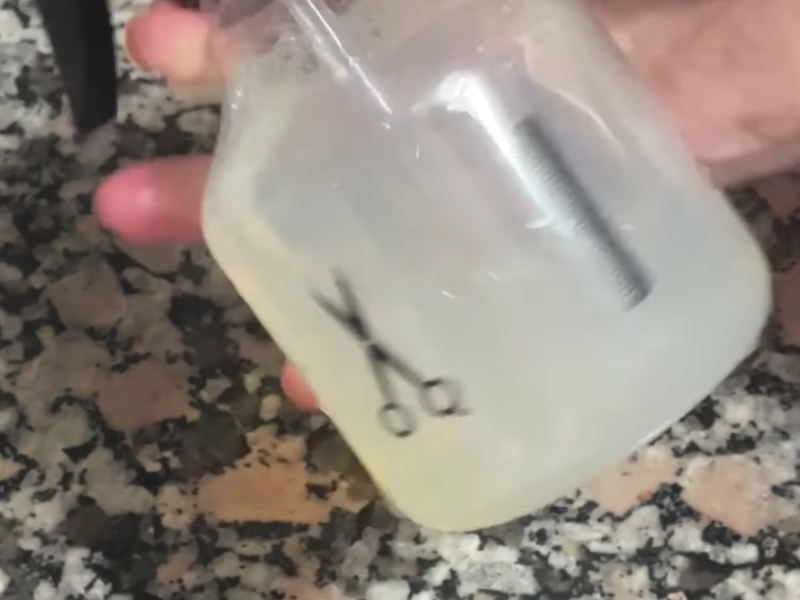
Screw the sprayer on and swirl gently to combine everything without creating too much foam.
Label it
Don’t forget to label the bottle with what it is and the date you made it.
Estimated Cost: 0.50 usd
Tools:
- Spray bottle (glass preferred)
- Small funnel
- Tablespoon
Materials: 1 cup distilled water 2/3 cup white cleaning vinegar 1 tablespoon coco betaine, or castile soap in a separate bottle 10 drops essential oil
Now it’s your turn. Are you going to make your first batch today? If you’re already one of us and you’ve been using natural products for a while, tell me in the comments which essential oils are your favorites, or whether you have a trick I’ve missed. I love learning from you all.
And if you’re unsure about using it on a particular surface in your house, leave it below and we’ll work it out together. Let’s get our homes shining the healthy way.