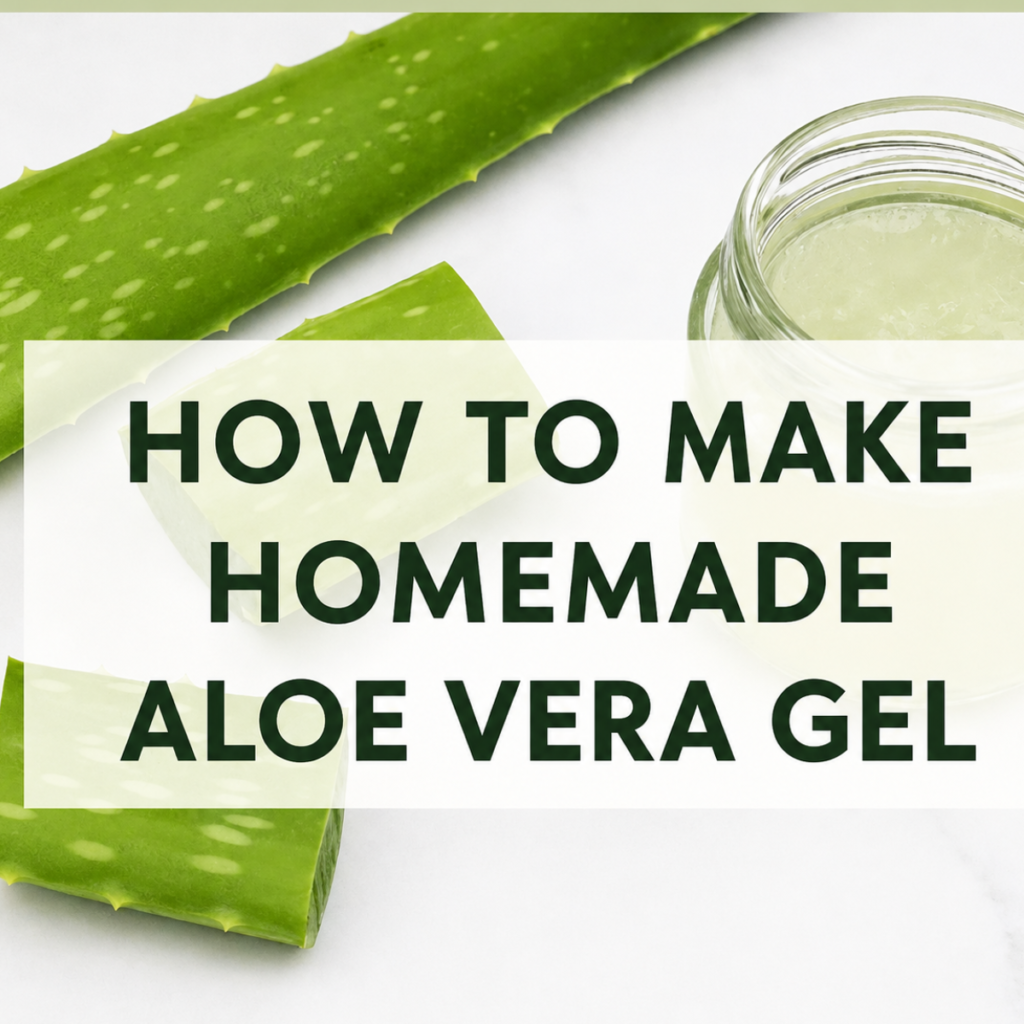
Make homemade aloe vera gel the easy way, using nothing but the pulp from the leaf and a blender. Here’s what it does, how to use it, how to store it, my own tips, the questions I get asked most and a simple recipe you can come back to whenever you like.
My history with aloe vera, or how one plant changed the way I look after my skin
For years my skin was incredibly sensitive. The slightest change would leave me with redness, dry patches or little breakouts that seemed to come from nowhere. I tried expensive creams, pharmacy products and even some fairly odd home remedies I’d found online, but nothing quite did the job.
Then one day a friend said to me:
“Why don’t you try natural aloe vera? Properly natural, I mean — straight from the plant.”
She had an enormous one on her terrace and cut a leaf right there in front of me. She showed me how to open it, scoop out the clear gel and put it straight onto my skin. Honestly, it was love at first sight. The next day I noticed less redness, softer skin and a cool, fresh feeling I’d never got from any shop-bought product.
After that I wanted to learn how to make my own aloe vera gel properly — hygienically, and in a way that would actually keep. I haven’t stopped using it since. It’s one of those simple discoveries that makes you think: “why on earth didn’t I do this sooner?”
And that’s exactly what I want to share with you today: how to make homemade aloe vera gel safely and easily, with no fuss, using just the leaf and a blender.
What homemade aloe vera gel actually is, and why it works so well
If you’ve ever split open an aloe leaf, you’ll know there’s a clear gel inside with a lovely cool texture. That gel is gold for your skin — it’s full of vitamins, antioxidants, minerals and soothing compounds that do wonderful things.
This isn’t just another cosmetic, it’s a natural gel that’s been used for centuries. Aloe vera soothes, cools, helps calm inflammation and supports the skin as it repairs itself.
It’s one of those remarkably versatile plants that’s good for all sorts of things, from burns to everyday hydration.
What homemade aloe vera gel does for you
The best thing about making it yourself is that there are no preservatives, no fragrance, no alcohol and nothing else added. It’s pure, straight from the plant.
Hydrates without any greasiness
Aloe sinks in very easily, leaves no shine, and you don’t need much of it at all to see a difference.
Calms irritation and takes down redness
If your skin is reactive or sensitive, aloe is a lifesaver. It settles things down after hair removal, after sun, after exfoliating, or any time your skin is having a moment.
Supports the skin as it repairs
It’s why it gets used so often on minor burns, grazes, bites and marks. Aloe helps the skin bounce back a bit faster and looking more even.
Cools instantly
Especially if you keep it in the fridge. Using it in summer is a genuine treat.
May help with spots and oiliness
It’s credited with mild antibacterial properties and helps balance the skin without drying it out. For combination or oily skin it’s a great fit.
It’s brilliant on hair too
Homemade aloe gel hydrates, helps with frizz, defines waves, soothes the scalp and adds natural shine. It’s one of those multi-purpose ingredients that’s always worth having to hand.
Which aloe you need
Here’s an important bit that hardly anyone mentions, and it really matters. Not just any plant will do: you want a mature one, at least three years old.
The leaves need to be thick, green, firm and satisfyingly heavy.
The older the plant, the more gel it holds and the better it is. If you’ve got one at home, brilliant. If not, plenty of shops sell aloe leaves loose and they’re usually very good.
What to know before you start
Two key things:
1. Aloe contains aloin, and it needs to come out
Aloin is the yellow substance that seeps out when you cut the leaf. It’s irritating on skin and acts as a strong laxative if swallowed, so it’s worth taking the time to drain it properly.
I’ll show you exactly how in a moment.
2. Aloe oxidises quickly
Pure gel doesn’t keep long unless you store it properly. Further down I’ll explain how to do that so it stays fresh for several days.
Let’s get to it: how to make aloe vera gel safely
Here’s the recipe. Homemade aloe gel really comes down to two steps:
• get the pulp out.
• blend it.
That’s all there is to it.
Ingredients
• 1 large aloe vera leaf.
• nothing else.
Yes, it really is that simple. The gel is literally the pulp of the plant.
What you’ll need
• a sharp knife.
• a spoon or spatula.
• a chopping board.
• a blender or stick blender.
• a clean glass jar.
Since there’s nothing in here to keep bacteria at bay, it’s worth sterilising the jar with boiling water and letting it dry completely, and washing your hands well before you start.
How to cut the leaf
Cut as close to the base of the plant as you can, choosing one of the thick outer leaves — those are the most mature.
If you’re buying it loose, look for one that feels really fleshy.
Making the gel, step by step
Here’s the whole process.
Step 1 — Cut and drain the leaf to get rid of the aloin
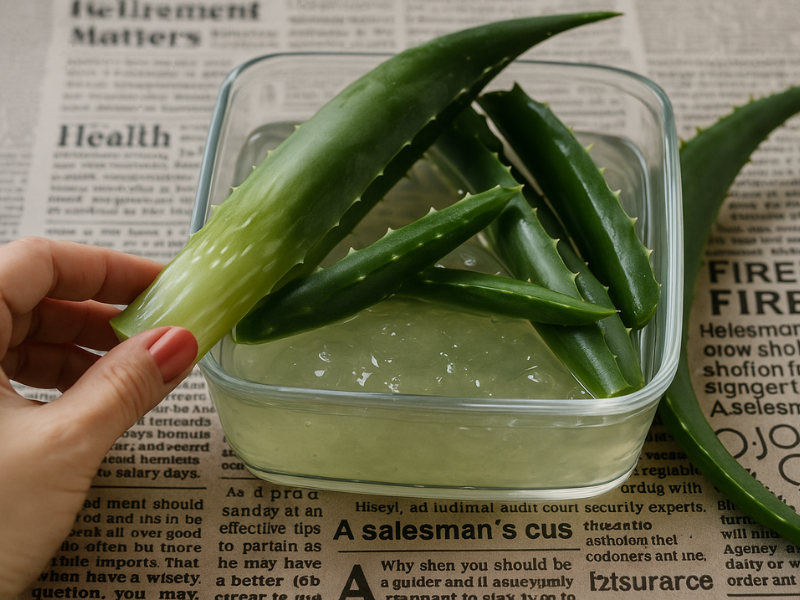
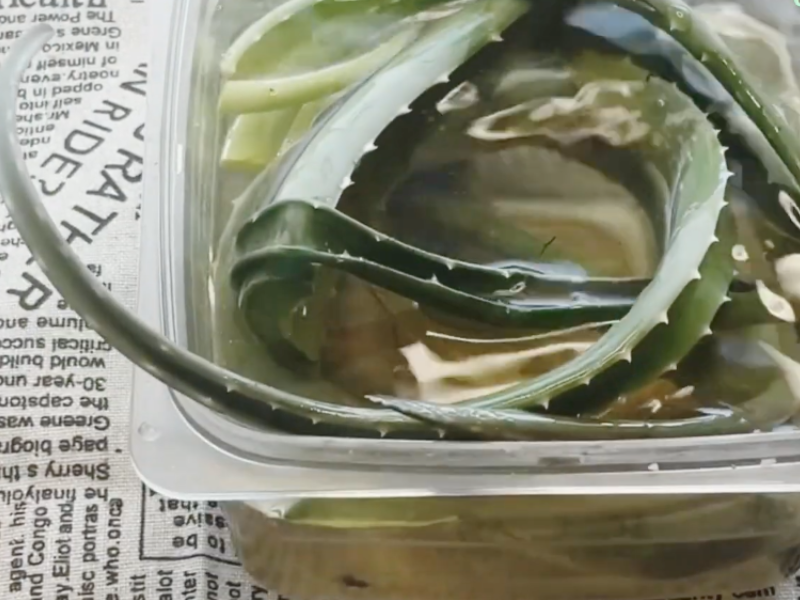
Cut the leaf and stand it cut-side down in a glass or dish of water for at least 20 minutes. You’ll see a yellowish liquid run out — that’s the aloin we want gone.
Step 2 — Trim the edges
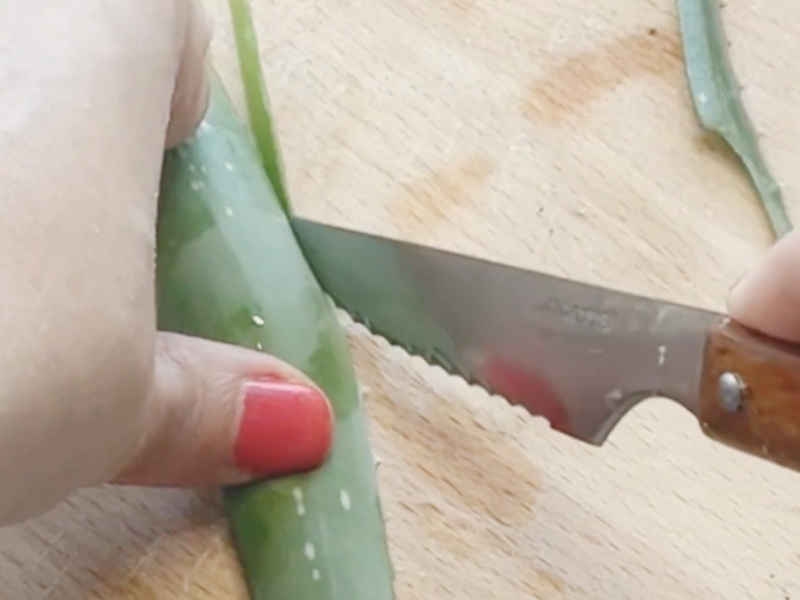
Once it’s drained, carefully cut away the spiny edges down each side.
The leaf becomes much easier to handle.
Step 3 — Open the leaf
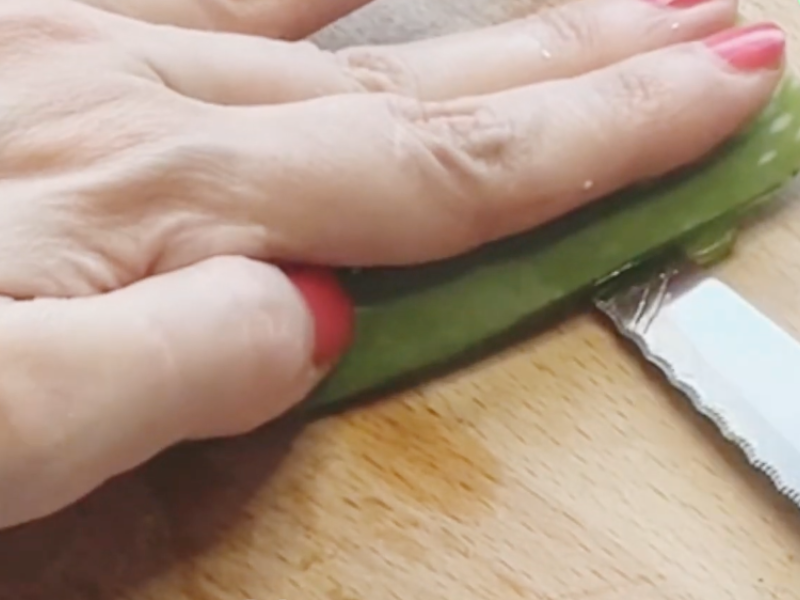
Slice it in half lengthways. Inside you’ll find the clear gel, which is what we’re after.
Step 4 — Scoop out the pulp
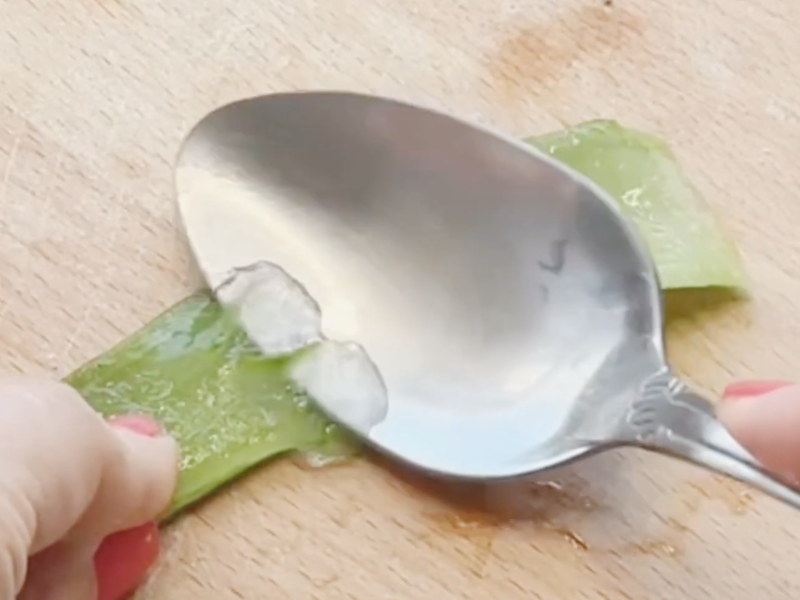
Using a large spoon, work the jelly-like inside out slowly. Try not to take any of the yellow layer nearest the skin of the leaf with it. Put all the pulp into a bowl.
Step 5 — Blend
Tip the pulp into a blender and blitz for a few seconds, until you have a smooth, even gel.
Don’t overdo it — just until the texture turns light.
Step 6 — Store it
Pour it into a clean, dry glass jar. If it’s going on your skin, keep it in the fridge so it lasts longer.
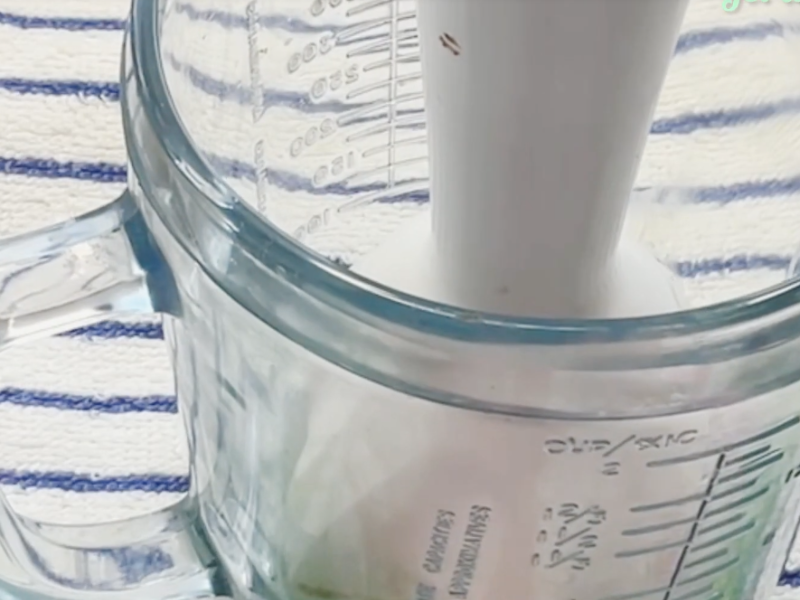
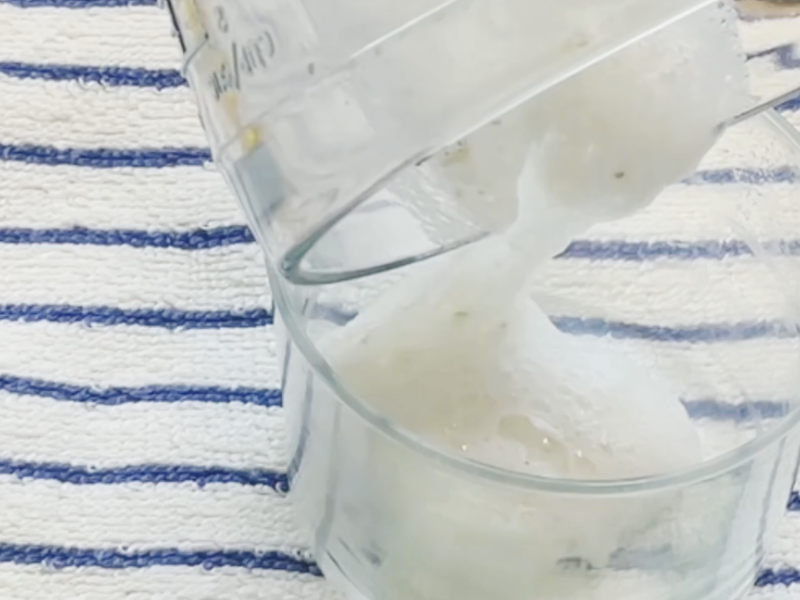
You can watch it on video instead if you’d rather — and do subscribe to the channel if you like it:
What to use homemade aloe vera gel for
One of the reasons aloe is so popular is that it’s good for almost everything. Really, it’s one of those plants that seems to have been put here to help us out.
Everyday hydration
It’s ideal if you want something light, because it absorbs so quickly. I love using it in the morning — it leaves my skin fresh, glowing and ready for the day.
You can use it on your face, neck, chest, arms and legs. If you like gel textures with no greasy feel, you’ll love this one.
As a natural after sun
If you’ve caught a bit too much sun, aloe is like a cool hug that settles the skin straight away.
It brings down the redness, cools everything off and helps stop the skin getting irritated.
A trick I always use in summer is keeping it in the fridge, so the cooling effect is even stronger.
For small burns and grazes
We’re not talking about serious burns here — anything blistered, broken or larger than a coin needs a doctor, not a jar of gel. But for the small everyday nuisances:
• chafing on your thighs.
• minor kitchen burns.
• rubbing from a bra strap or clothes…
Aloe helps the skin recover a bit faster and looking better for it.
After shaving or waxing
Nothing is more soothing straight afterwards. It takes down the redness, cuts the irritation right back and leaves your legs soft rather than stinging. If you’re prone to little red bumps after waxing, you’ll notice the difference quickly.
For acne-prone skin and the odd spot
It’s no miracle cure, but it’s a genuinely useful bit of support. Aloe helps bring down the inflammation, has a mild cleansing effect and stops spots getting more irritated than they need to be.
You can use it on its own or mixed with a little clay as a mask.
On your hair and scalp
If you’ve never tried it on your hair, I really would.
It works wonders for hydrating the ends, smoothing frizz, defining waves and curls, adding natural shine and generally improving how dry hair looks.
Just work a little through the ends, or stir it into your usual mask. And if your scalp is itchy or irritated, massaging a little straight in is a real relief.
On mosquito bites
It’s brilliant for this. It brings down the swelling, takes the edge off the itching and stops the area getting more irritated.
Straight from the fridge, it’s even better.
On dry hands
Aloe is wonderful for rescuing hands that have gone rough. Mix it with a little almond oil and you’ve got a light, very effective hand cream.
For a relaxing massage
Aloe with a few drops of lavender essential oil makes a lovely gentle massage medium that doesn’t leave anyone feeling greasy.
One thing worth doing before any of this: try a little on the inside of your wrist first. Aloe allergies aren’t common, but they do exist, particularly if you react to onions, garlic or tulips.
How to store your aloe vera gel properly
Here’s one of the biggest questions: how do you keep it fresh for as long as possible?
Aloe without preservatives doesn’t keep long, because it’s completely natural and oxidises fast. But there are ways to stretch its life without losing quality.
It lasts longer in the fridge
Ideally, keep it in a sealed glass jar in the fridge, where it’ll stay in good condition for around 7 to 10 days. Left out at room temperature, expect roughly 24 to 48 hours before it starts to turn. Scoop it out with a clean spoon rather than your fingers, and it’ll keep better still.
Vitamin C or vitamin E buys you a bit more time
It’s not essential, but if you want it to last a little longer you can add:
• a few drops of vitamin E.
• or a pinch of vitamin C powder.
Both slow down the oxidation and keep the colour for longer. Even so, don’t expect weeks out of it the way you would with a shop-bought product — this is a fresh product with nothing in it to preserve it.
Freeze it in portions
This trick is one of my favourites. Pour the blended aloe into an ice cube tray and freeze it, then tip the cubes into a bag and take one out whenever you need it.
Perfect for burns, irritation, after sun, face masks…
And it’ll keep that way for months.
How to tell your gel has gone off
It’s easy to spot. Throw it out if it turns a deep brown, if it smells sour or just odd, if it goes foamy, if the texture turns slimy or stringy, or if you see any spots on the surface.
If you notice any of that, it’s time for a fresh batch.
Why homemade aloe gel beats a lot of shop-bought ones
Here’s what I’ve learned from comparing the two.
Shop-bought gel often contains very little aloe
Look at the ingredients on a lot of supermarket aloe gels and you’ll find water, thickeners, preservatives, fragrance, colourants — and not much actual aloe.
The homemade version is pure aloe.
Fresh aloe holds on to more of the good stuff
Because it hasn’t been processed or sat on a shelf, it keeps more of its enzymes, vitamins, amino acids and antioxidants intact. Your skin tends to notice straight away.
No alcohol, no fragrance
Lots of people buy a gel thinking it’s natural, then find alcohol sitting near the top of the ingredients list — and that dries the skin out enormously.
Homemade gel is gentle, pure and fresh, with no irritants or heavy perfume.
Tips for getting your gel just right
Here are my secrets, after making it more times than I can count.
Use a good mature leaf
The bigger and thicker it is, the better the quality of your gel.
Don’t over-blend
A few seconds only. Blend too long and you get foam, and the texture goes watery.
Always store it in glass
Glass is non-porous, so you can sterilise it properly and it won’t hold on to smells the way plastic does. With a product that has no preservatives in it, that makes a real difference.
If you’d like it thicker
Leave it to sit in the fridge for a couple of hours. It thickens up a little all on its own.
If you’d like it to smell nicer, without anything synthetic
Add a single drop of lavender or tea tree. Just the one, though — aloe has a soft natural smell that doesn’t really need covering up.
Frequently asked questions about homemade aloe vera gel
Over time I’ve collected the questions that come up again and again when someone starts using natural aloe.
Does homemade aloe gel suit every skin type?
Yes, though every skin responds a bit differently. On oily skin it’s ideal, because it hydrates without adding any oil. On dry skin it works better blended with an oil or a moisturiser to give it more body. And on sensitive skin it’s wonderful, because it’s so calming.
Can I use it every day?
Absolutely, and the more you use it the more you’ll notice. It’s a very gentle gel. If your skin feels tight afterwards, layer it under your usual moisturiser.
Can I use it around my eyes?
Yes, but keep the layer very thin. It helps with puffiness and cools the area nicely, just avoid getting it directly in your eyes, as it can sting a little.
Is it suitable for children?
Generally yes, as long as the leaf has been washed well and properly drained of aloin. It’s lovely on irritation or nappy rash, but do a small patch test first, and check with your health visitor or GP before using it on a baby.
Can I use it after hair removal?
Definitely. It’s very calming and takes down the redness.
If you’re prone to little red bumps afterwards, you’ll find it helps a lot.
Is homemade aloe the same as shop-bought?
No. Homemade is pure and fresh, though it doesn’t keep as long. Shop-bought lasts months because it’s full of preservatives.
Both have their place, but the texture and the feel of fresh aloe are something else entirely.
Can I mix aloe with other ingredients?
Yes, but always in small amounts. A few ideas:
• a few drops of almond oil.
• vitamin E, to help it keep.
• honey, for face masks.
• white clay, for a calming mask.
• tea tree essential oil, for oily skin.
That said, pure aloe does a very good job all by itself.
Common mistakes to avoid
Simple as this recipe is, there are a few classic slip-ups that can spoil the result. Here they are, so they don’t catch you out.
Not draining the aloin
This is the most common one by far. Use the leaf as it comes, without draining it, and you’ll end up with a yellowish gel that smells stronger and can irritate your skin.
Always give the leaf at least 20 minutes to drain.
Over-blending
Blend it too much and the gel fills with foam, loses its texture and oxidises faster. A few seconds is plenty.
Storing it in plastic tubs
Plastic is porous and holds on to smells, and it’s much harder to sterilise properly. Glass is always the better choice here.
Using small or young leaves
Small leaves hold less gel and less of everything good in it. Go for mature leaves — thick and heavy.
Leaving it out of the fridge for days
Homemade aloe gel turns quickly. Left out of the cold, it’ll change colour and smell.
Get it into the fridge as soon as you’ve made it.
Working it into your daily routine
Now that you know how to make it, here’s how I actually use mine day to day.
In the morning
I cleanse and put on a thin layer of aloe before my moisturiser — it does the job of a hydrating serum, at a fraction of the price, and my skin comes out bright and fresh. If I’m in a rush I just use it on its own. And on days I’m wearing makeup, that same thin layer works beautifully as a primer: it leaves the skin smooth, so foundation sits far more evenly.
At night
I put it on after cleansing to calm my skin and help it recover overnight. Mixed with a light oil, it gives me deeper hydration. In summer I do the opposite and stir a little aloe into my night cream instead, which lightens the texture right down.
On my hair
Once a week I stir some aloe into my hair mask. It leaves my hair soft, shiny and much easier to manage.
A simple recipe worth the effort
Making your own aloe vera gel is one of those small things that changes how you look after your skin.
It’s cheap, easy, natural, versatile and genuinely effective. It also brings you back to something simple, something that works without a hundred ingredients you can’t pronounce.
If you’ve got an aloe plant at home, you’ve got a treasure. And if you haven’t, I suspect you’ll want one by the end of this.
Learn how to make natural aloe vera gel using just the pulp of the leaf and a blender. An easy, fresh recipe, perfect for your skin, your hair and calming irritation.
Total Time: 15 minutes
Cut the leaf
Cut one large, mature aloe vera leaf.
Drain the aloin
Stand the leaf cut-side down for 20 minutes so the aloin drains out.
Trim the edges
Cut away the spiny edges down each side.
Scoop out the pulp
Slice the leaf in half and scoop out the clear pulp with a spoon.
Blend
Put the pulp in a blender and blitz for a few seconds.
Store it
Put the gel into a sterilised glass jar and keep it in the fridge.
Tools:
- knife, chopping board, spoon, blender, glass jar
Materials: 1 large aloe vera leaf
I’d love to hear how you get on with your homemade aloe gel.
Do you have an aloe plant at home?
Do you use it on your skin or your hair?
Would you like me to share more natural recipes using it?
Tell me in the comments, I’ll be looking out for you.