Learn how to make this rice and orange face mask for glowing, even-toned, silky-smooth skin. A simple, traditional recipe with easy step-by-step instructions.
If you’ve ever flipped over one of your skincare bottles, scanned the ingredient list, and thought “I don’t know what any of this is,” you’re in the right place.
I’m going to walk you through a wonderful traditional recipe I’ve been using for a while, made with basic stuff most of us already have sitting in the pantry.
There’s a reason grandmothers have been reaching for rice and citrus for centuries. A handful of rice and the peel of a good orange are more than enough to put together a soothing face mask that’s perfect for pampering your skin at the end of the day.
This post contains affiliate links. See our disclosure for details.
Why Rice and Orange Are the Perfect Team for Your Face
Some ingredients just bring out the best in each other. Rice and citrus have been paired together in homemade beauty remedies for generations, and for good reason.
Rice is a star ingredient in traditional skincare across many cultures. When you grind the grain and simmer it slowly in water, it releases starches and nutrients that work like a soothing balm. It calms your skin down, evens things out, and leaves a pleasant firmness without drying anything out.
Orange peel, meanwhile, is seriously underrated. Most of us eat the fruit and toss the skin without realizing that the outer layer is where the most valuable essential oils live, along with a ton of moisturizing and antioxidant power. Steeping and blending the peel delivers deep hydration, refreshes tired-looking skin, and brings back the natural glow that gets buried under daily stress and fatigue.
Put the two together and you get a balanced mask that’s effective without being harsh.
Ingredients for the Recipe
Before you turn on the stove, here’s what you’ll need on the counter.
- 2 tablespoons of white rice
- 1 large fresh orange (or 2 small ones)
- 1 ⅔ cups (400 ml) of water
- 1 tablespoon of baking soda
- A few drops of almond or jojoba oil (optional)
Choosing the Rice and Getting the Right Grind
Any white rice you have on hand works, short grain or long grain. What matters more than the variety is how finely you grind it before it goes in the pot.
A coffee grinder or a decent blender will do the job. The finer the powder, the faster it cooks and the silkier the final cream turns out.
You want to avoid chunky bits of whole grain so the mask feels smooth going on and doesn’t scratch when you rinse it off.
Cleaning the Fruit
Since we’re using the outermost layer of the peel in something that goes directly on your face, cleaning the orange properly is non-negotiable.
Store-bought fruit often has traces of dust or a protective wax coating for shine. The easiest way to get it clean is to wash it under warm running water while rubbing it gently with a tablespoon of baking soda.
Getting the Mask Texture Just Right
When you’re making products at home without preservatives or chemical thickeners, texture is everything. Too liquid and it drips down your neck the second you sit up. Too dry and it cracks on your face within two minutes.
The starch in the rice is what holds things together. As it heats gently with the water, the starch chains open up and absorb the liquid, turning plain water into a soft, moldable gel. That gel is the backbone of the whole mask.
The strained orange extract adds just enough liquid to take the mix from a stiff paste to something you can easily spread with a soft brush or your fingertips.
It’s not complicated, but you do need to watch the heat for a few minutes.
Step-by-Step Instructions for Your Rice Face Mask
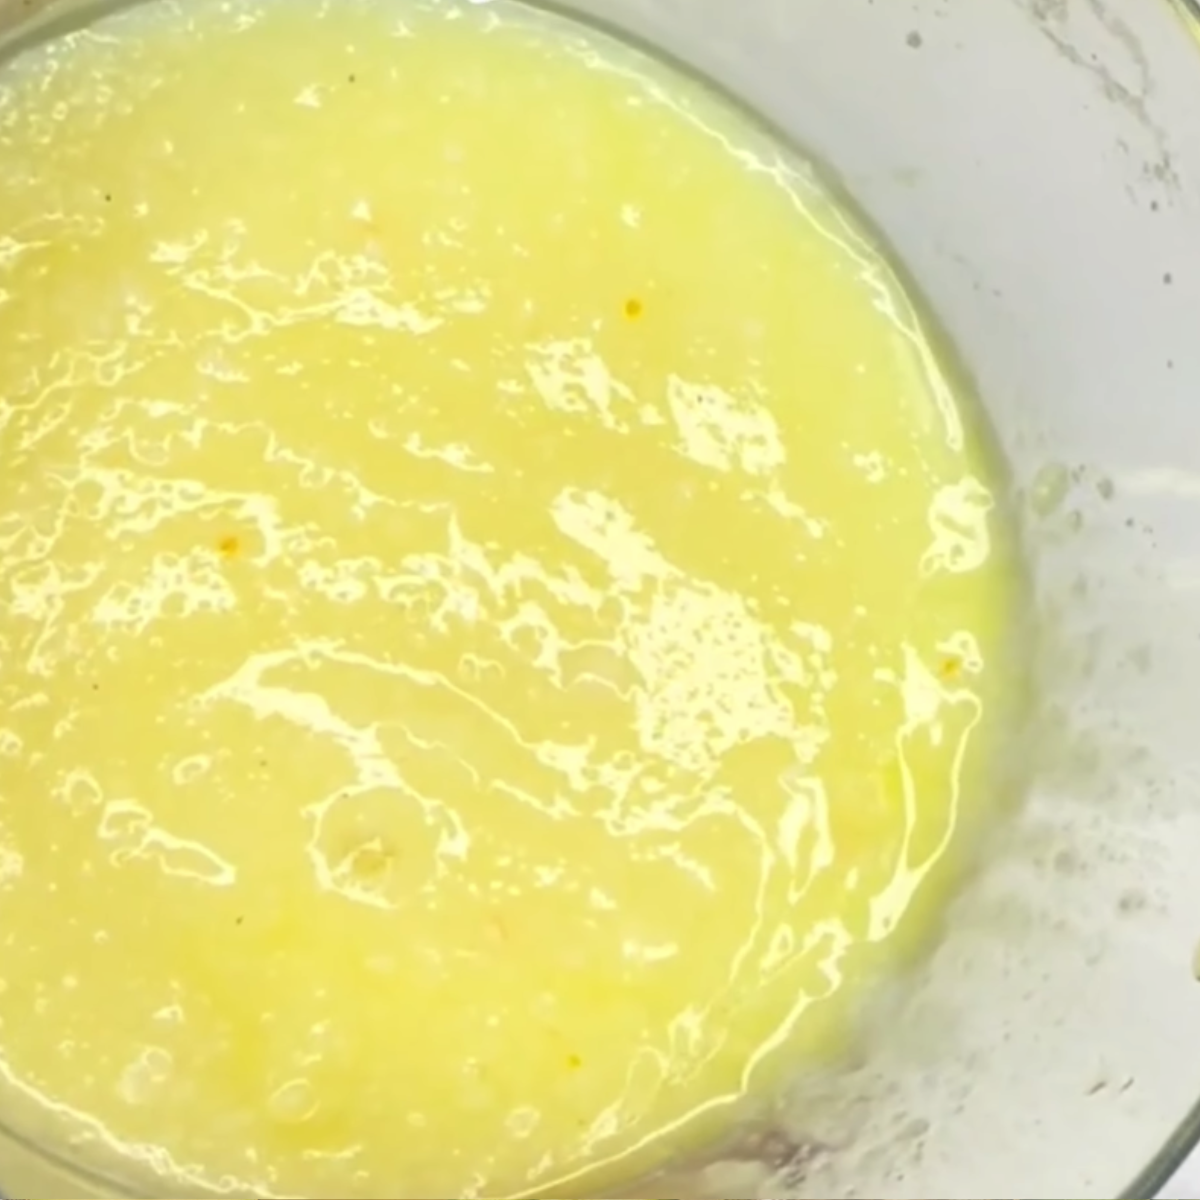
Learn how to make a rice and orange face mask to brighten, soften, and hydrate your skin naturally. An easy guide using simple kitchen ingredients.
Make the rice powder base
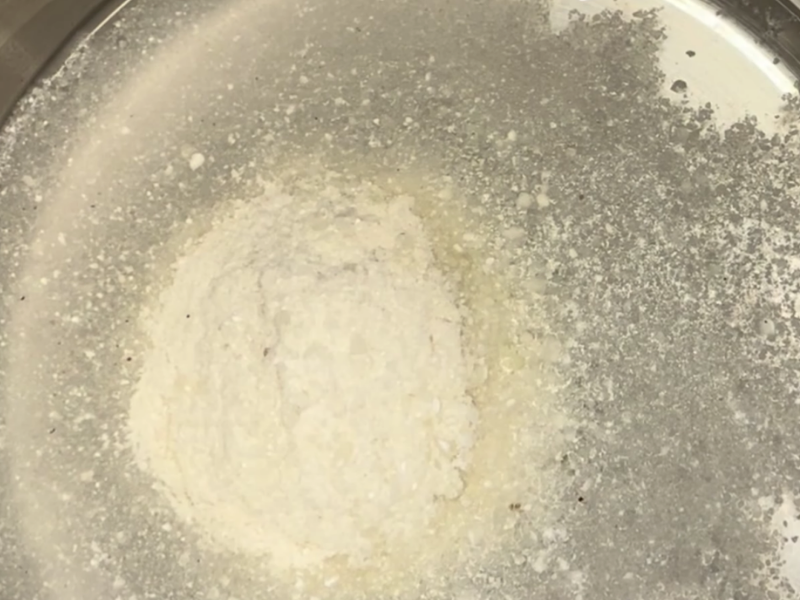
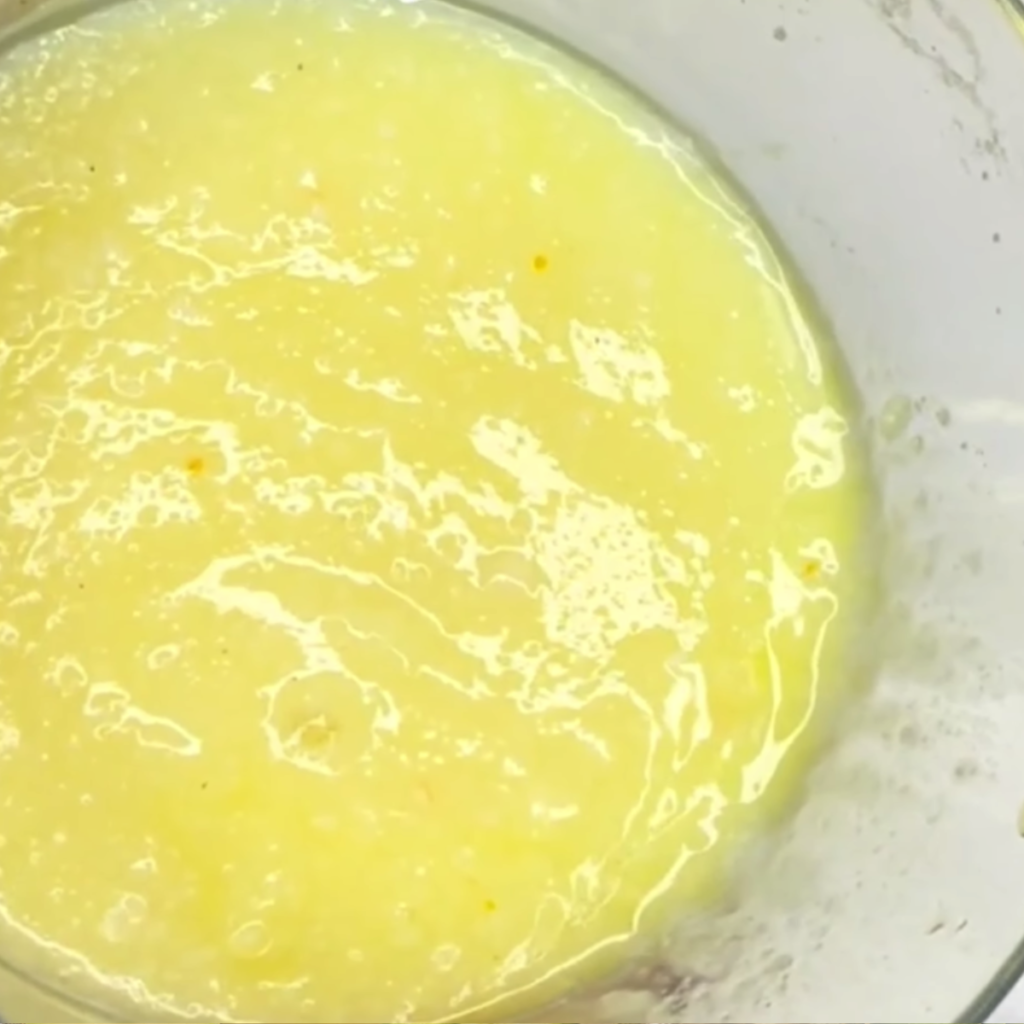
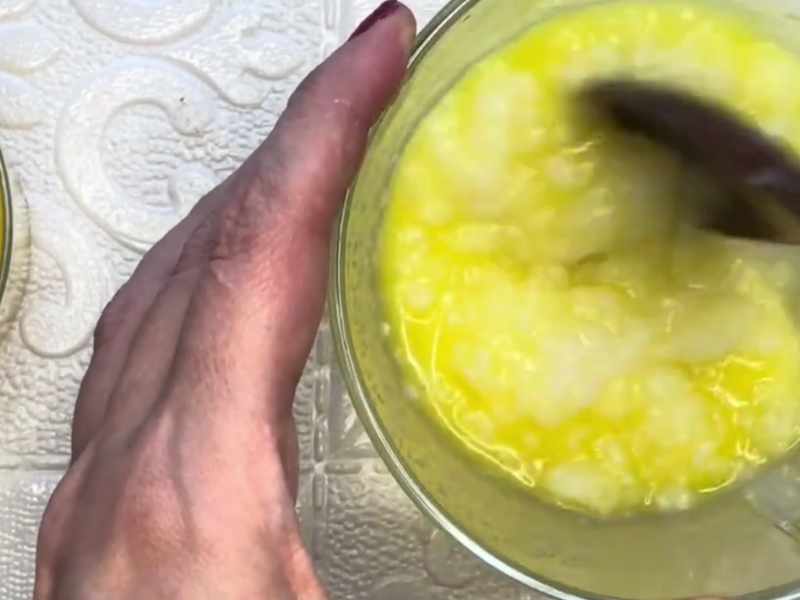
Grind two tablespoons of dry rice into a fine powder. Heat the powder in a small saucepan with about two thirds of a cup (150 ml) of water over low heat, stirring constantly until it thickens into a creamy texture.
Steep the orange peel
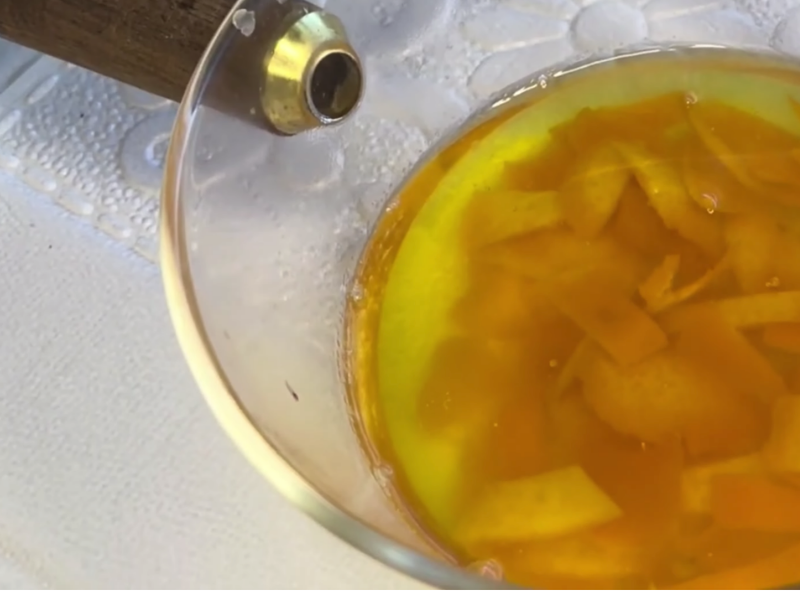
Wash the orange with water and baking soda to clean it thoroughly. Remove the peel, avoiding the white pith, chop it into small pieces, and simmer it in about one cup (250 ml) of boiling water for five minutes.
Blend and strain the extract
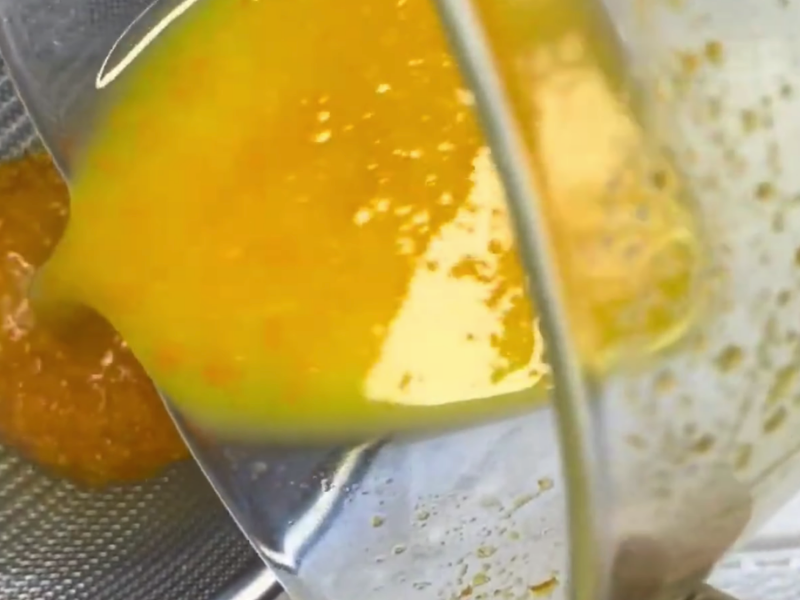
Blend the peels together with the cooking water using an immersion blender. Pass the mixture through a fine-mesh strainer, pressing with the back of a spoon to get a clean liquid extract.
Combine the ingredients
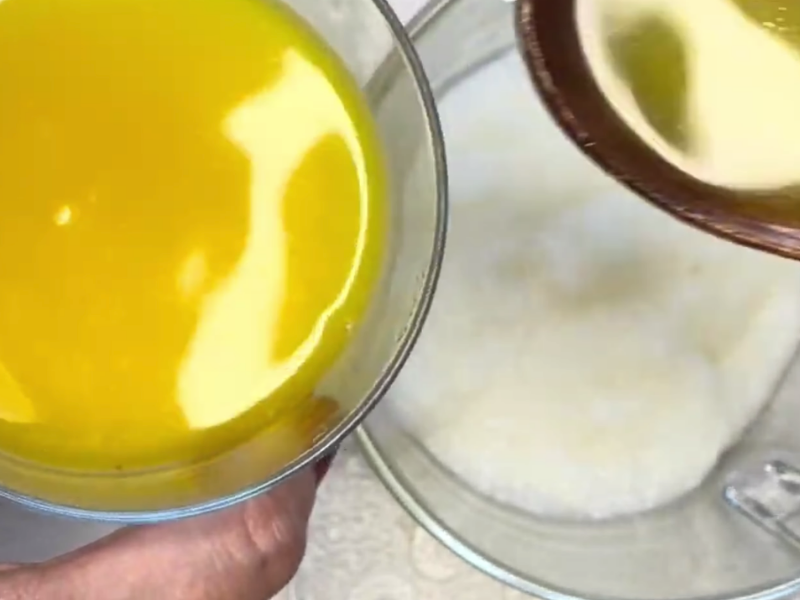
Add three tablespoons of the liquid orange extract to the reserved rice cream. Stir well until both components are fully blended, and add a few drops of a mild carrier oil if you want extra nourishment.
Apply and rinse
Spread the cream over clean skin, avoiding the eye area. Let it sit for about twenty-five minutes, then rinse gently with plenty of warm water before applying your usual toner and moisturizer.
Supply:
- 2 tablespoons of white rice
- 1 large fresh orange (or 2 small ones)
- 1 ⅔ cups (400 ml) of water
- 1 tablespoon of baking soda
- A few drops of almond or jojoba oil (optional)
Tools:
- Coffee grinder or electric chopper
- Small saucepan
- Immersion blender
- Fine-mesh strainer
- Spoon or spatula
- Flat face brush (optional)
You can watch it on video if you prefer
How to Apply and Remove Your Homemade Mask for the Best Results
Having the product ready is only half the job. How you put it on and the downtime you give yourself while it works make a real difference in what your skin actually absorbs.
Prepping Your Skin and Applying the Mask
Before anything goes on your face, make sure your skin is completely free of makeup, sunscreen, and whatever the day left behind.
Wash with your regular cleanser and pat dry with a soft towel. No rubbing. You can also try my homemade cleanser recipe if you’d like.
Clean fingers work fine for applying, but a flat cosmetic brush makes it easier and gives you a more even layer.
Spread a generous coat across your cheeks, forehead, and chin, keeping the eye area and lips clear.
It feels really nice going on. There’s an immediate coolness and a soft citrus scent that just makes you want to close your eyes.
My advice: lie down on the couch, put on something calm, and let the ingredients do their thing for about twenty-five minutes.
Removing the Rice Face Mask
When time’s up, you’ll feel the mask has set slightly, though the orange oils and rice starch keep it from getting tight or stiff.
Don’t pull or scrape. Just use plenty of warm water. A damp natural sponge works great too, gently lifting the residue in soft circles, which also gives your circulation a little boost.
Once your face is clean and dry, you’ll notice your skin feels incredibly silky. That’s the perfect time to spritz on your favorite toner, then finish with a good layer of your go-to moisturizer.
Tips for Storing and Making the Most of Your Leftovers
One of the best things about DIY skincare is that you usually end up with enough for more than one use. The only catch: no preservatives means you need to be smart about storage.
With the amounts we made, you’ll definitely have product left over after the first application. That’s fine. There are easy ways to use every last bit.
Storing the Finished Mask
If you’ve already mixed the rice cream with the extract and have leftovers, pop it in the fridge in a small glass jar with a tight lid.
Keeping it cold slows oxidation and bacterial growth.
It’ll stay good for three to four days, so you can do a second treatment later in the week without starting over.
Bonus: applying it cold straight from the fridge feels amazing and helps with morning puffiness.
The Ice Cube Tray Trick for the Orange Infusion
After adding three tablespoons to the rice cream, you’ll probably have quite a bit of orange infusion left. That stuff is liquid gold, so don’t pour it down the drain.
Pour the extra into an ice cube tray and freeze it. Next time you want a fresh mask, just pop out a cube or two, let them thaw, and mix straight into the paste.
It’s the easiest way to always have your own homemade glow concentrate ready to go.
Frequently Asked Questions About the Rice and Orange Face Mask
Is this mask okay for oily or breakout-prone skin?
Absolutely. Rice is great at soaking up excess surface oil, and orange adds a mild tightening effect that helps clean things up. If your skin runs oily or combination, just skip the carrier oil at the end and use the paste on its own.
How often can I use this?
Since the formula is gentle and doesn’t contain harsh acids or gritty exfoliants, once or twice a week works perfectly. Just leave three to four days between sessions so your skin can breathe and soak up the benefits without getting overloaded.
What if my skin starts tingling after I put it on?
Everyone reacts differently, especially if your skin is on the sensitive side or you have an existing condition. Always do a patch test before putting anything new on your face.
If at any point during the twenty-five minutes you feel real stinging, burning, or something that doesn’t feel right, don’t tough it out. Rinse it off right away with cold water and follow up with a gentle moisturizer. If it doesn’t calm down, get it checked out by a derm.
Tell Me How Your First Rice Face Mask Turned Out
Watching two everyday ingredients turn into a silky face mask is honestly so satisfying. I love that we can take care of ourselves at home, spending a little downtime mixing, steeping, and reconnecting while making the same kinds of remedies our grandmothers swore by.
I hope you give it a try this weekend. I’d love to know whether you went with the oil or kept it light, and especially how your skin felt after rinsing.
If you’ve got your own tricks for storing homemade skincare, or just want to tell me how the texture came out, drop me a message. I’ll read every one and write back so we can keep swapping ideas on how to treat ourselves a little better every day.
Looking for more easy recipes using stuff you already have at home? Check out my book Beauty from your pantry, with recipes for your whole body and hair, all made with simple ingredients.