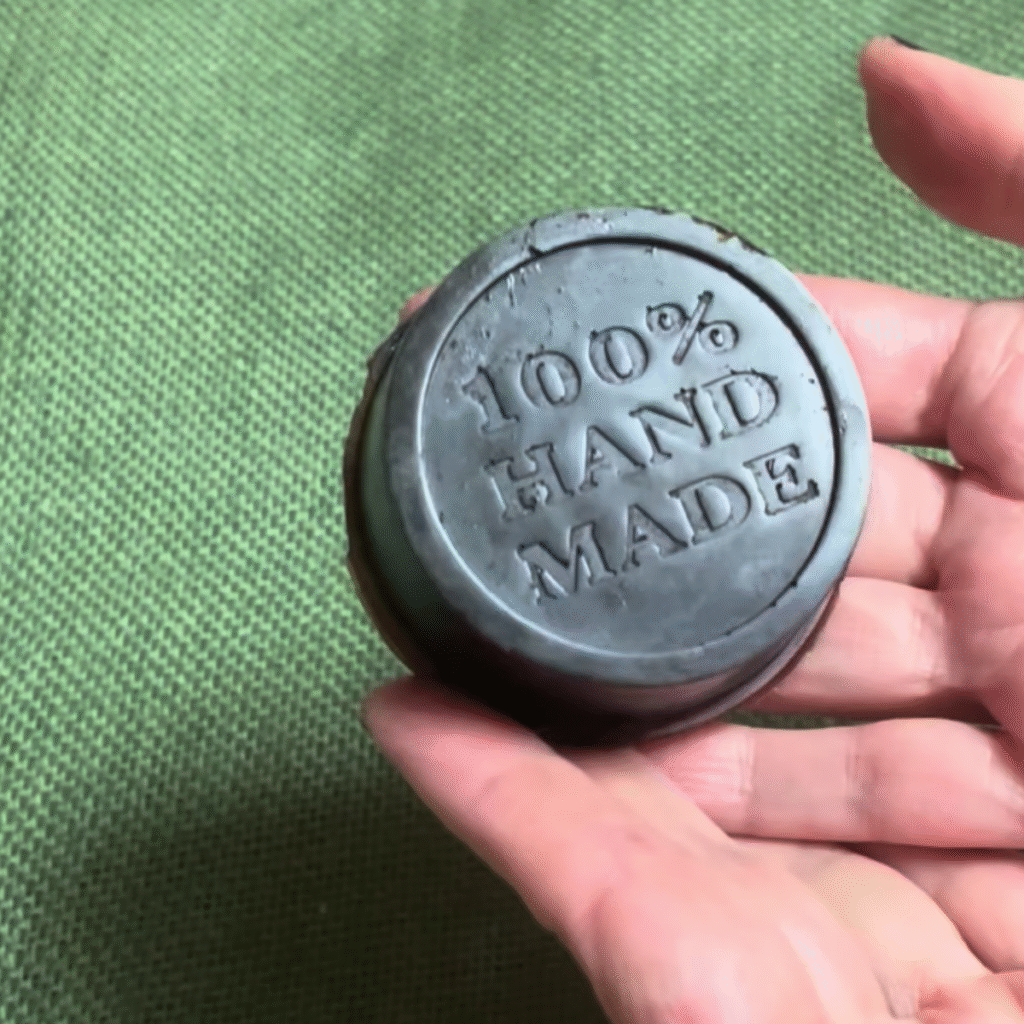
Making soap at home can look complicated at first, but with the right recipe and a little practice it turns into something genuinely enjoyable and satisfying. In this post I’m giving you a simple, natural formula so you can make your own soap at home. It includes detailed instructions, tips for storing it, variations to try and everything you need to get off to a good start.
Since I started making my own soap, I haven’t gone back to store-bought bars. What began as simple curiosity turned into a small ritual for me, one that connects me with things that are simple, useful and real. Homemade soap isn’t just gentler on your skin, you can also personalize it, put your own stamp on it and turn it into a really special gift. Here’s exactly how to make it, step by step, with no fuss.
Why make soap at home
Making soap at home isn’t only a way to save money, it’s a way of getting back to basics, of paying attention to what goes on your skin and of cutting down on waste. You control the ingredients, you choose the scents, you decide the texture. And the satisfaction of using something you made yourself isn’t something you can buy in any store.
What makes natural soap worth it
One of the biggest advantages of homemade soap is that you’re not dealing with harsh detergents or synthetic additives, which makes it kinder to your skin and to the environment. It can also be customized to suit different skin types, which makes it a good option if you have sensitivities, allergies, or you simply want something more natural. Properly cured and stored, it will keep for many months without losing its qualities.
Ingredients and equipment
Before you start, it helps to know exactly what you’ll need. The process is simple, but it does require attention and proper safety precautions.
The base ingredients
Everything in soapmaking is measured by weight, never by volume. A cup of oil and a cup of water don’t weigh the same, and with lye that difference matters. Put your bowl on the scale, zero it out and weigh each ingredient.
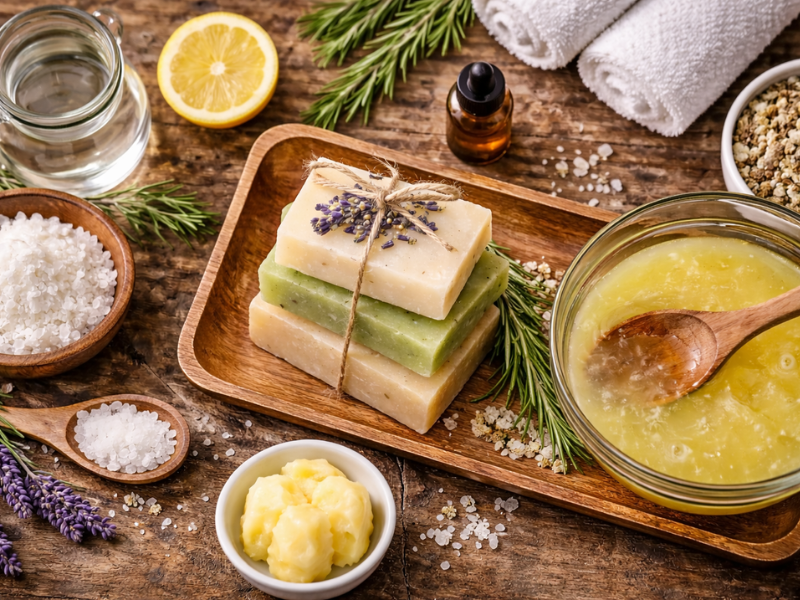
-500 g (17.6 oz) extra virgin olive oil, which gives you a gentle bar
-165 g (5.8 oz) distilled water, to avoid the minerals in tap water
-64 g (2.25 oz) sodium hydroxide, or lye, which is what makes saponification happen
-and, if you like, an essential oil for scent. You can also add optional extras like kaolin clay, oats, citrus zest or dried flowers, depending on what you’re after.
These amounts give you roughly a 5% superfat, meaning a small proportion of the oil stays unsaponified and the finished bar is gentle rather than stripping. If you ever change the oil, the quantity or anything else, run the new numbers through a lye calculator such as SoapCalc or Bramble Berry’s before you make it. Every oil needs a different amount of lye, and this is not a place to eyeball it.
Equipment
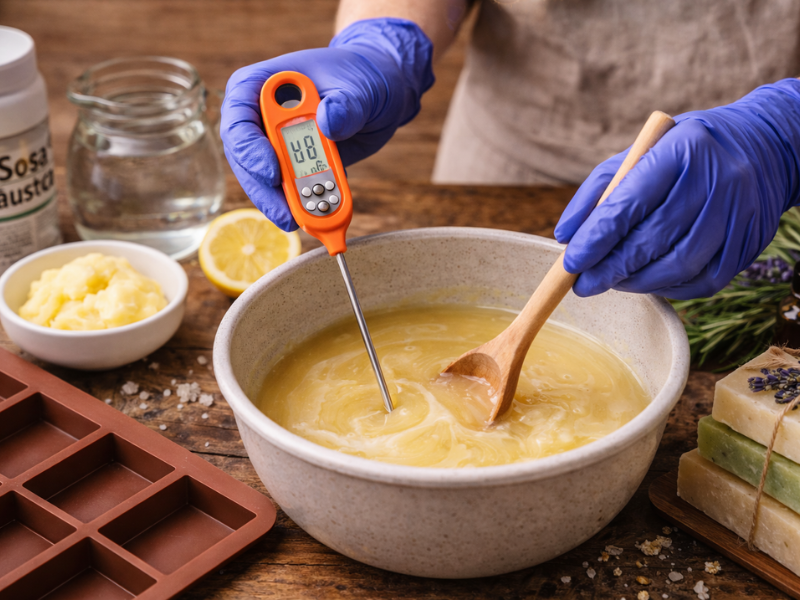
You’ll need a glass or stainless steel container for mixing, silicone or stainless steel spoons, an accurate kitchen scale, a thermometer for the oils, silicone or wooden molds, and safety gear: gloves, goggles and a mask. Having everything within reach before you start makes the whole thing smoother and helps you avoid mistakes.
Two things to avoid: aluminum, which reacts with lye and releases hydrogen gas, and wooden spoons, which lye slowly eats away at, leaving splinters in your soap. Silicone or stainless steel for anything that touches the lye solution.
How to make soap, step by step
Step 1. Safety first
This first step is essential. Your workspace needs to be well ventilated — next to an open window, or outdoors if you can.
Put on gloves, goggles and a mask before you touch the lye. This ingredient is necessary, but it will cause chemical burns if you handle it carelessly. Keep children and pets out of the room while you work, and keep the sink clear so you have running water available. If lye or raw soap batter touches your skin, rinse it under plenty of cool running water for several minutes — don’t reach for vinegar, which is old advice that creates heat on contact. Safety comes first here.
Step 2. Dissolve the lye
Add the lye to the distilled water, never the other way around. Do it slowly and carefully, stirring with a silicone or stainless steel spoon. The mixture will heat up dramatically and give off fumes, so turn your face away and don’t lean over it. Let it sit until the temperature comes down, ideally to 100–115 °F (40–45 °C).
Step 3. Warm the oils
In another container, warm the oil gently. The temperature should be 100–115 °F (40–45 °C), the same as the lye solution. Getting the two in sync matters, because it’s what lets the mixture thicken properly.
Step 4. Combine the lye and the oils
Once both are at the same temperature, pour the lye solution into the oils and start blending with an immersion blender. Little by little the mixture thickens until it has the texture of thin custard. That’s trace, the moment you’ve been waiting for.
Worth knowing: 100% olive oil soap takes considerably longer to reach trace than most recipes. Blending for fifteen or twenty minutes is normal, so don’t assume something’s gone wrong.
Step 5. Add scent and extras
As soon as you have the right texture, add your essential oil and any other add-ins like oats, clay or dried flowers. Stir gently until everything is evenly distributed.
Step 6. Pour into molds
Pour the mixture into your molds carefully. Tap them gently on the counter to knock out any air bubbles. You can use individual molds or one large one and cut the soap into bars later.
Step 7. Let it rest and cure
Cover the molds with a towel and leave them somewhere cool and dry for 24 to 48 hours. Keep your gloves on when you unmold, since the soap is still caustic at this stage. Then set the bars in a well ventilated spot to cure for at least four weeks. That time lets the water evaporate so the bar gets harder and lasts longer in the shower.
One note specific to this recipe: a pure olive oil soap, the classic castile, is famously soft when young. Four weeks is the minimum, but if you can leave it three months or more, the difference is remarkable. It gets harder, milder and lathers far better.
Storing your homemade soap
Good storage is what keeps your soap in great shape for a long time. After curing, keep the bars somewhere dry, cool and out of direct sunlight. You can wrap them in kraft paper, in a small cloth bag, or simply stack them in a cardboard box with a little space between each one.
Tips for keeping it longer
Avoid plastic containers, since they trap moisture. And don’t store it anywhere damp, like the bathroom, until it’s fully cured.
Between uses, keep it on a soap dish that drains well so it can dry out completely. If you’re making it as a gift, add a small label with the date you made it.
Frequently asked questions
Can you make soap without lye?
Not real soap, no. Saponification is a chemical reaction that requires an alkali like sodium hydroxide. Without it, oils don’t turn into soap. The good news is that in a correctly measured recipe the lye is entirely used up by the reaction within the first day or two, so there’s none left in the finished bar. (Melt-and-pour bases are lye-free to work with, but only because someone else already did the lye step for you.)
How long does the soap last?
Well cured and properly stored, up to a year or more. The longer it cures, the harder it gets and the longer each bar lasts in daily use.
Can I use it all over my body?
Yes. With gentle, natural oils it’s perfectly suitable for the whole body. If your skin is very sensitive, skip the strong essential oils and go for soothing add-ins instead.
What happens if I use too much lye?
Too much lye makes a harsh, irritating bar that can burn your skin. This is exactly why weighing your ingredients accurately and following the formula precisely matters so much. If a cured bar stings, feels caustic or gives you a little zap on the tongue when you touch it to it, don’t use it. Either rebatch it with extra oil or throw it out.
Can I make variations?
Of course. You can change the oils, add natural colorants, different scents, exfoliating or soothing ingredients. Just bear in mind that every change affects the formula, so run it through a lye calculator to get the amounts right. Coconut oil, for instance, needs considerably more lye than olive oil for the same weight.
Learn how to make soap at home with natural ingredients. A clear, complete and safe guide to making your own bars, with no complications and wonderful results for your skin.
Total Time: 30 days
Gear up
Put on gloves, goggles and a mask, and work in a well ventilated space.
Dissolve the lye
Weigh everything, then add the lye to the water, never the reverse. Let it cool to 100-115 °F.
Warm the oils
Bring the oil to the same temperature, 100-115 °F.
Blend them together
Pour the lye solution into the oils and blend until it reaches trace.
Add the scent
Once the mixture thickens, stir in the essential oils and any extras.
Pour and cover
Pour into the molds, tap out the bubbles and cover with a towel.
Unmold
Leave 48 hours, then unmold with gloves on.
Cure
Cure for at least 4 weeks somewhere well ventilated.
Supply:
- Olive oil
- distilled water
- sodium hydroxide (lye)
- essential oil (optional)
Tools:
- Immersion blender
- kitchen scale
- thermometer
- silicone or stainless steel spoons
- bowls
- gloves and goggles
I’d love to know whether you’ve made soap before or this is your first time. Any questions about the recipe? Is there a variation with natural ingredients you’d like to try? Tell me below — I read every comment and I always try to answer.
If this guide was useful, share it with someone else who loves handmade things. And if you do make your first bar, come back and tell me how it went. It’s a real joy to see this way of caring for ourselves and our surroundings being passed along.