A homemade citrus reed diffuser made with 96% alcohol and a fresh lemon scent. Learn how to make it step by step, with cheap, easy-to-find ingredients, tricks to make it last for weeks, the mistakes to avoid, how to store it and answers to the questions I get asked most. Easy, natural and perfect for making your home smell lovely.
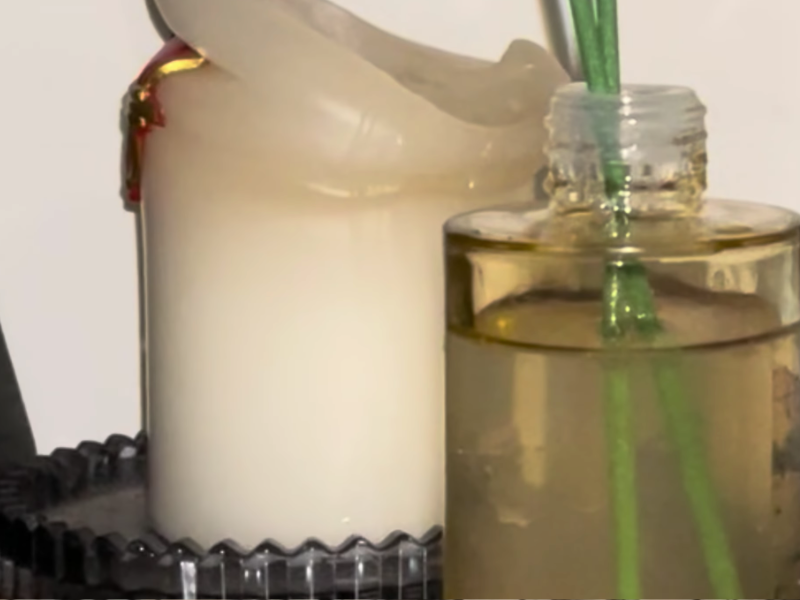
Has it ever happened to you that you walk into a house and it just smells clean and fresh, as though everything’s been scrubbed that morning, and you feel calmer almost instantly?
I love that feeling. For a long time I tried to get the same effect with shop-bought air fresheners, but it always ended the same way: overpowering for the first few days and then nothing at all, or a headache, or that familiar chemical note sitting on top of the smell of the house and never quite working.
Until one day it occurred to me: if I can make my own soaps, cleaners and creams, why not make my own reed diffuser too? And that’s where a small obsession began, one that completely changed how I scent my home.
The best part is that with a few simple, cheap, easy-to-find ingredients you can put together a homemade diffuser with 96% alcohol that:
• smells properly fresh.
• lasts for weeks.
• uses less fragrance.
• looks lovely as a bit of décor.
• doesn’t leave that chemical edge in the air.
• can be tweaked exactly to your taste.
And yes, it really does work.
Why I fell for the homemade reed diffuser
I’ll confess something: aerosols and plug-in air fresheners are a bit much for me. They give me the feeling of breathing in something artificial that just hangs in the air without ever settling into the room. Reed diffusers, on the other hand, release the scent slowly, steadily and much more pleasantly.
Shop-bought ones do have one big drawback, though: they’re built on fixatives and solvents that are pricey, and that some people find bring on headaches or set off allergies. To top it off, plenty of them only really smell good for the first couple of days.
What a homemade reed diffuser actually is
The idea behind it is very simple. A reed diffuser is a bottle of scented liquid with a few porous reeds standing in it. The reeds act as a wick: they draw the liquid up and release it into the room little by little.
No electricity, no sprays, no heat — it just gets on with it. And you can put one together at home with the basics:
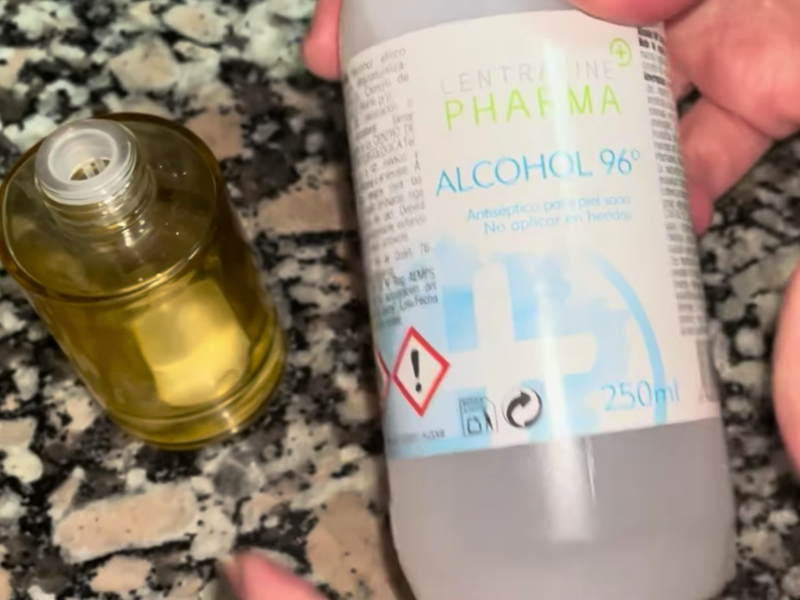
• 96% alcohol.
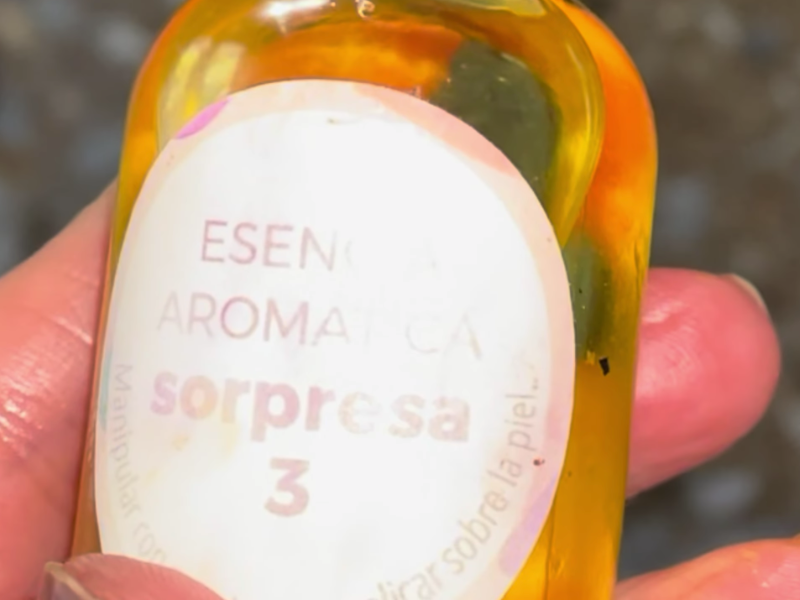
• fragrance oil.
• rattan or bamboo reeds.
• a nice bottle
What you end up with is a natural, decorative, endlessly adaptable diffuser that suits any room in the house.
Why use 96% alcohol in a homemade diffuser
Here’s where it gets interesting. Alcohol at 96%:
• helps the scent carry through the room.
• is thin enough to travel up the reeds easily.
• adds that clean, crisp note.
• gets the fragrance going from day one.
It does evaporate quickly, though, so you can cut it with a little distilled water to help the scent go the distance without losing its punch.
Why I went for lemon
Because our brains tend to link lemon with:
• cleanliness.
• freshness.
• order.
• wellbeing.
• the feeling of a home that’s looked after.
It also pairs brilliantly with 96% alcohol, because it carries beautifully and fills the house with that clean smell we all love.
What you’ll need
Now for the good bit — but before I give you the full recipe, I want you to understand why each ingredient is there. That’s the difference between a diffuser that lasts two days and one that lasts weeks.
96% alcohol
It’s the base that carries the fragrance up the reeds. Without it, the scent simply wouldn’t travel the same way.
Lemon fragrance oil
You can play around with the strength here, but I’d steer you towards a fragrance oil made for home scenting rather than a pure essential oil. Essential oil does dissolve in 96% alcohol, but it’s far more volatile, so the smell burns off within days. Fragrance oils for diffusers are blended with heavier base notes that keep going for weeks — and they won’t separate out if you decide to top the bottle up with a little water.
The reeds
Natural rattan is by far the best. Bamboo tends to do a poorer job, because it doesn’t have those open channels running through it.
The bottle
A narrow neck is best if you can find one. It keeps evaporation down.
My balanced citrus reed diffuser recipe
I’m going to walk you through exactly how I make my diffuser with 96% alcohol, so that it:
✔ smells of fresh lemon from day one.
✔ lasts for weeks.
✔ never feels overpowering.
✔ doesn’t smell of alcohol.
✔ looks lovely tucked into any corner.
And the best part is that you don’t need anything complicated.
Ingredients for a 100 ml bottle
• 70 ml of 96% alcohol.
• 30 ml of lemon fragrance oil for home scenting.
• 6–8 rattan reeds.
• a small glass bottle with a narrow neck.
If you up the fragrance thinking it’ll smell stronger, the opposite usually happens: the mix gets saturated and struggles to climb the reeds. Which is why keeping the balance right matters so much.
How to make your reed diffuser, step by step
Right then, let’s get cracking.
Step 1 — The alcohol
Pour the alcohol into a glass or jug first.
Step 2 — Add the fragrance
Add the lemon fragrance a little at a time. Swirl the container gently so everything blends together properly.
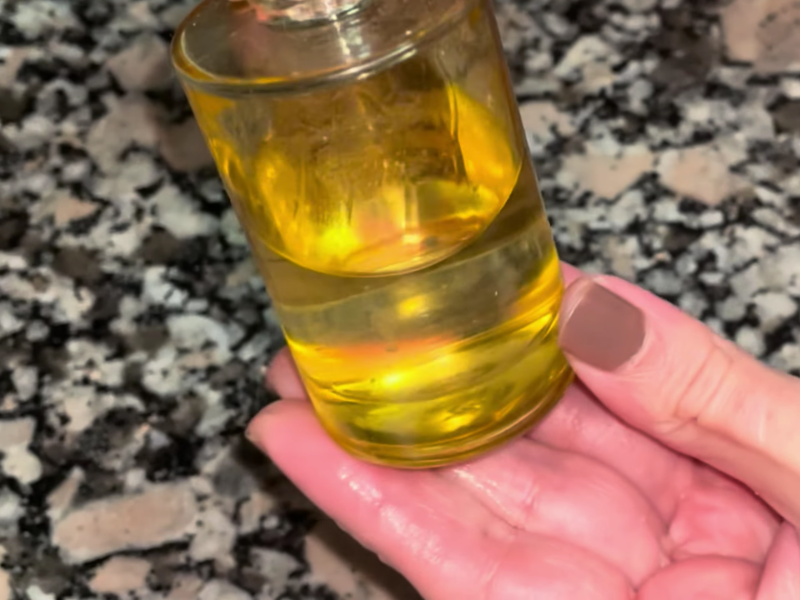
Step 3 — Fill the bottle
Pour the mixture into your glass bottle. A narrow neck will help it last longer.
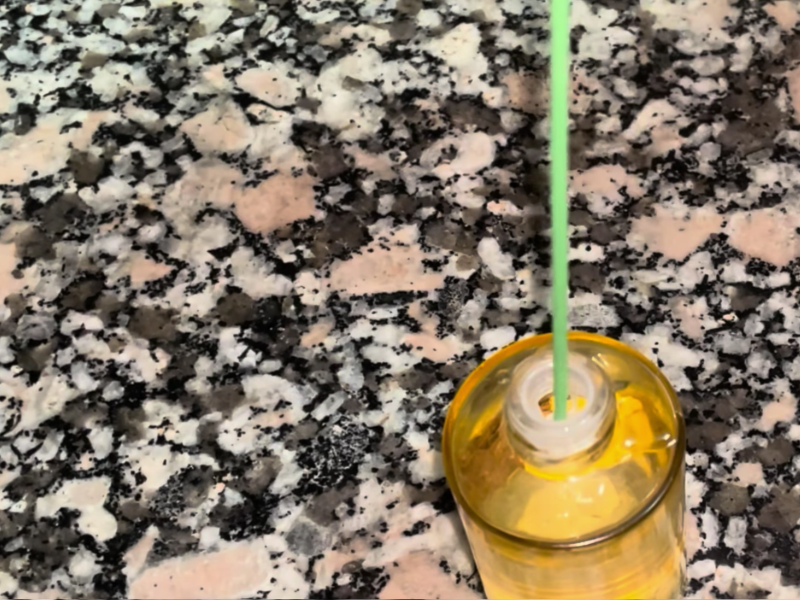
Step 4 — Add the reeds
Start with 4 reeds. Don’t put them all in at once or it can end up far too strong.
Within a few hours you’ll see the liquid start creeping up them.
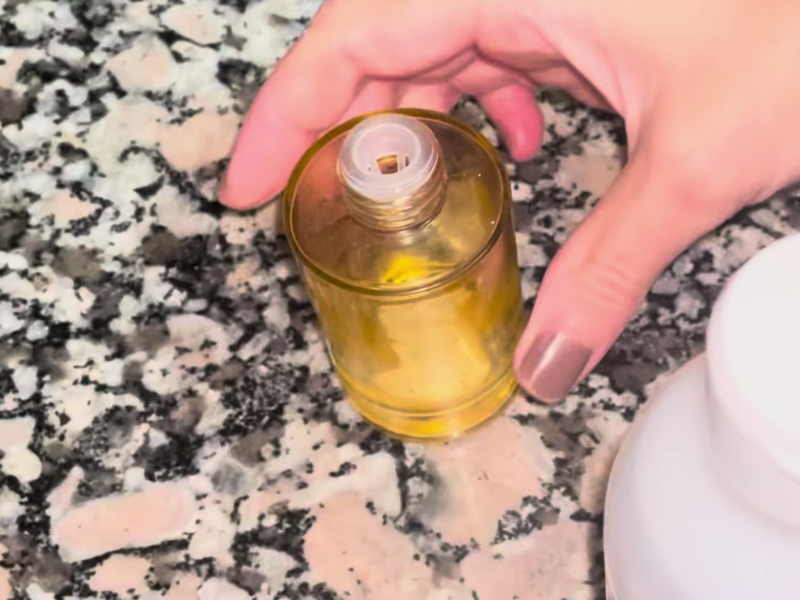
Or watch the video, if you’d rather.
Tricks to make your diffuser last longer
This is the part that separates a diffuser that lasts a week from one that keeps you company for a whole month.
Trick 1 — Go easy on flipping the reeds
Turn them over only:
• on the first day
• and then every 3–4 days
Flip them daily and you’ll get through the liquid in no time.
Trick 2 — Keep it away from heat
Try not to put it near:
• radiators.
• windows that get direct sun.
• heaters.
• ovens.
• hot lamps.
Heat speeds up evaporation.
Trick 3 — Use narrow-necked bottles
The narrower the opening, the slower the evaporation. A simple trick, but a very effective one.
Trick 4 — Match the number of reeds to the room
If you want more scent:
• add 2 more reeds
If you want less:
• take 2 out
That way you control the strength without using up any more of the mix.
Where to put your reed diffuser
Not every spot works equally well. These are my favourites:
• the hallway.
• the bathroom.
• the bedroom (away from the bed).
• the living room.
• next to the clean towels.
The kitchen works well too, but only if lemon sits nicely with whatever you tend to cook.
Your diffuser as a decorative touch
One of the things I enjoy most is using the diffuser as part of the décor. You can:
• pair it with dried flowers.
• set it on a pretty tray.
• tie a ribbon around the bottle.
• paint the glass with glass paint.
It looks beautiful and gives the room a really considered feel.
Citrus scent variations
Lemon is the star here, but there are some gorgeous spins on it:
Lemon and vanilla
Warmer, cosier.
Lemon and mint
Perfect for summer, and very fresh.
Lemon and rosemary
Great in the kitchen — herby and clean.
Lemon and lavender
Fresh, with a calming edge
Storing your homemade diffuser
One of the things you ask me most is how long a homemade diffuser really lasts, and how to store it so it doesn’t lose its scent. The good news is that, made the way I’m describing here, you can expect anywhere from about two to six weeks depending on the time of year.
The basics.
To keep it in good shape:
• keep the bottle sealed until you’re ready to use it.
• store any leftover mix in a glass jar with a lid.
• keep it out of direct light.
• keep it away from heat.
Alcohol at 96% is highly volatile, so if you leave the bottle open or sitting somewhere warm, it’ll evaporate in no time.
Storing leftover mix
If you make a bigger batch and want to keep some back, your best bet is:
• a dark glass bottle.
• with an airtight seal.
• kept somewhere cool.
Stored like that, the mix can keep for months.
How long it really lasts
A homemade diffuser won’t last as long as a shop-bought one with professional chemical fixatives. But with the balanced formula we’re using here, you can expect roughly:
– 4 to 6 weeks in autumn and winter.
– 3 to 4 weeks in spring.
– 2 to 3 weeks in summer.
The temperature of your home makes an enormous difference.
Staying safe with your homemade diffuser
I know this one worries people, especially if you’ve got little ones or pets at home. Here’s what matters:
96% alcohol
It’s flammable, so:
❌ don’t put it near candles.
❌ or near a hob you cook on.
❌ or on top of a radiator.
Pets
Diffusers in general can be a hazard if:
• the cat knocks the bottle over.
• the dog licks the liquid.
• it spills onto soft furnishings.
So the best spot is somewhere high and stable, out of their reach. Cats in particular don’t process certain fragrance compounds well, so if you have one, keep the room well ventilated and check with your vet if you’re unsure.
Skin
Don’t put the mixture on your skin.
It might smell wonderful, but it isn’t formulated to go on the body.
Common mistakes when making a reed diffuser
If you’ve made one before and it didn’t work, it was almost certainly down to one of these.
Don’t worry, we’ve all been there.
Mistake 1 — Expecting pure essential oil to go the distance
This is the classic one.
Pure essential oil:
❌ is far more volatile than a proper diffuser fragrance.
❌ has no base notes to anchor it.
❌ will separate out if you top the bottle up with water.
The result:
• it smells gorgeous on day one.
• and it’s gone by the weekend.
Mistake 2 — Using bamboo reeds
Bamboo reeds are lovely to look at, but:
❌ they don’t have open channels running through them.
❌ they don’t draw the liquid up well.
❌ so very little scent gets released.
Rattan is always the better choice.
Mistake 3 — Adding too much fragrance
It seems logical enough to think:
“more fragrance = more scent”
but what actually happens is that it:
– saturates the mix.
– stops it climbing the reeds.
– makes the whole thing diffuse worse.
Mistake 4 — Flipping the reeds every day
Do this and the liquid will be gone within days.
Mistake 5 — Wide-necked bottles
The bigger the opening, the faster it evaporates.
How to rescue a diffuser that isn’t smelling of anything
If you’ve already made yours and it isn’t giving off any scent, don’t panic — there’s still a fix.
Case 1 — It only smells of alcohol
The fix:
– add another 1 ml of fragrance.
– put in one more reed.
Case 2 — It isn’t climbing the reeds
The fix:
– switch to rattan reeds.
– give the mix another stir.
– add a splash more alcohol.
Case 3 — The scent is very faint
The fix:
– flip the reeds.
– add 2 more.
– move it somewhere slightly warmer, though still away from any direct heat source.
Case 4 — It’s far too strong
The fix:
– take some reeds out.
– add a little distilled water.
The reset trick for when the scent starts fading
This one was a game changer for me:
– when you notice the scent dropping off, DON’T add more fragrance.
What actually works is:
– taking all the reeds out.
– turning them the other way up.
– leaving just 3 or 4 in for a day.
That gets the diffusion going again.
Three styles to dress up your diffuser
For me a diffuser isn’t just an air freshener, it’s a decorative detail that shifts how a room looks and feels. With very little effort you can get a beautiful result.
The minimalist
If you’re drawn to Scandi or minimalist styling:
• a small clear bottle.
• natural, undyed reeds.
• a simple handwritten label.
The effect is calm and tidy.
The rustic
If your home leans warmer:
• an amber bottle.
• jute twine.
• a kraft paper label.
• a sprig of dried rosemary.
Looks lovely in the kitchen or the living room.
The elegant
For a more polished space:
• a matte black or white bottle.
• black reeds.
• a thin satin ribbon.
Perfect for the hallway or the bedroom.
With dried flowers
You can pop into the bottle:
• dried lemon slices.
• dried petals.
• a spiral of lemon peel.
As well as looking pretty, it plays up the citrus feel.
Room by room: sensory feng shui
I love this bit, because it genuinely works. Traditional feng shui talks about balancing the energy of a home, but here we’re adapting it into sensory feng shui — in other words, how your house makes you feel through your senses.
The hallway
It’s the first impression.
A lemon diffuser here:
• makes the house feel looked after.
• gives you a fresh welcome.
• helps you “reset” as you walk in.
The bathroom
Perfect for holding on to that just-cleaned feeling.
Put it:
• away from the basin.
• on a high shelf.
• out of the direct path of the shower steam.
The kitchen
Only worth it if the scent works with your cooking smells.
Lemon and rosemary is brilliant in here.
The bedroom
Keep it away from the bed. Too close and it can be a bit stimulating.
The living room
If you’ve got a reading or relaxing corner, that’s the spot.
More blends I’ve tested
Here are a few versions I’ve tried that work beautifully.
Mediterranean citrus
• lemon.
• sweet orange.
• a touch of rosemary.
Relaxing spa
• lemon.
• lavender.
• a hint of mint.
Naturally sweet
• lemon.
• vanilla.
• orange blossom.
Energising
• lemon.
• bergamot.
• spearmint.
Frequently asked questions about homemade reed diffusers
Let me answer the questions that come up most often.
Can I use essential oil instead of fragrance oil?
You can, but it won’t behave the same way.
Essential oil:
• is much more volatile, so the scent fades within days.
• has no base notes to hold it in the room.
• will separate out if you add water to the bottle.
If you’d still like to use it, blend it into the alcohol first and skip the water altogether.
Can I use 70% alcohol?
Yes, but it doesn’t carry the scent as well and it won’t last as long.
How long does it last?
Roughly 4 to 6 weeks in autumn and winter, 3 to 4 in spring and 2 to 3 in summer. The warmer your home, the faster it goes.
Is it flammable?
Yes, because of the 96% alcohol. Keep it well away from any flame.
A few last thoughts
Follow the recipe as I’ve shared it and you’ll end up with a diffuser that’s:
✔ well balanced.
✔ long lasting.
✔ deliciously citrusy.
✔ pretty enough to leave on show.
✔ inexpensive.
✔ free of harsh solvents and synthetic fixatives.
And you’ll be able to make it your own.
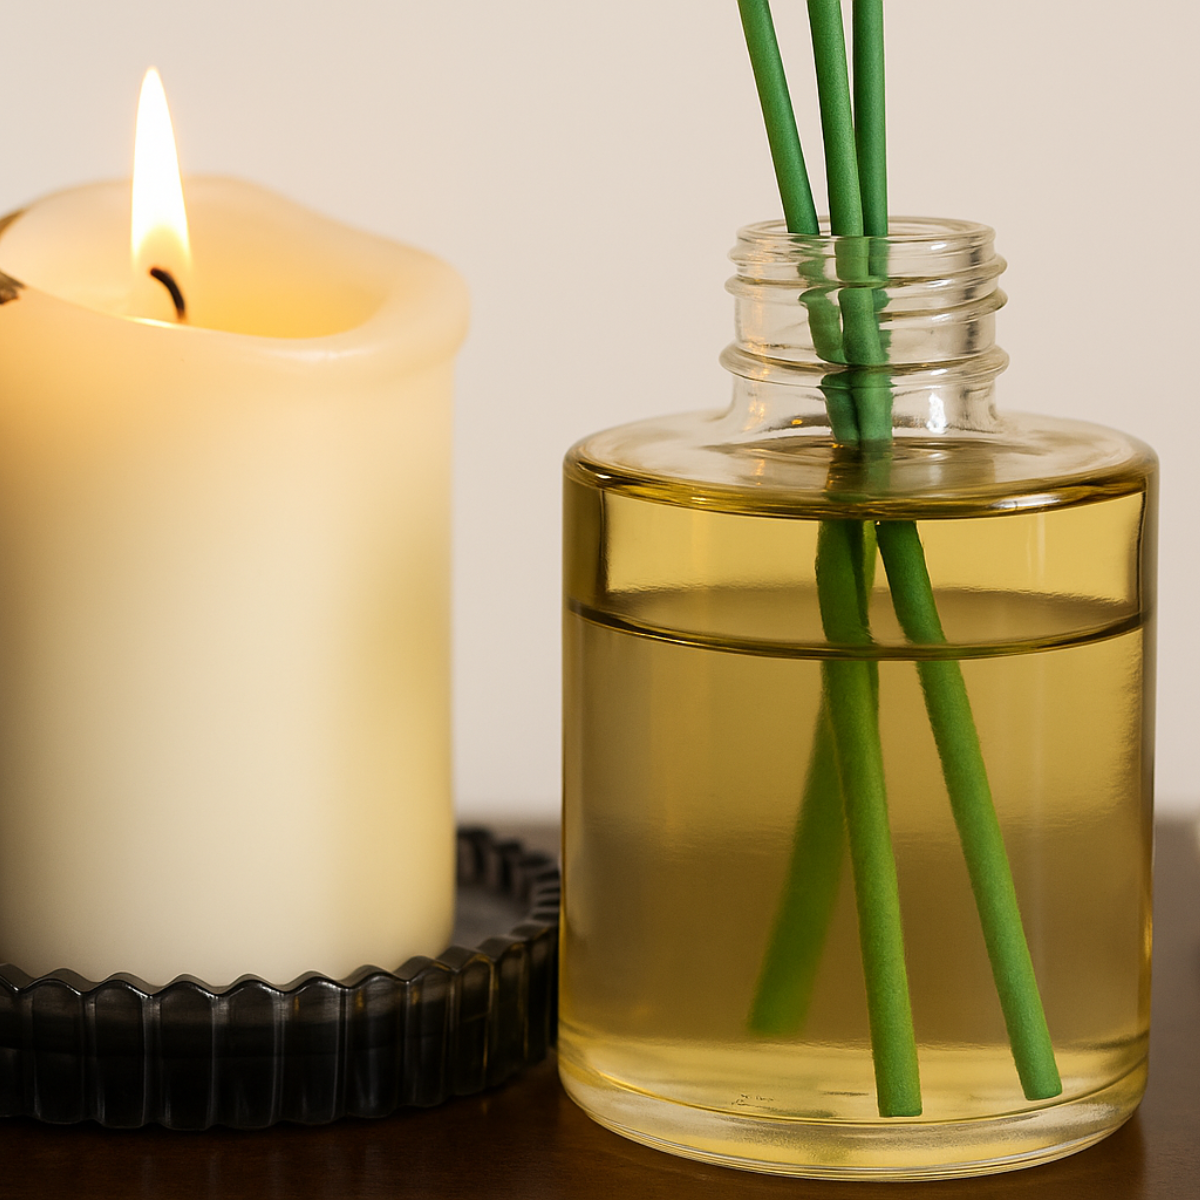
Learn how to make a homemade reed diffuser with 96% alcohol and a fragrance oil of your choice. It smells wonderful, lasts for weeks and fills your home with a natural, balanced scent. Quick, cheap and very easy to put together.
Total Time: 10 minutes
Mix the base
Fill the bottle with 70% alcohol at 96º and 30% fragrance oil. Stir gently to bring the two liquids together
Make it yours
If you like, add a few drops of colouring for a decorative touch. Give it another stir.
Add the reeds
Put the reeds in and give them a few minutes to soak up the mixture
Scent your home
Turn the reeds over every 3–4 days to keep the scent going for as long as possible.
Tools:
- Small narrow-necked glass bottle
- Funnel
Materials: 96º alcohol the fragrance oil of your choice Colouring (optional) Rattan reeds
Tell me how you get on
I’d love to know if you give it a go at home.
Have you made a reed diffuser before?
Would you like me to put together a floral, sweet or Christmassy version?
Leave me a comment — it really does make my day to hear from you. And if what you’re after is a scent for yourself rather than the house, don’t miss the body spray recipe, I think you’ll like it!