What You Need and How to Start from Scratch
In this guide, you’ll discover the basic kit you need to start making homemade cosmetics: tools, ingredients, and practical tips to create your own natural products.
If you’ve felt that unstoppable urge to make your own personal care products with natural ingredients, this post is for you. Making homemade cosmetics is not only rewarding, it also helps you reconnect with simple ingredients and the pleasure of making things by hand. And no, you don’t need a lab or to spend a fortune to get started, just a well-thought-out basic kit, a bit of organization, and lots of enthusiasm.
Where do I start?
Before diving into making creams, soaps, deodorants, or oils, it’s best to be clear about which products you want to make first. I recommend starting with simple recipes, like a lip balm, a hand cream, a deodorant, or a solid shampoo. From there, you can gradually expand your kit according to your needs and creativity.
Essential Tools You’ll Need
You’ll use these tools for almost all your preparations. The good news is that you probably already have many of them in your kitchen. Here are the essentials:
- Heat-resistant pots or bowls: they can be stainless steel, glass, or silicone. You’ll need them to heat ingredients in a bain-marie, or to mix ingredients.
- Silicone spatulas and small whisks: to mix without scratching your containers and to to scrape out every last bit of product.
- Precision scale: essential for weighing small amounts of ingredients like waxes, butters, or oils accurately (with a precision of at least 0.1 g).
- Measuring spoons and syringes: very useful for measuring essential oils, preservatives, or small amounts of liquid ingredients.
- Digital thermometer: because some ingredients need specific temperatures to retain their properties.
- Reusable and sterilizable containers: glass jars, airless bottles, roll-on containers, or sticks. You can also clean and reuse empty cosmetic jars.
- Hand blender or mini whisk: to emulsify creams or get smooth textures.
- 70% alcohol or white vinegar: to disinfect all your utensils before starting.
- Gloves and a mask: especially if you work with fine powders or very potent essential oils.
- Adhesive labels: useful for easily identifying each preparation (date, ingredients, type of product).
Basic Ingredients for Your First Recipes
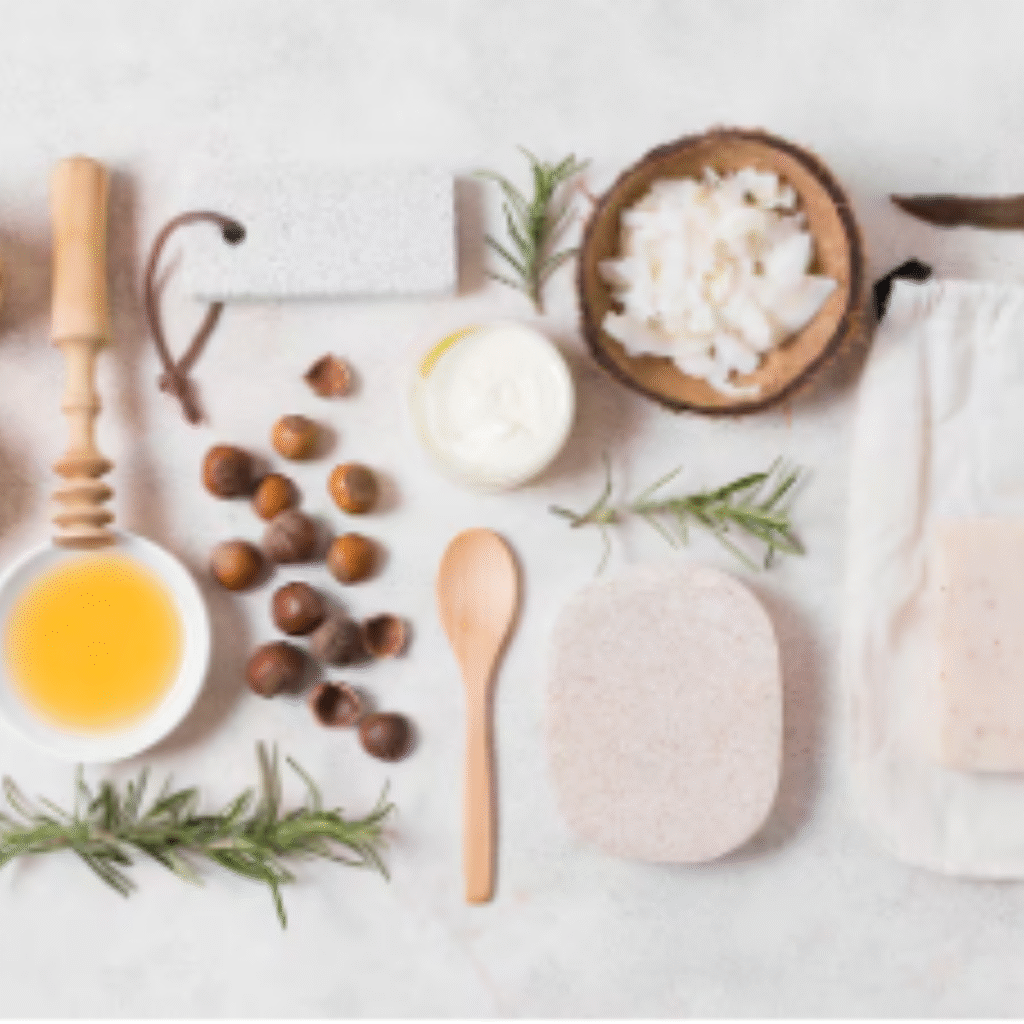
- Coconut oil: it’s moisturizing, antibacterial, and ideal for balms, deodorants, and soaps.
- Shea butter: nourishing, regenerating, and perfect for dry or sensitive skin.
- Beeswax or vegetable wax: gives consistency to balms, ointments, and solid creams.
- Vegetable oils (almond, jojoba, olive…): provide hydration, elasticity, and nutrients to the skin.
- Pure aloe vera or aloe vera gel: soothing and refreshing, making it a popular choice for sensitive or irritated skin.
- Clays (green, white, pink): perfect for masks and facial cleansers.
- Essential oils (lavender, tea tree, mint, geranium): for their therapeutic properties and natural scent.
- Vitamin E: an antioxidant that helps slow down the oxidation of oils, although it is not a preservative.
- Natural preservatives (like Leucidal or Cosgard): essential if you make products with an aqueous phase to prevent bacteria growth.
Practical Tips for Getting Started
- Organize a clean and tidy space: you don’t need to have a “workshop,” a clear, well-lit, and sanitized table is more than enough.
- Start with small batches. That way you can test, adjust, and avoid wasting ingredients.
- It’s a good idea to keep a recipe notebook to jot down everything: quantities, temperatures, how the product feels, and results.
- Trust your intuition and your motivation. Making your own cosmetics is a creative, therapeutic process full of learning.
Where to buy materials and ingredients
Nowadays you can find almost everything you need in online stores specializing in natural cosmetics. Whenever possible, look for organic, unrefined, and cold-pressed ingredients. Some well-known stores in Spain that I use are Jabonarium, La Rueda Natural, or Cosmética Natural Casera Shop, among others.
Benefits of Making Your Own Cosmetics
- You know exactly what you’re putting on your skin. This is one of the reasons I became interested in homemade cosmetics.
- You can customize your cosmetics according to your needs (dry, oily, mature, sensitive skin).
- You avoid using single-use plastics and reduce waste since you reuse your containers.
- It’s more economical in the medium and long term.
- And, above all… There’s something incredibly satisfying about using something you’ve made with your own hands!
Don’t miss the video on YouTube:
I hope this post inspires you to take the leap! If you’ve already started or if you have doubts, tell me in the comments. I’d love to read your thoughts, help you, and share ideas with you. And if you know someone who also wants to get started in the world of natural cosmetics, you can share this post with them. Because good things are even better when shared.